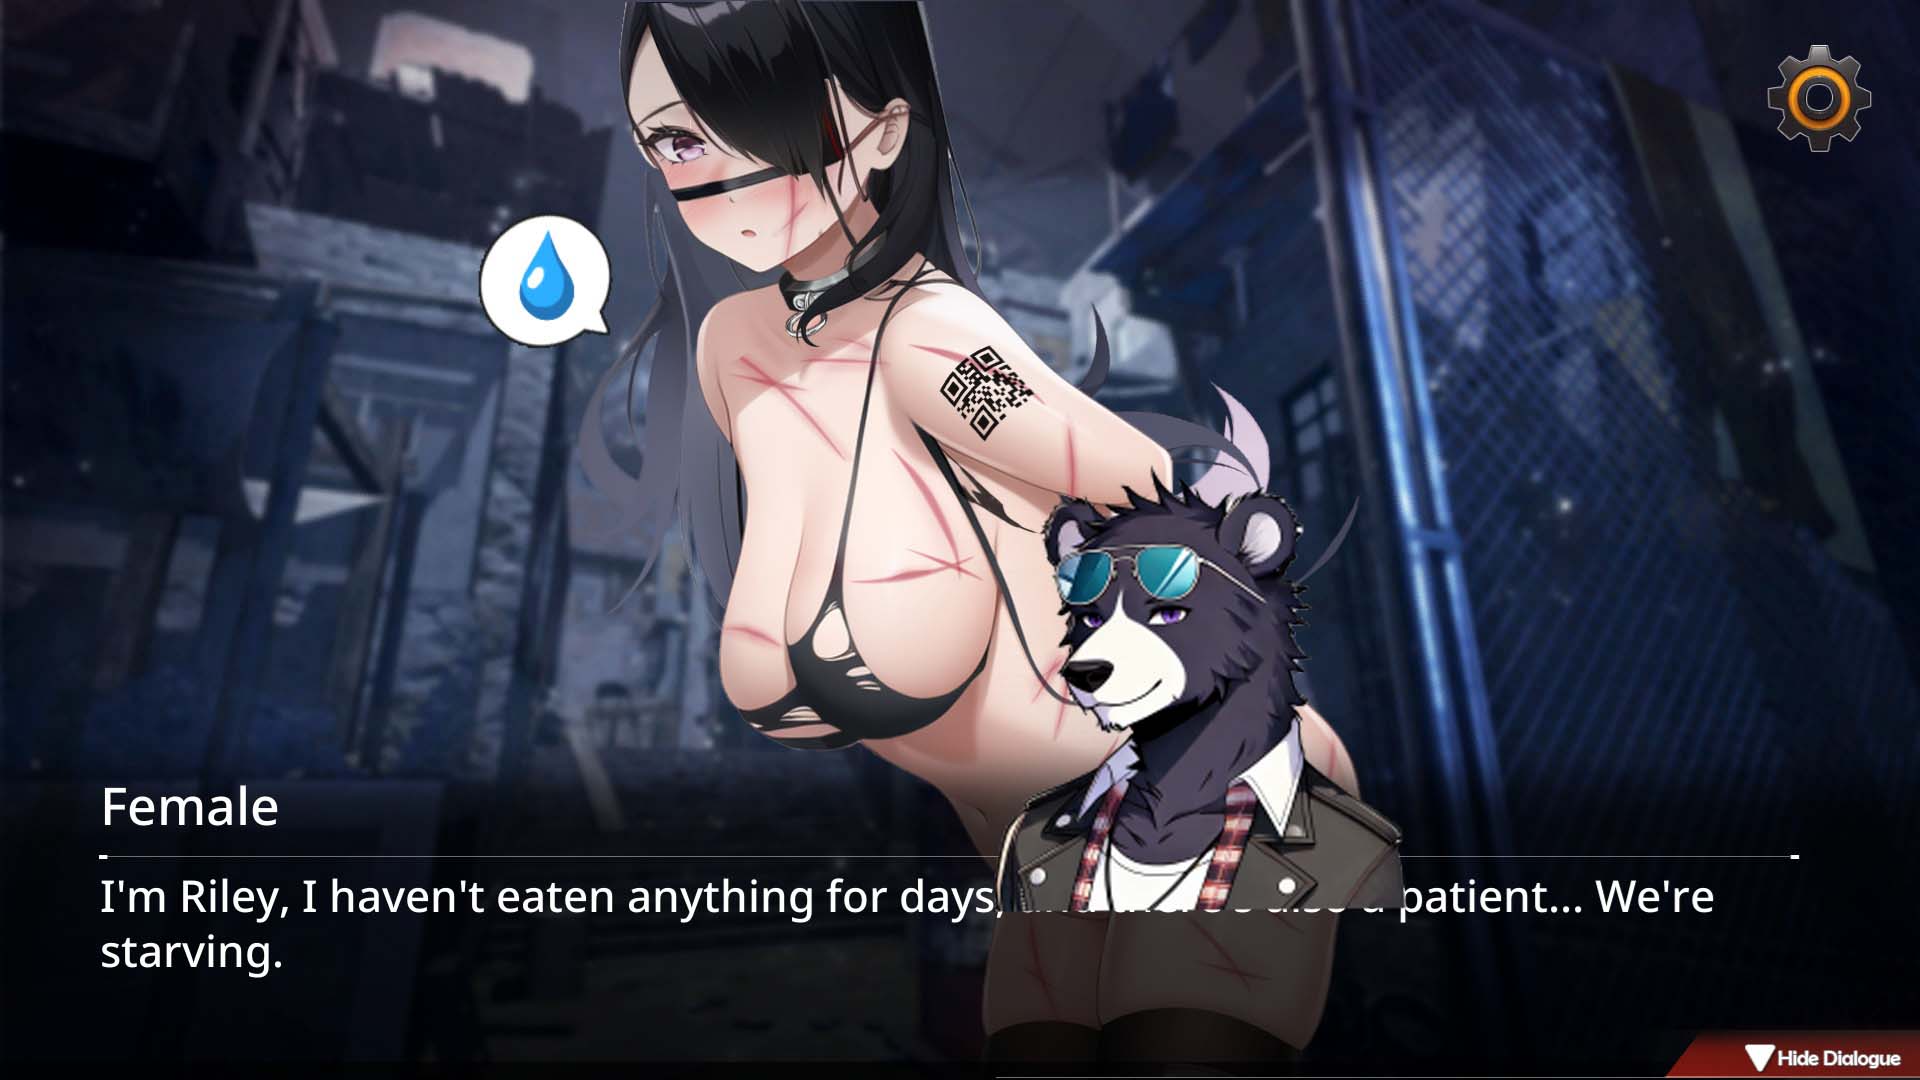
Diving into “Fatal Countdown – Immoral List of Desires”
The story’s all about a zombie-apocalypse vibe with a viral outbreak.
As the dude in charge, you’ve gotta save every chick, get ‘em living large and feeling on top of the world!
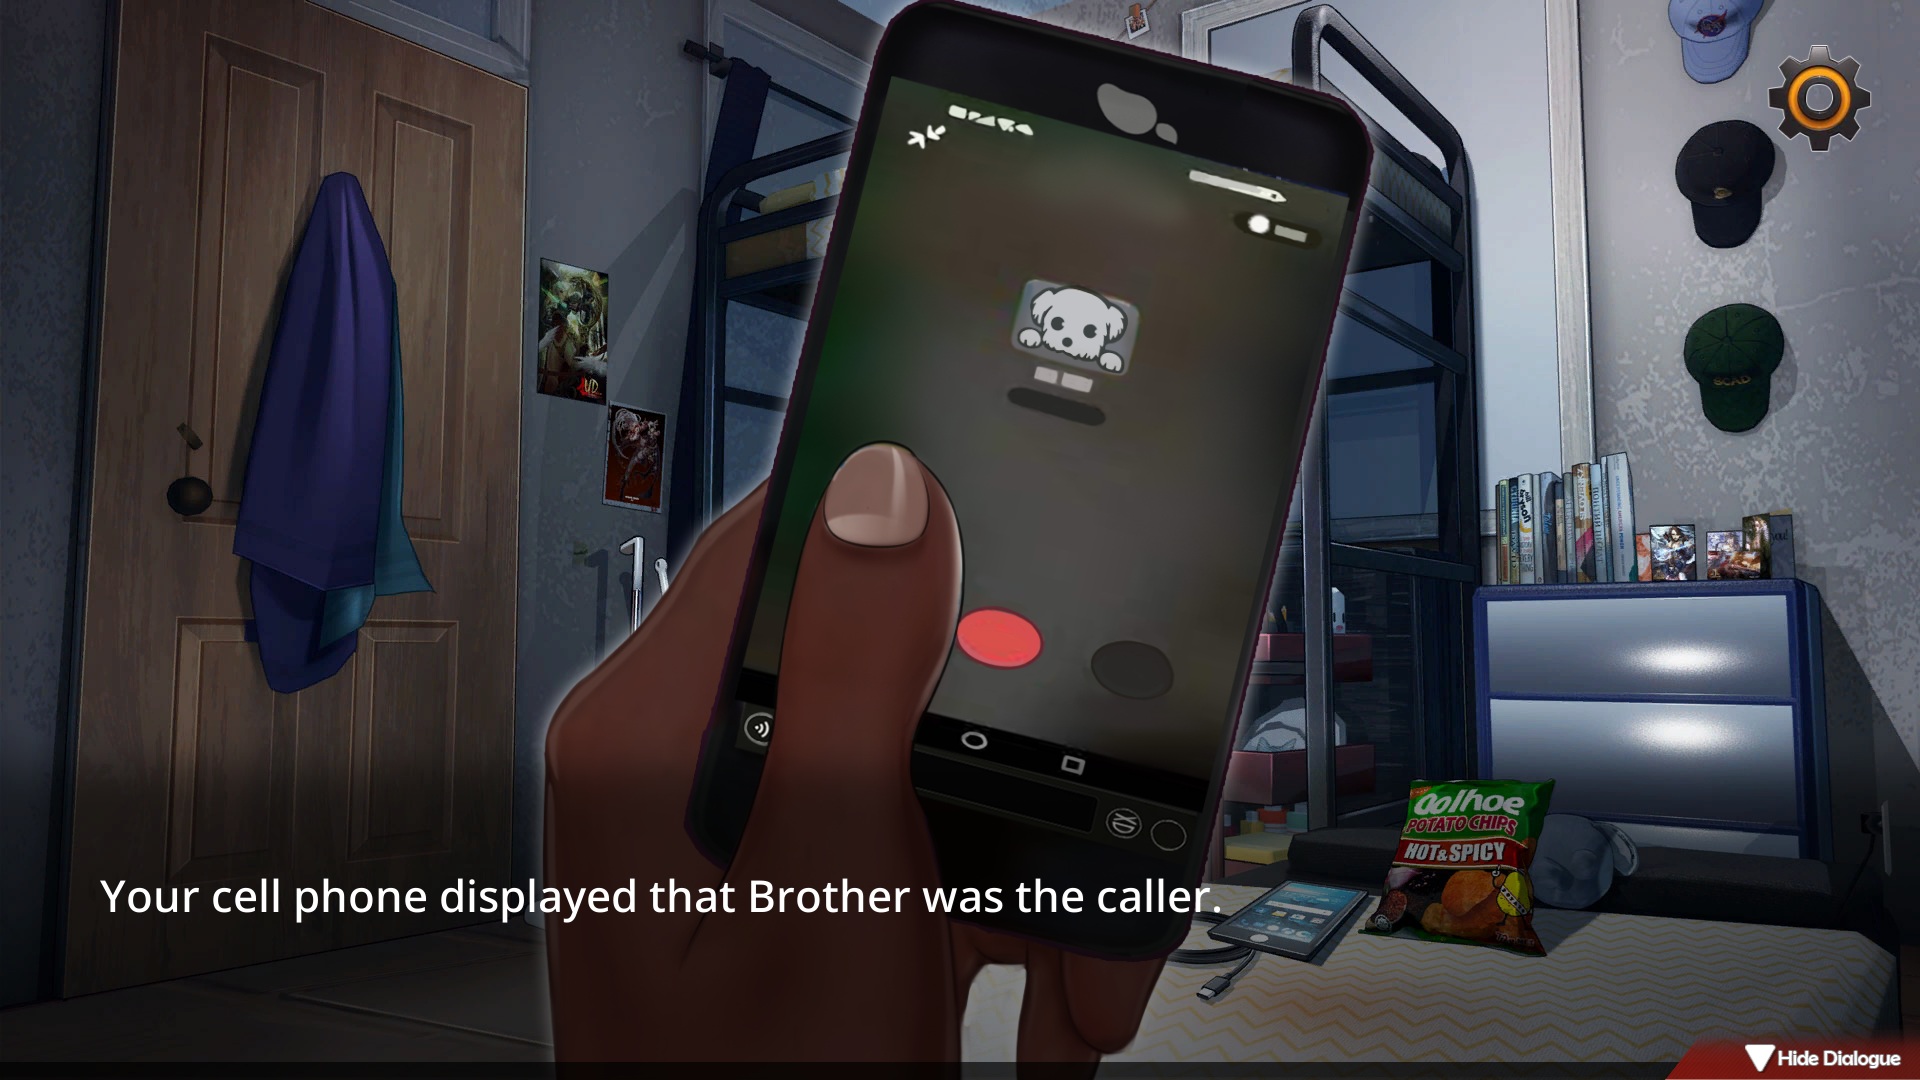
You’ve got a bro named “John” who calls you up in clutch time, yelling to haul ass to the safehouse.
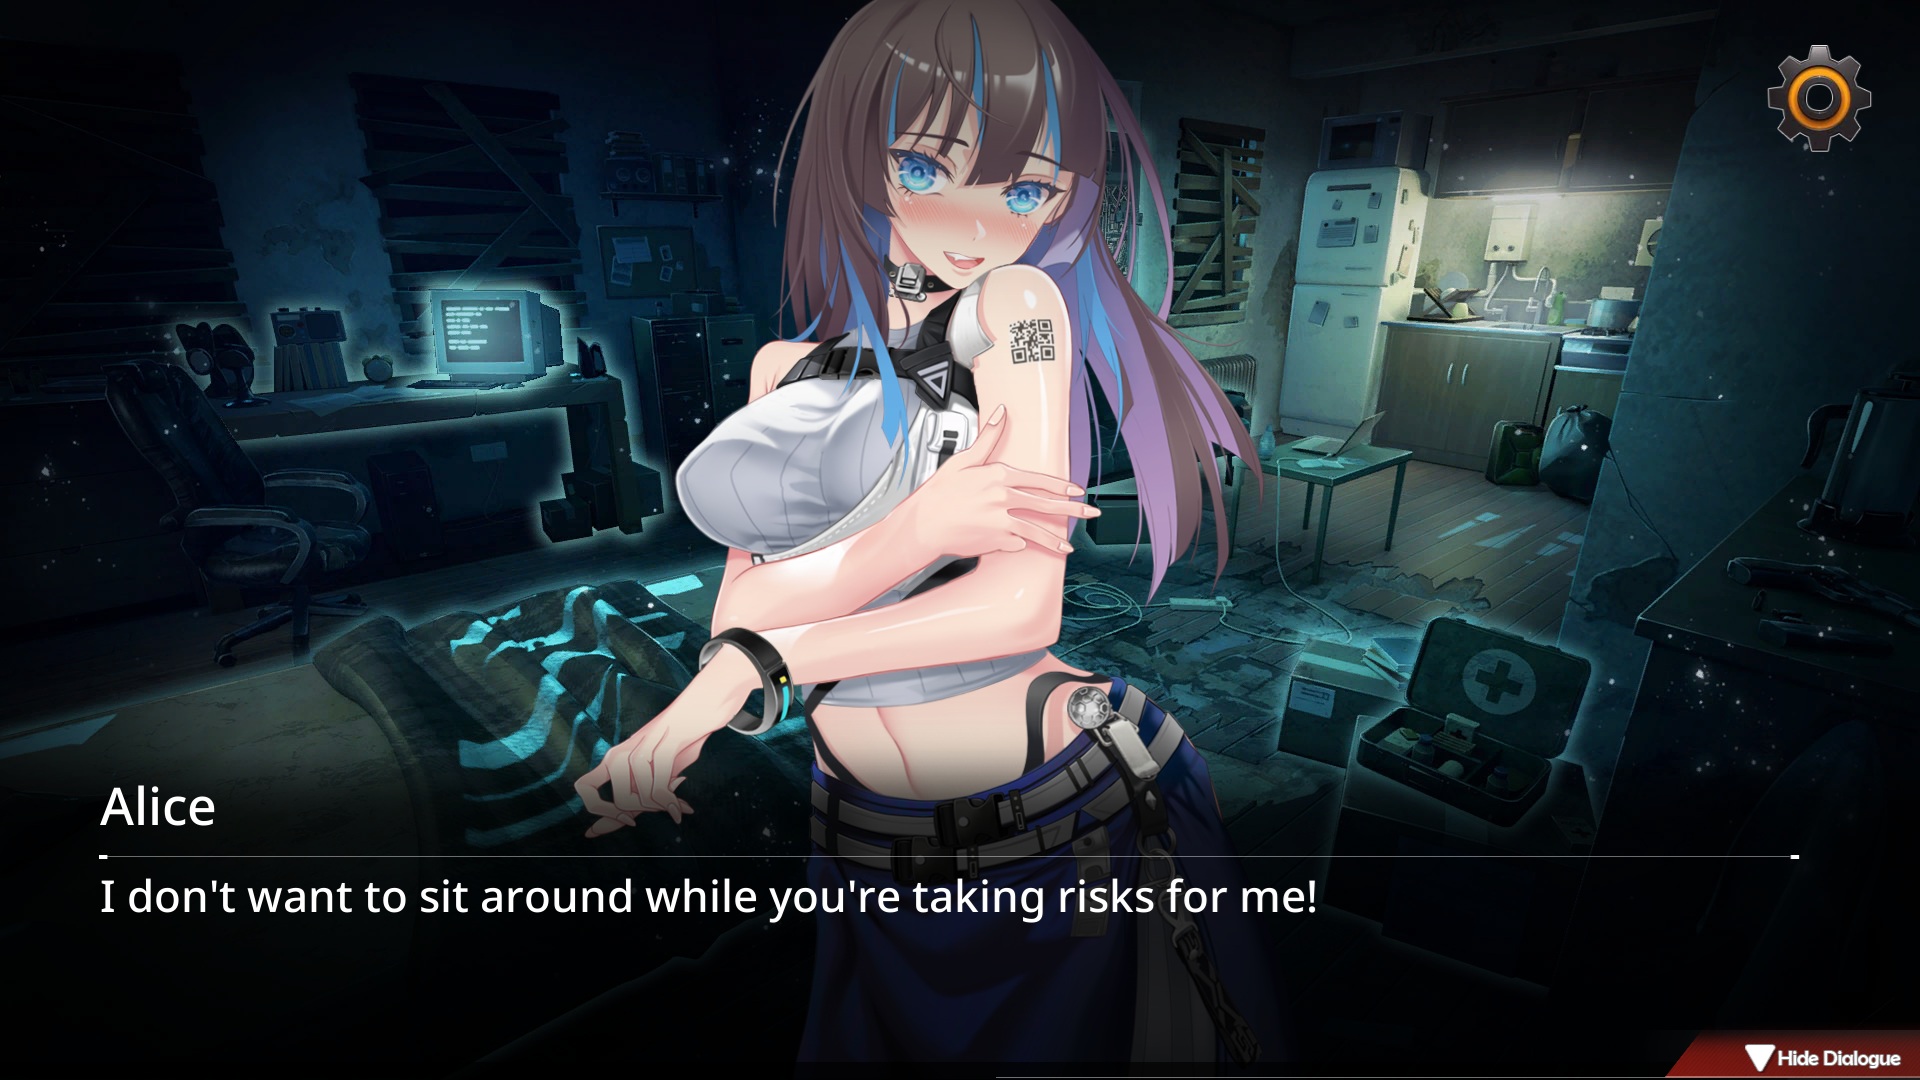
But when you get there, first thing on your mind ain’t John—it’s your childhood bestie “Alice.”
Guess family ties don’t stand a chance against some spicy vibes, huh!?

Game kicks off with a bang—hot visuals and killer sound effects.
Makes you wanna dive in and get busy ASAP (wink).
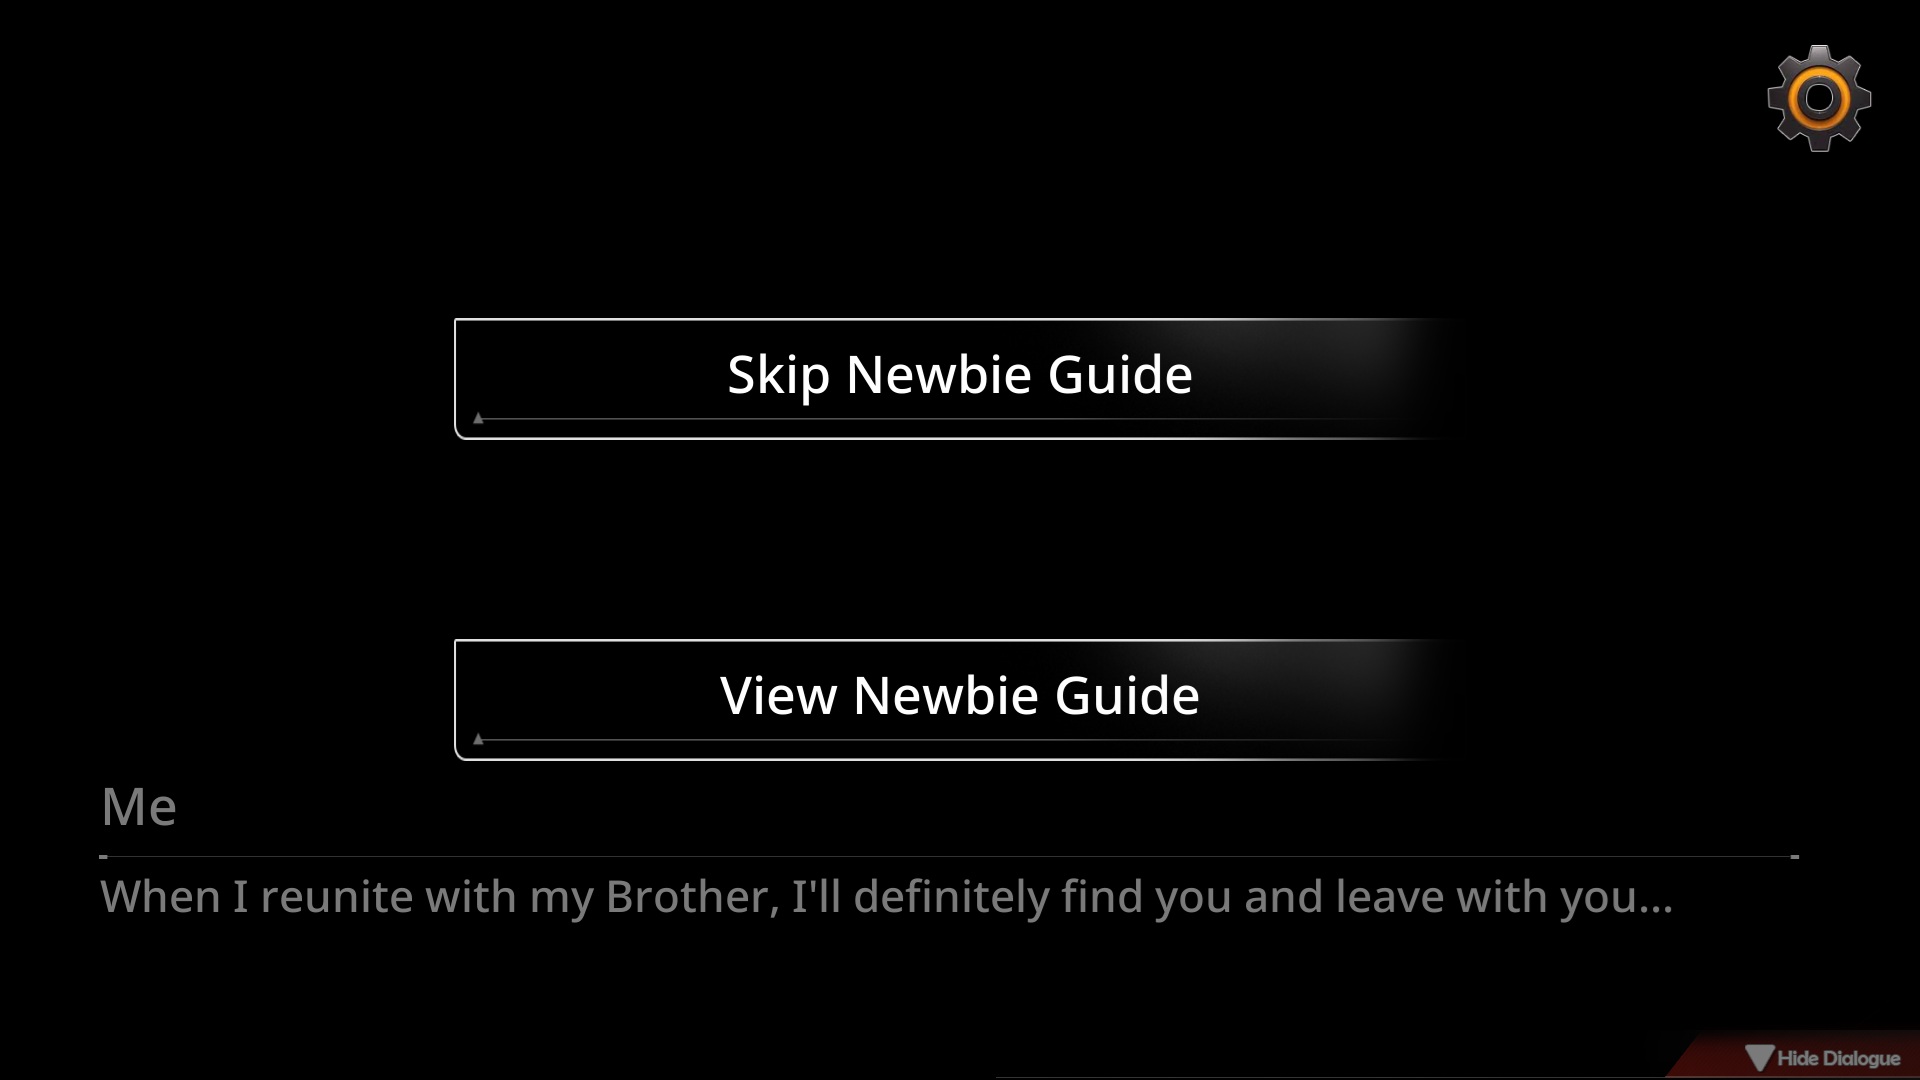
Plot jumps straight into a tutorial. If you’re down to skim my guide, I swear you can hit “skip” no sweat—I accidentally spilled too many pro tips.
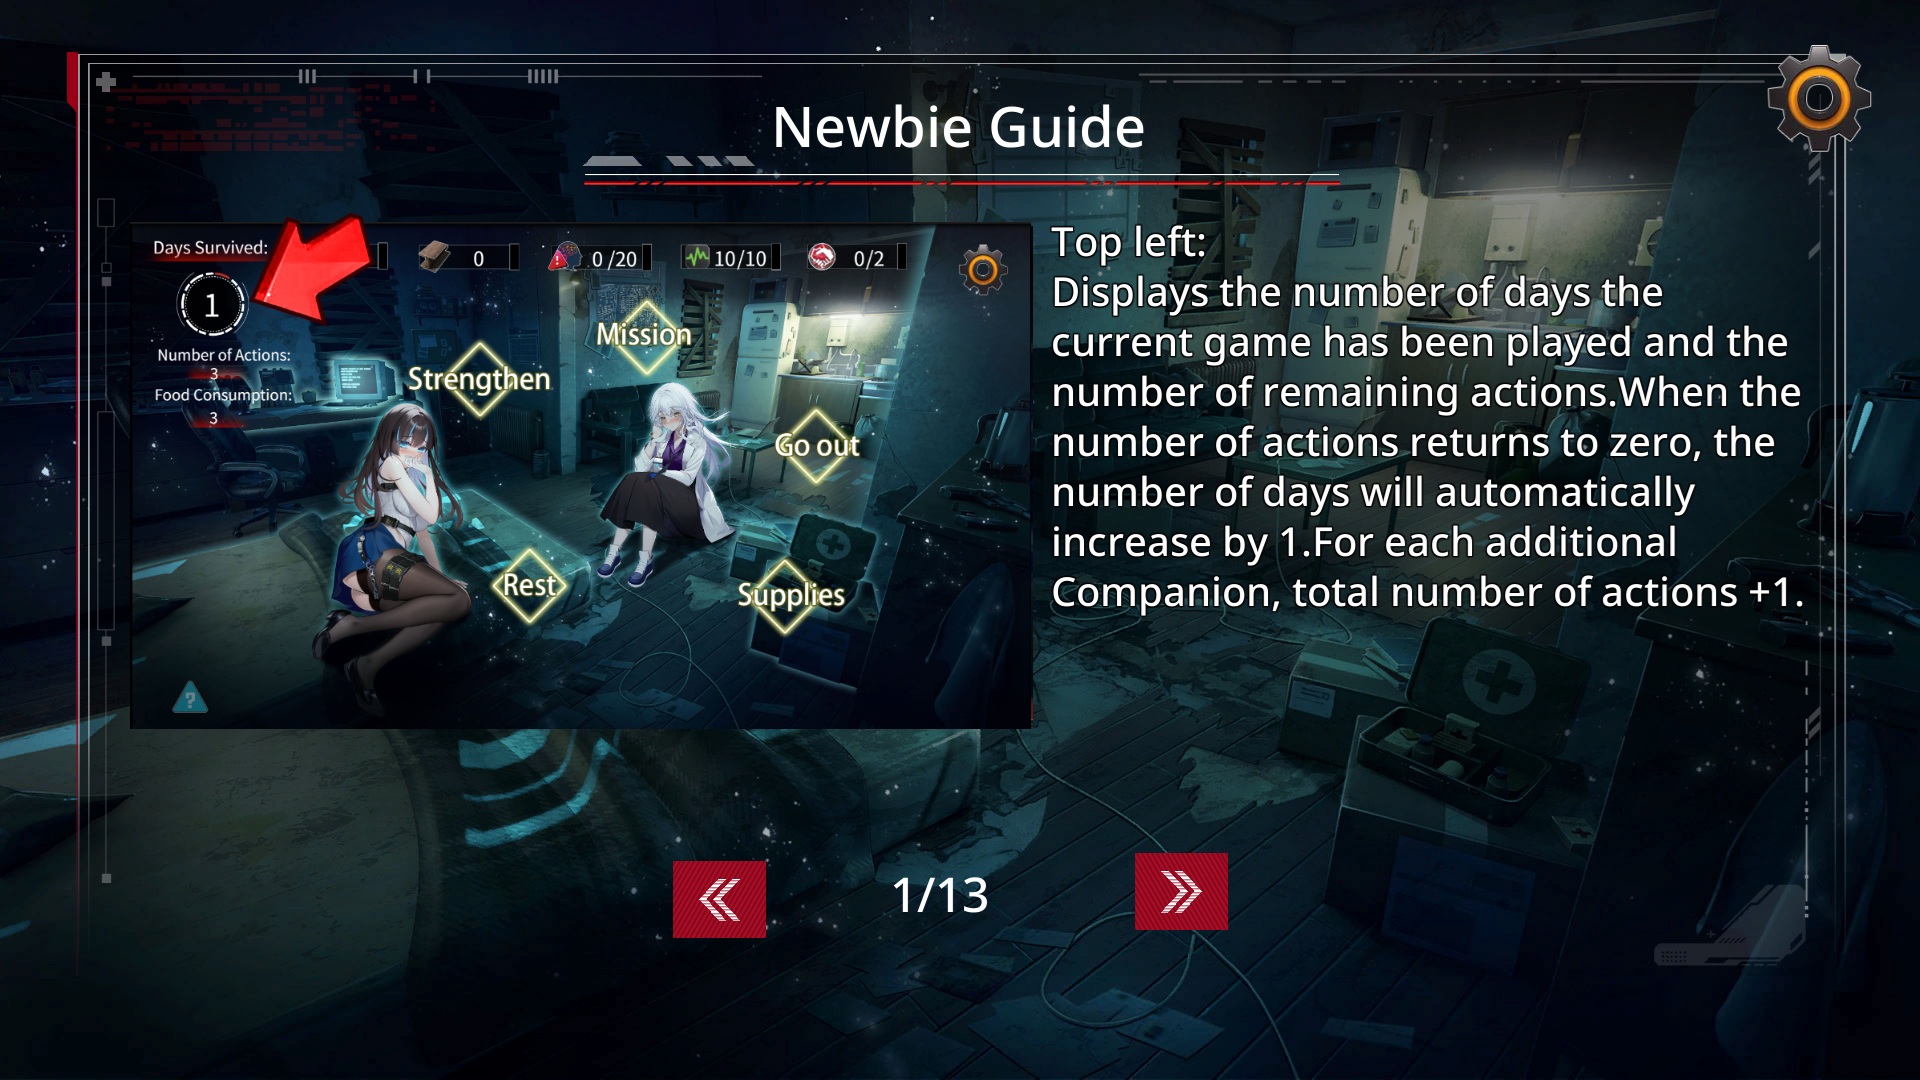

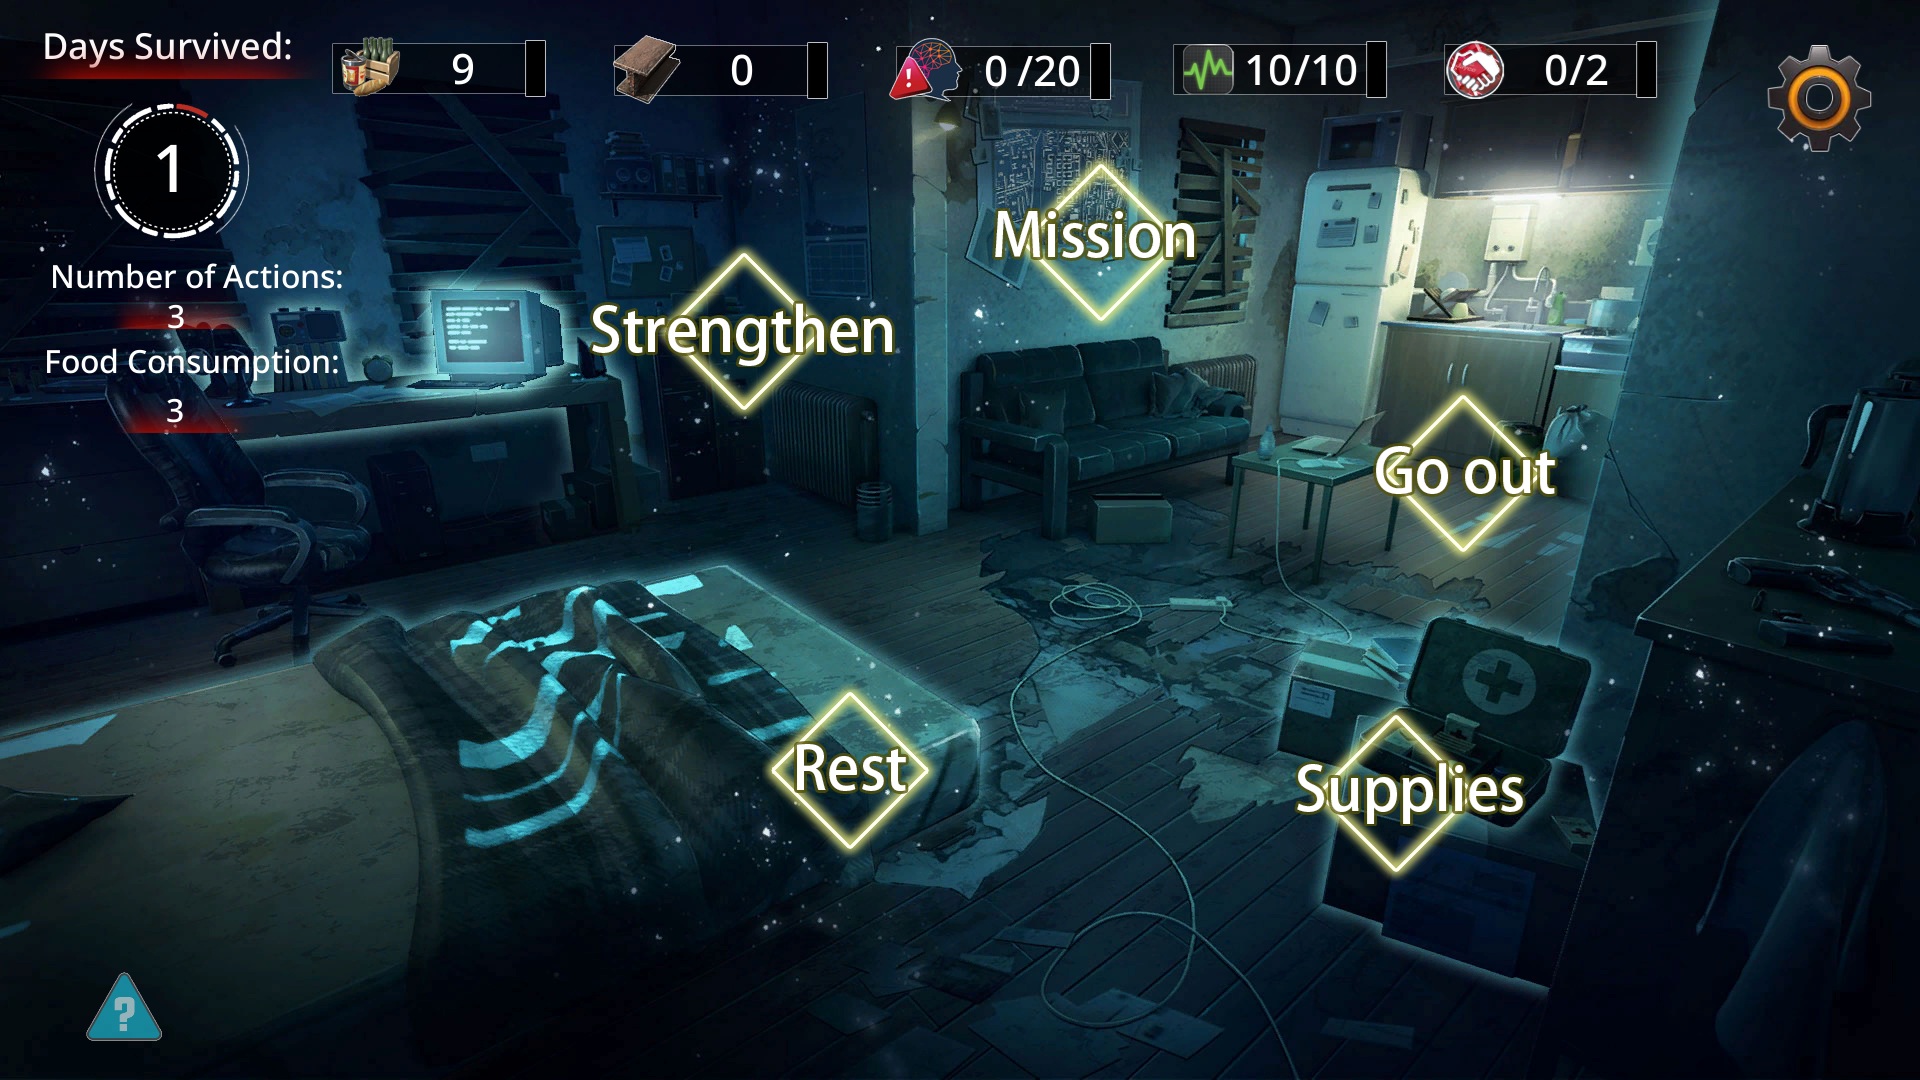
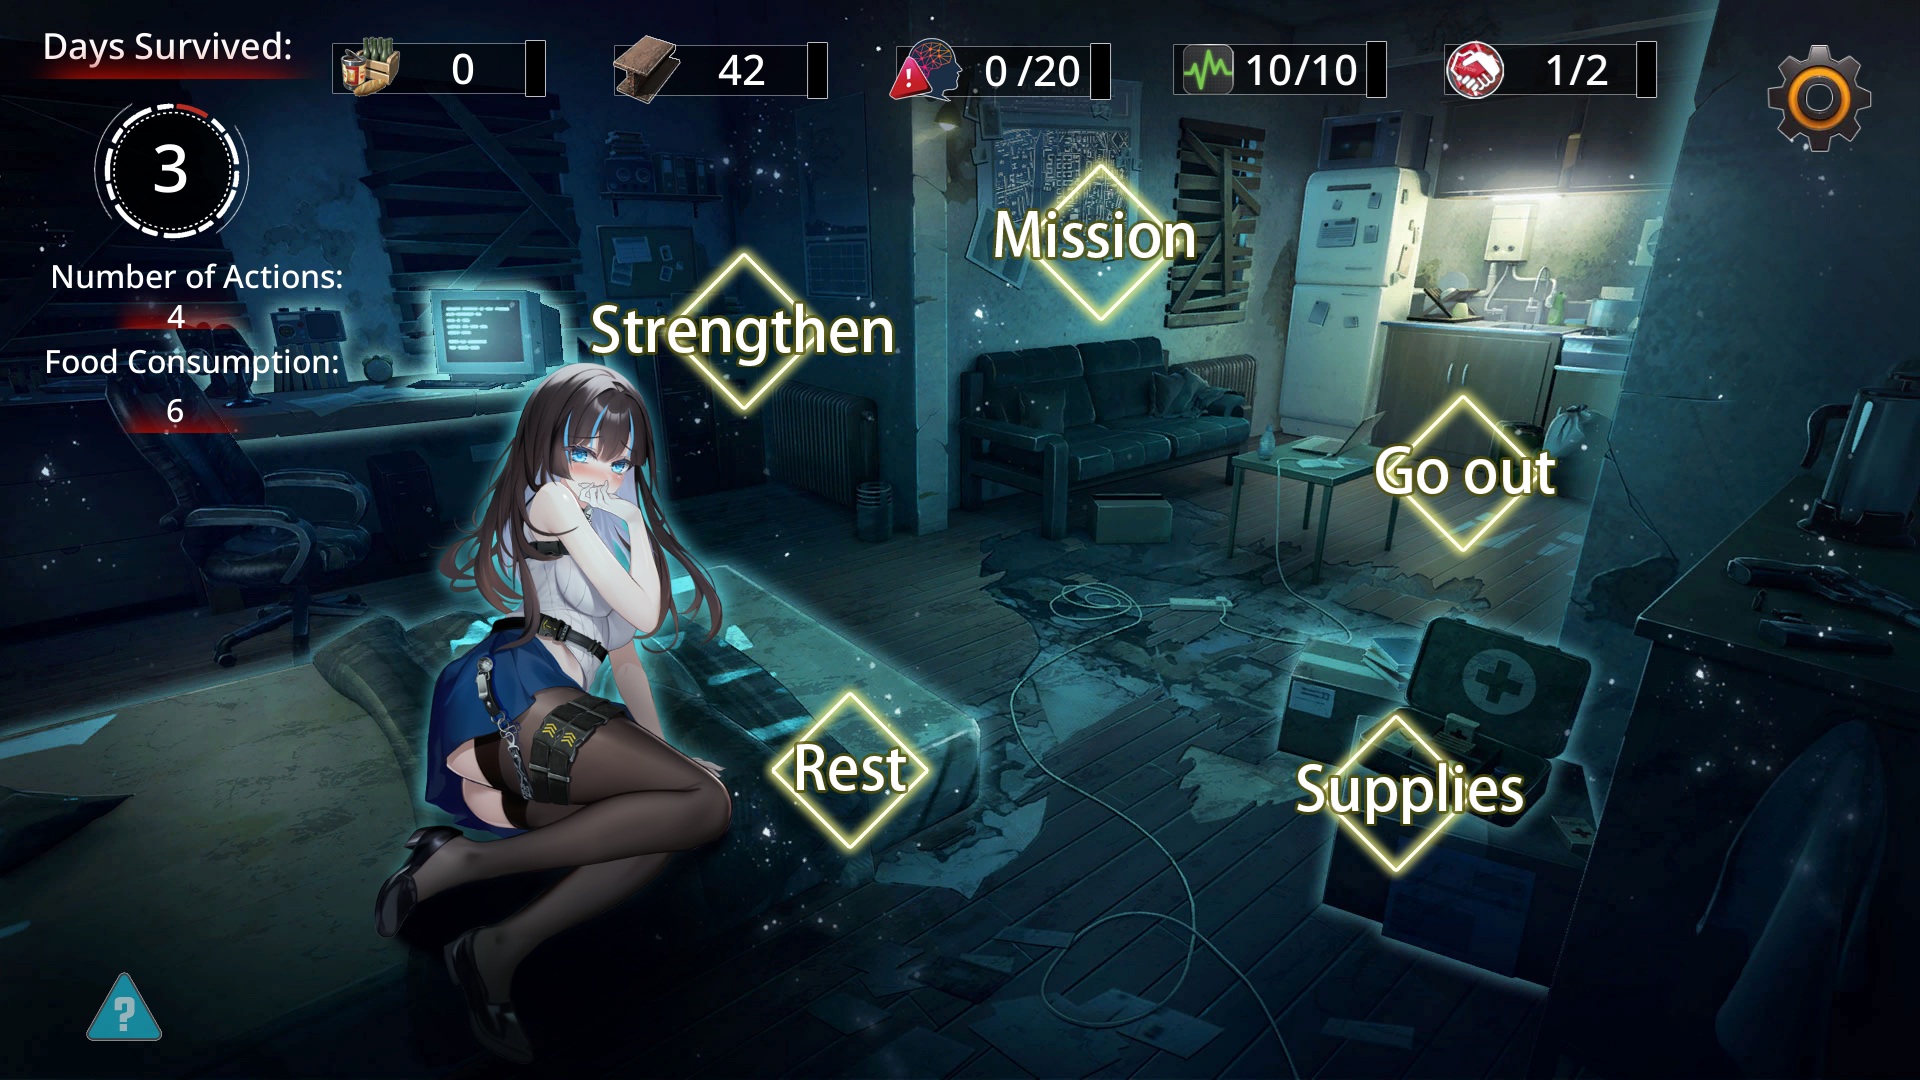
Top-Left Basics
You’ve got survival days and action points up there.
Big tip: snag a teammate, and you score an extra action point.
Quick heads-up:
Solo action points breakdown:
- Day 1: 3 moves
- Day 2: 2 moves (plot knocks you out)
- Day 3: 3 moves
With a squad (1 or 2 peeps):
- Day 1: 3 moves
- Day 2: 2 moves (plot snooze again)
- Day 3: 4 moves
Main UI stuff: Upgrade / Missions / Explore / Inventory / Rest
- Explore | Hit the road to grab gear, meds, and building stuff.
- Upgrade | Use your haul to beef up the safehouse.
- Missions | Peek at CG unlock conditions and spots.
- Rest | Burns an action point but drops “Stress” by 1, boosts “Health” by 1.
- Inventory | Check what’s in your stash (gear, meds, materials).
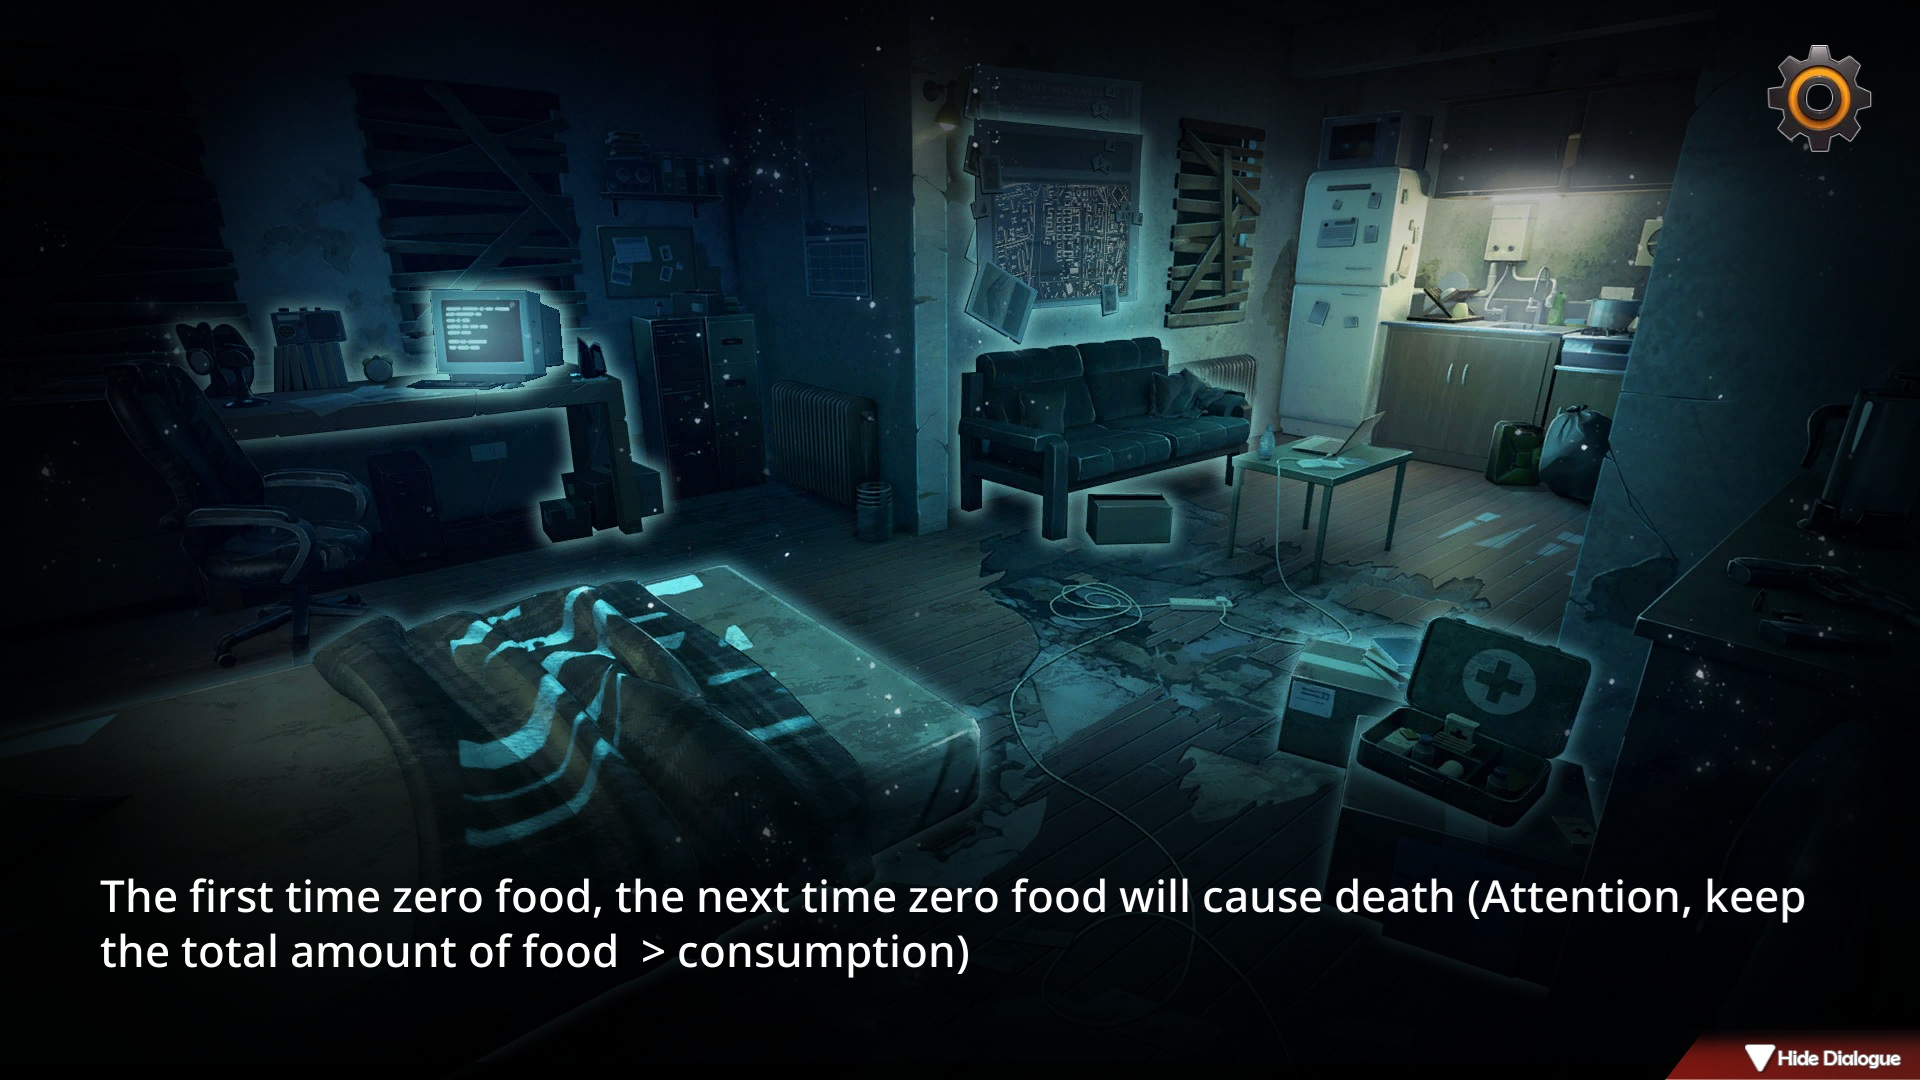
There’s a little lifeline—first time food hits zero, you get an extra day to recover.
But if you wake up Day 2 with nada, you better hustle to the commercial zone for grub, or it’s game over—starve city, bad end!

Status Bar
Left to right: Food / Resources / Stress / Health / Crew Size
- Food | Everyone chows down 3 units a day—hit zero, and it’s curtains.
- Resources | Stuff you scavenge to level up the safehouse.
- Stress | Randomly climbs 1-2 daily—too high, no exploring. Chill with meds, rest, or some “fun.”
- Health | Drops 1 randomly now and then—too low, you’re grounded. Fix with meds, rest, or “fun.”
- Crew Size | Just a headcount, maxes at 2.
(More deets and strats coming in the second half!)
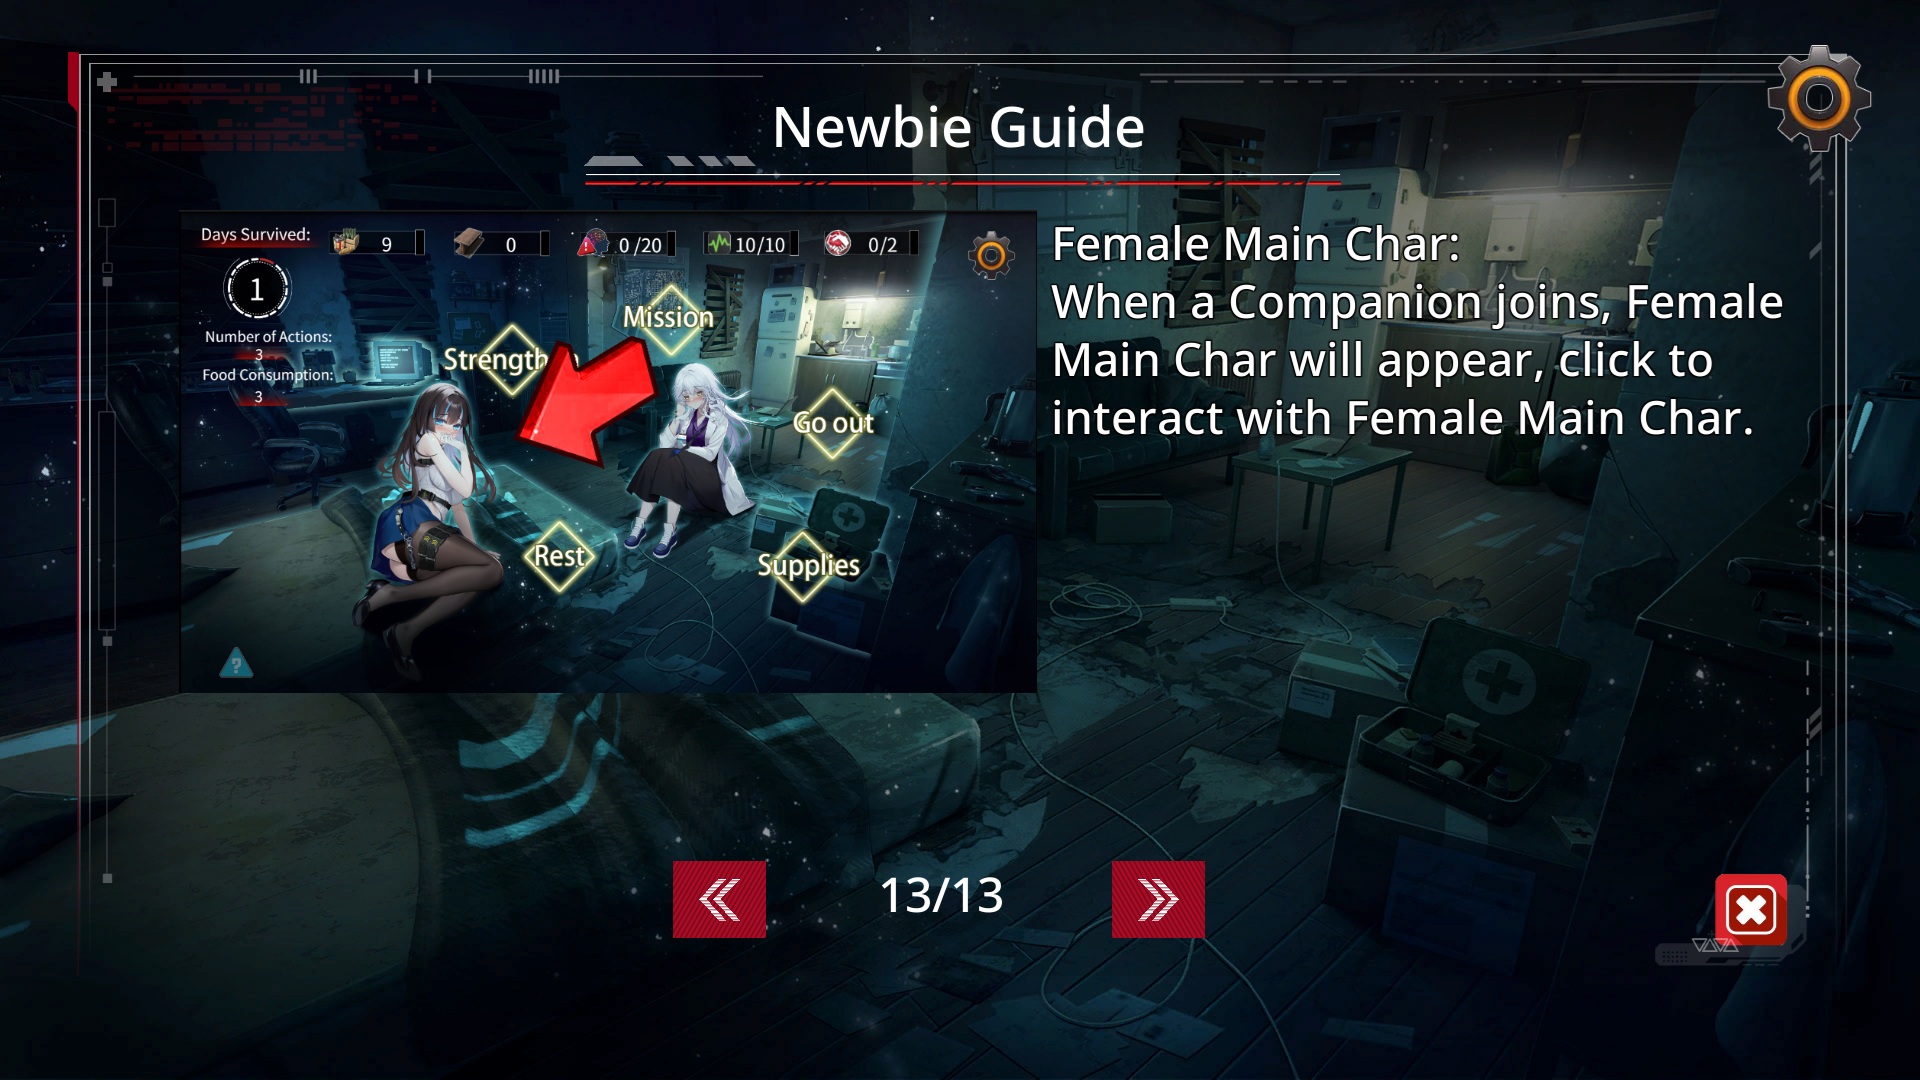
Once your crew’s in, you’ll see the girls pop up on-screen—click to chat.
Day 1 though? You’re staring at an empty crib, obviously.
One tweak from the UI intro:
“Some stats cap out.”
Like Stress maxes at 20, Health at 10, Crew at 2.
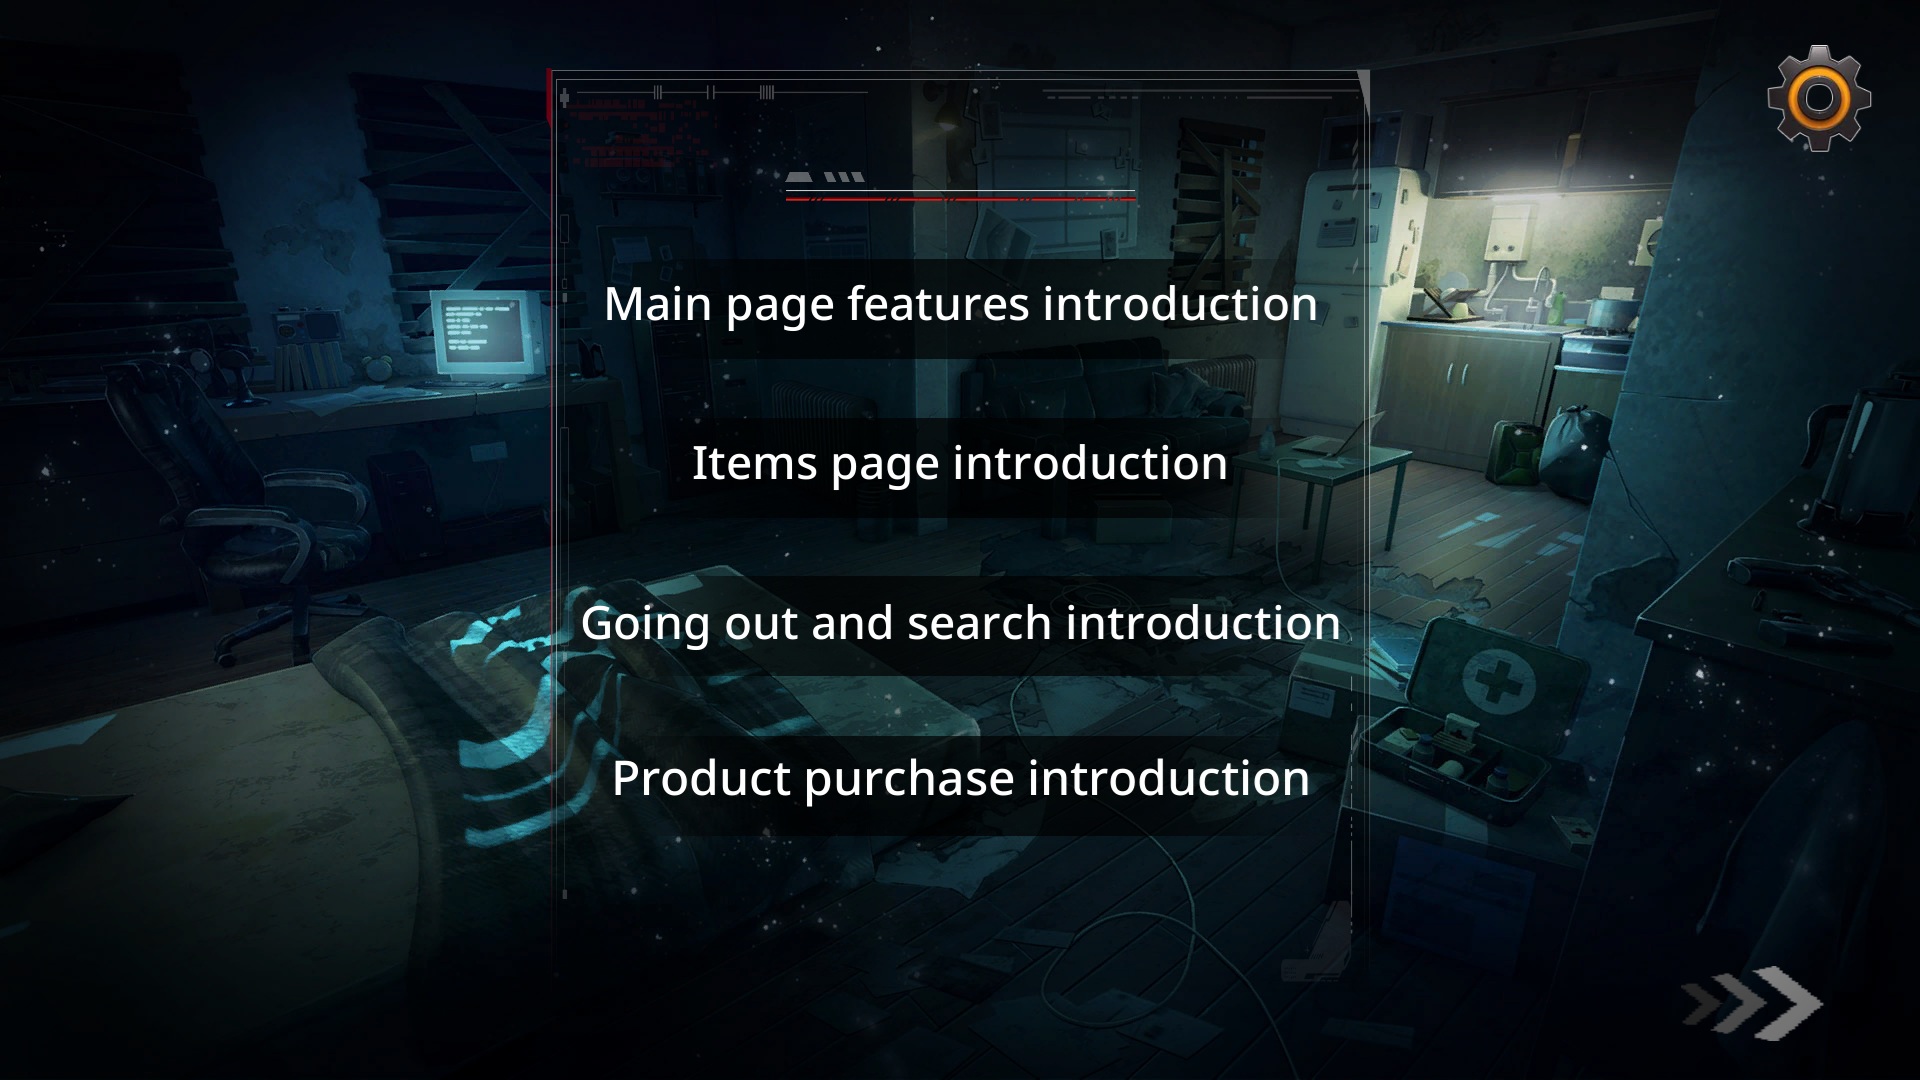
Bottom-left’s got a triangle question mark—game got you stumped?
Pop it open early for a rundown on everything.
It’s got extra info to get you rolling, but no rush—check it when you’re lost.
Every feature’s got a newbie tutorial the first time anyway—no worries about missing the memo.
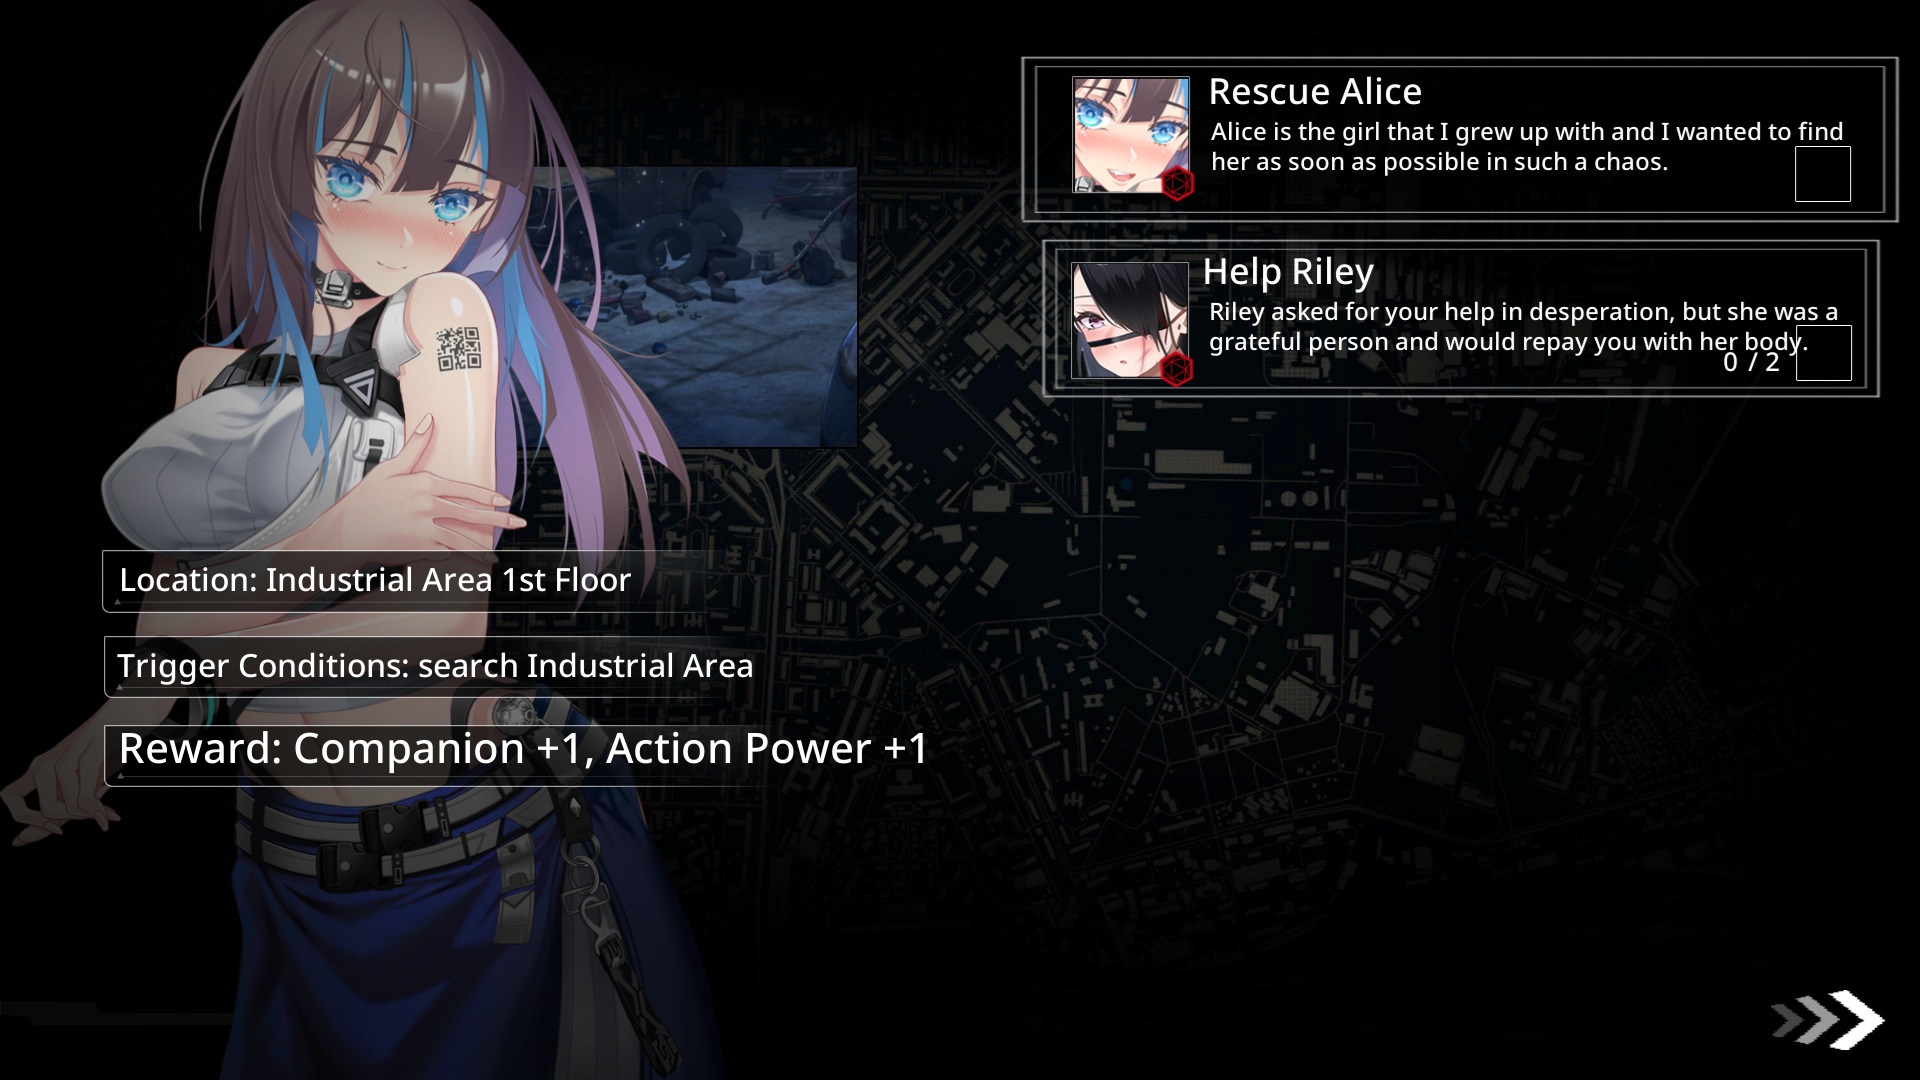
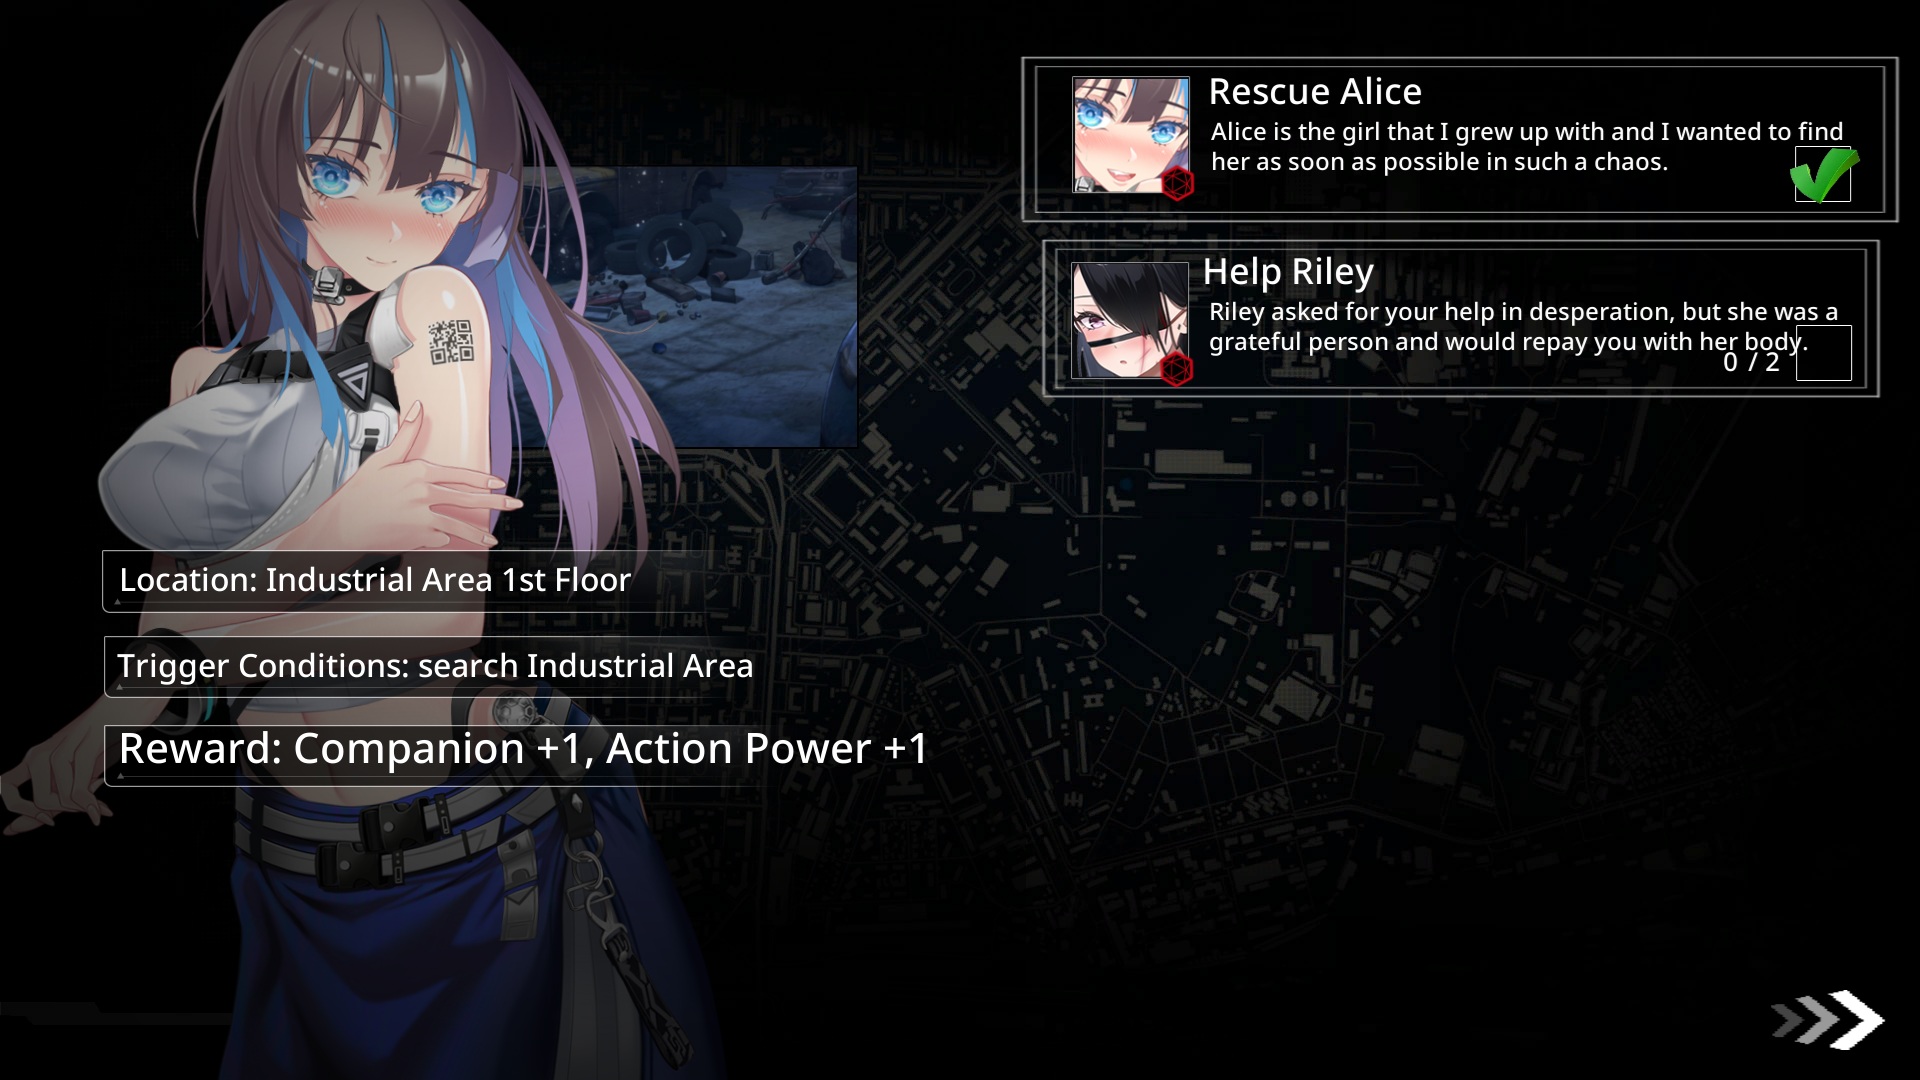
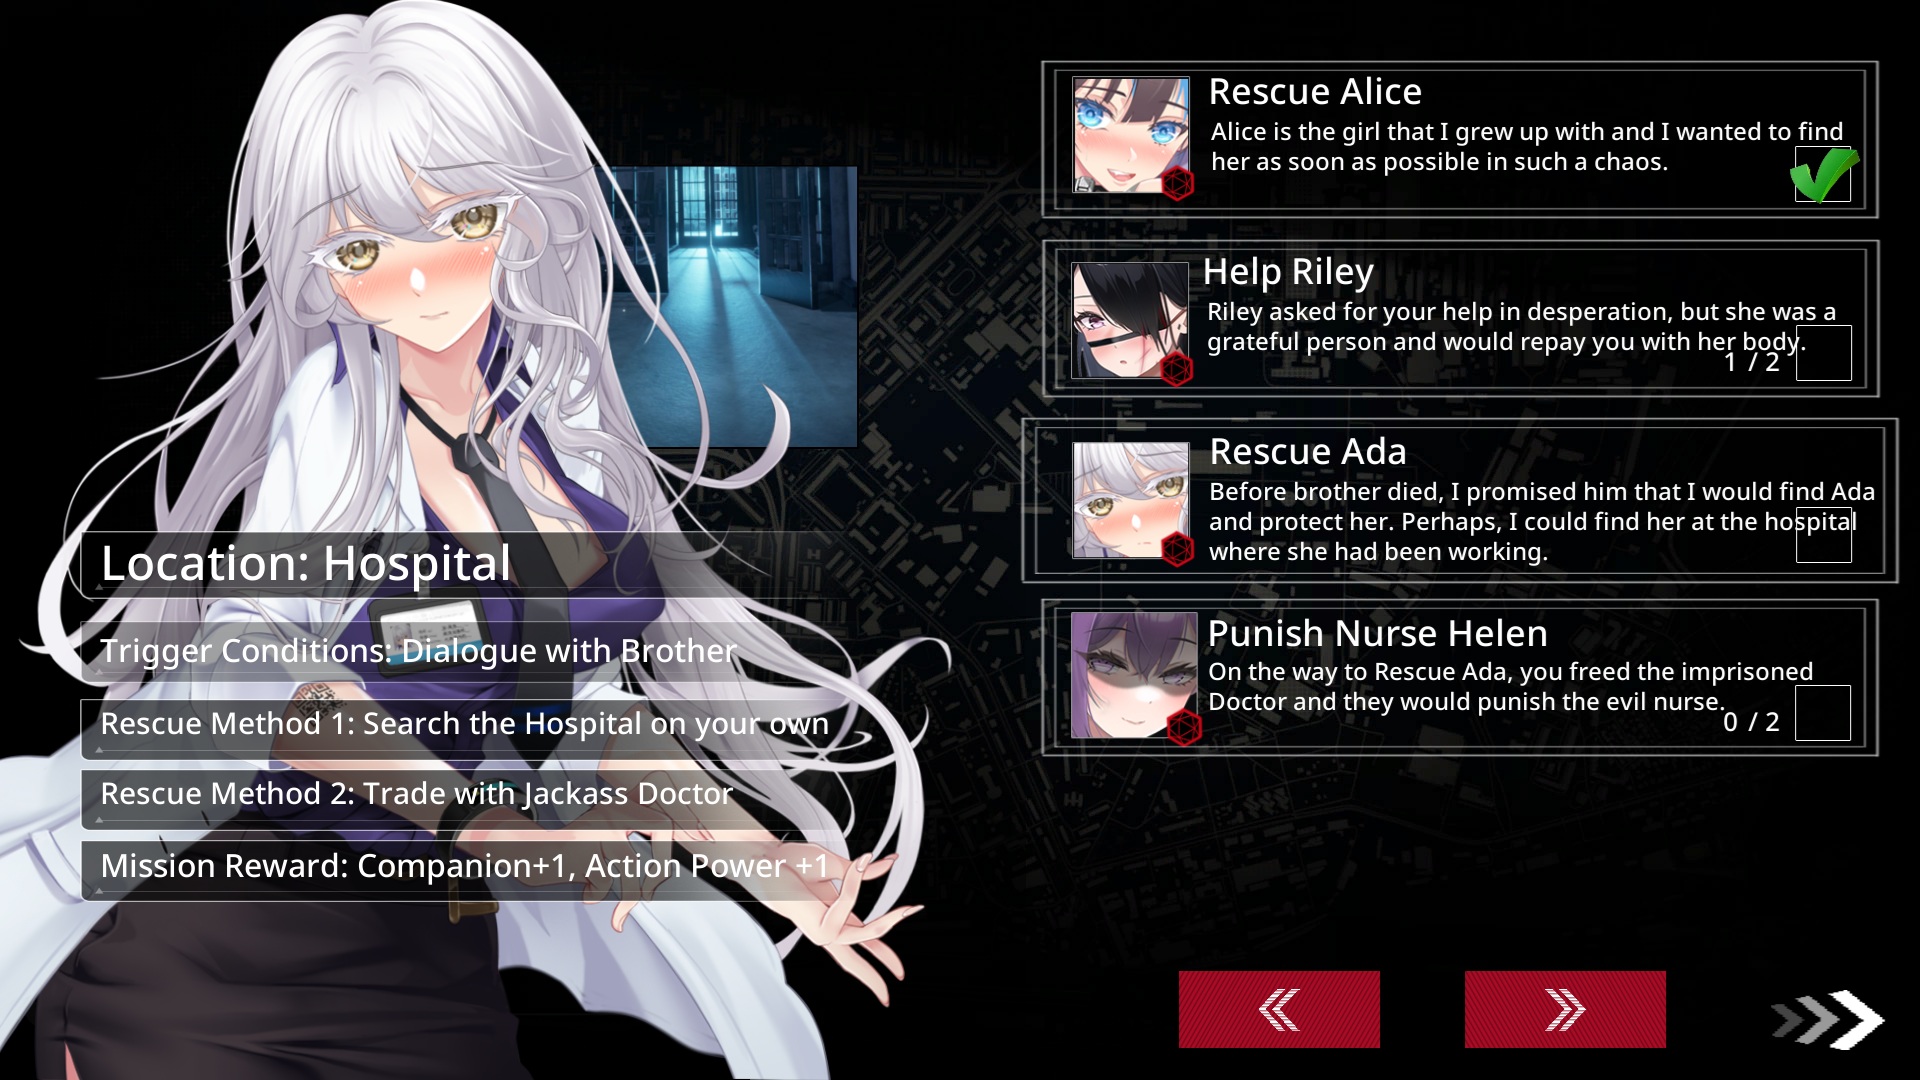
Missions – Main Game Goals
Clear all the missions to unlock more goodies.
Grab teammates, and you’ll snag bonus loot too.
Trigger conditions are spelled out clear as day, so beating it ain’t rocket science.
Done a mission? Green checkmark pops up—easy peasy.
▲ Heads-up:
- Starting gear’s got a crowbar—bumps your fight power by 10 (55 to 65). Don’t sleep on it and waste stuff.
- Grab a teammate early—more action points, baby.
- Two playstyles here:
a. More crew = more munching.
Solo the basic plot—like slums and commercial zones—to save food. Add peeps only if you’re getting wrecked (or chasing CGs).
b. Stack teammates for extra moves.
Blitz through everything—food runs dry, just hit the commercial zone. (For CG speedruns, go this route—recruit, chat ‘em up, and “bond” for the win.)
As the story rolls, Day 5 your bro John shows up at the safehouse and bites it.
But he drops a new mission hint—later ones keep popping up with the plot.
Gotta say, John, you died for nothing… total NPC move.
Day 6, bam, new mission alert.
There’s 9 goals total, unlocking as you play and explore.
To dodge spoilers, pics show just 7 missions.
(Oh, and a bug—why’s it teasing a hidden mission 0/2 already?)
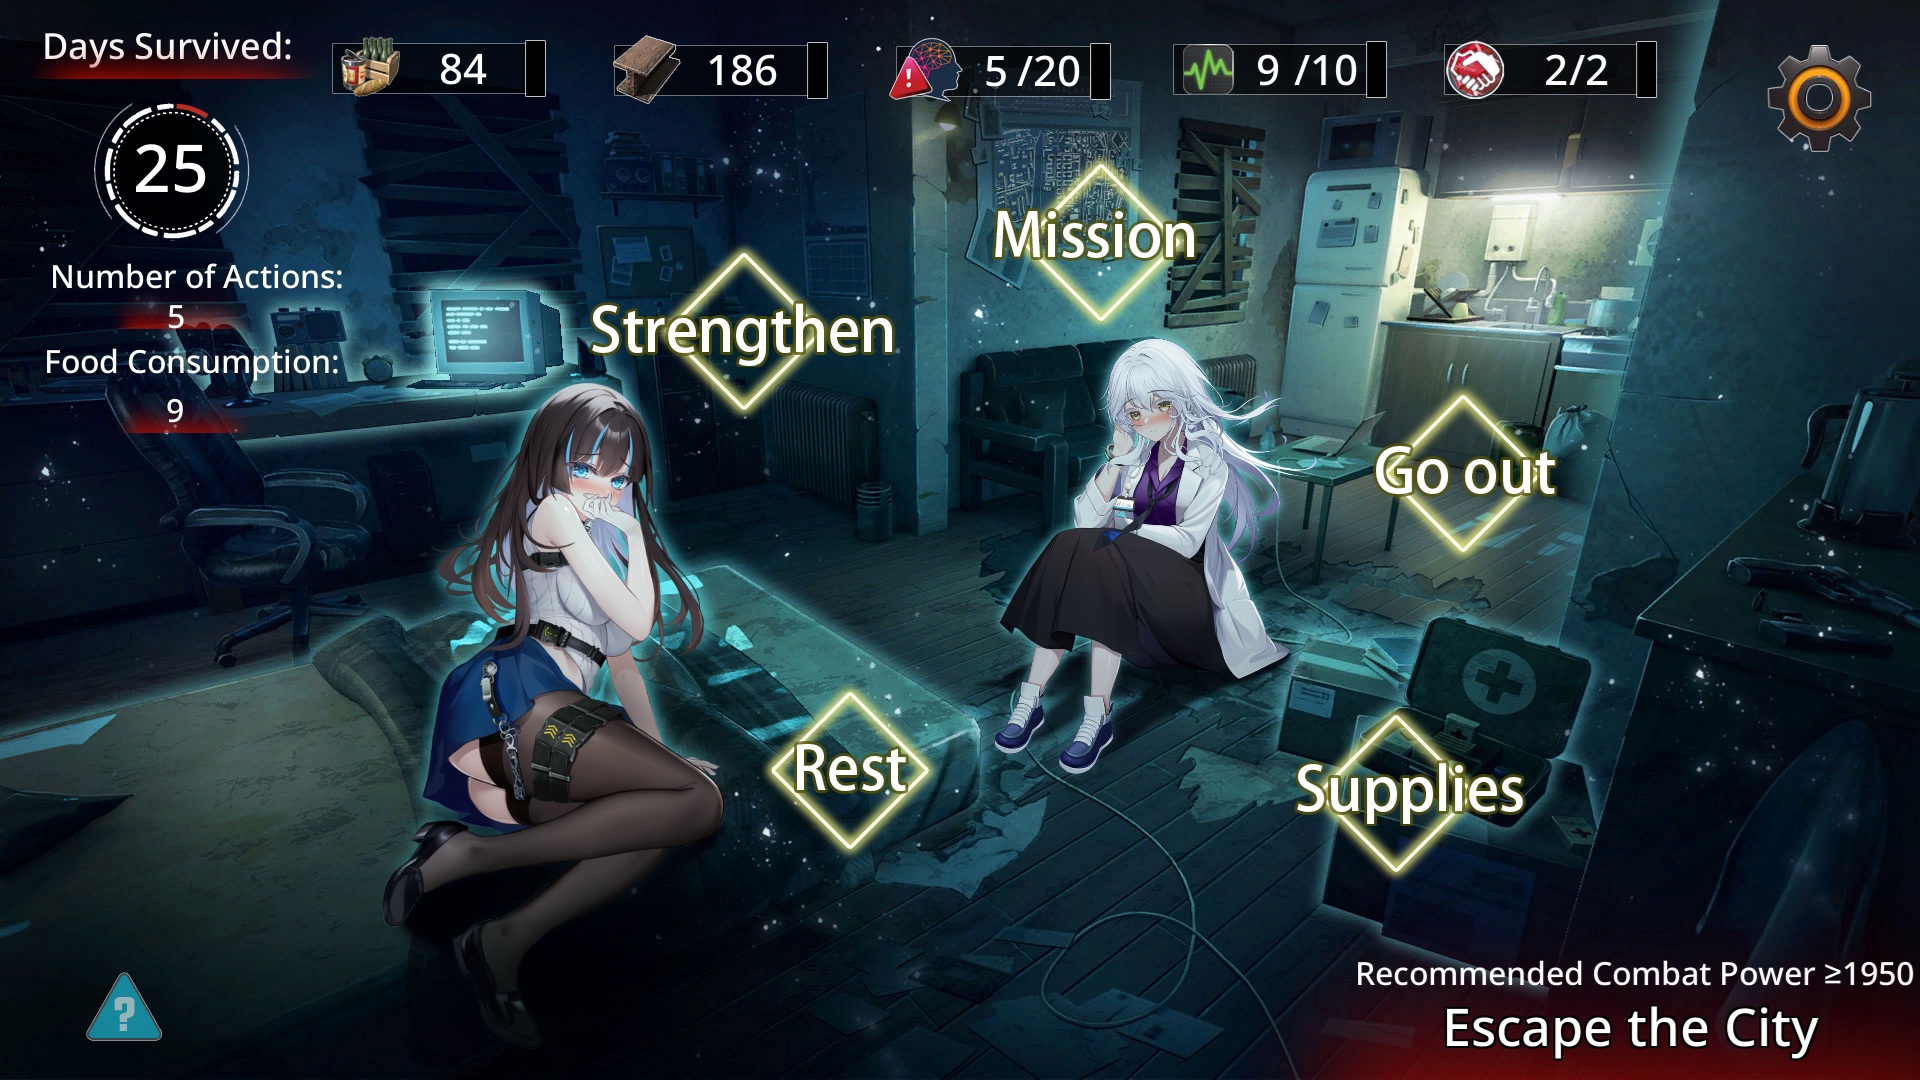
Around Day 25, most players clear the three zones.
Triggers a new plot—experiment flops, time to bounce from the city!!
But you need 1950+ combat power, so gear’s gotta be top-notch.
Power’s your dude plus both girls combined.
Score three badass gear sets, and you’re golden.
Slight spoiler: no day limit—play forever if your food holds out.
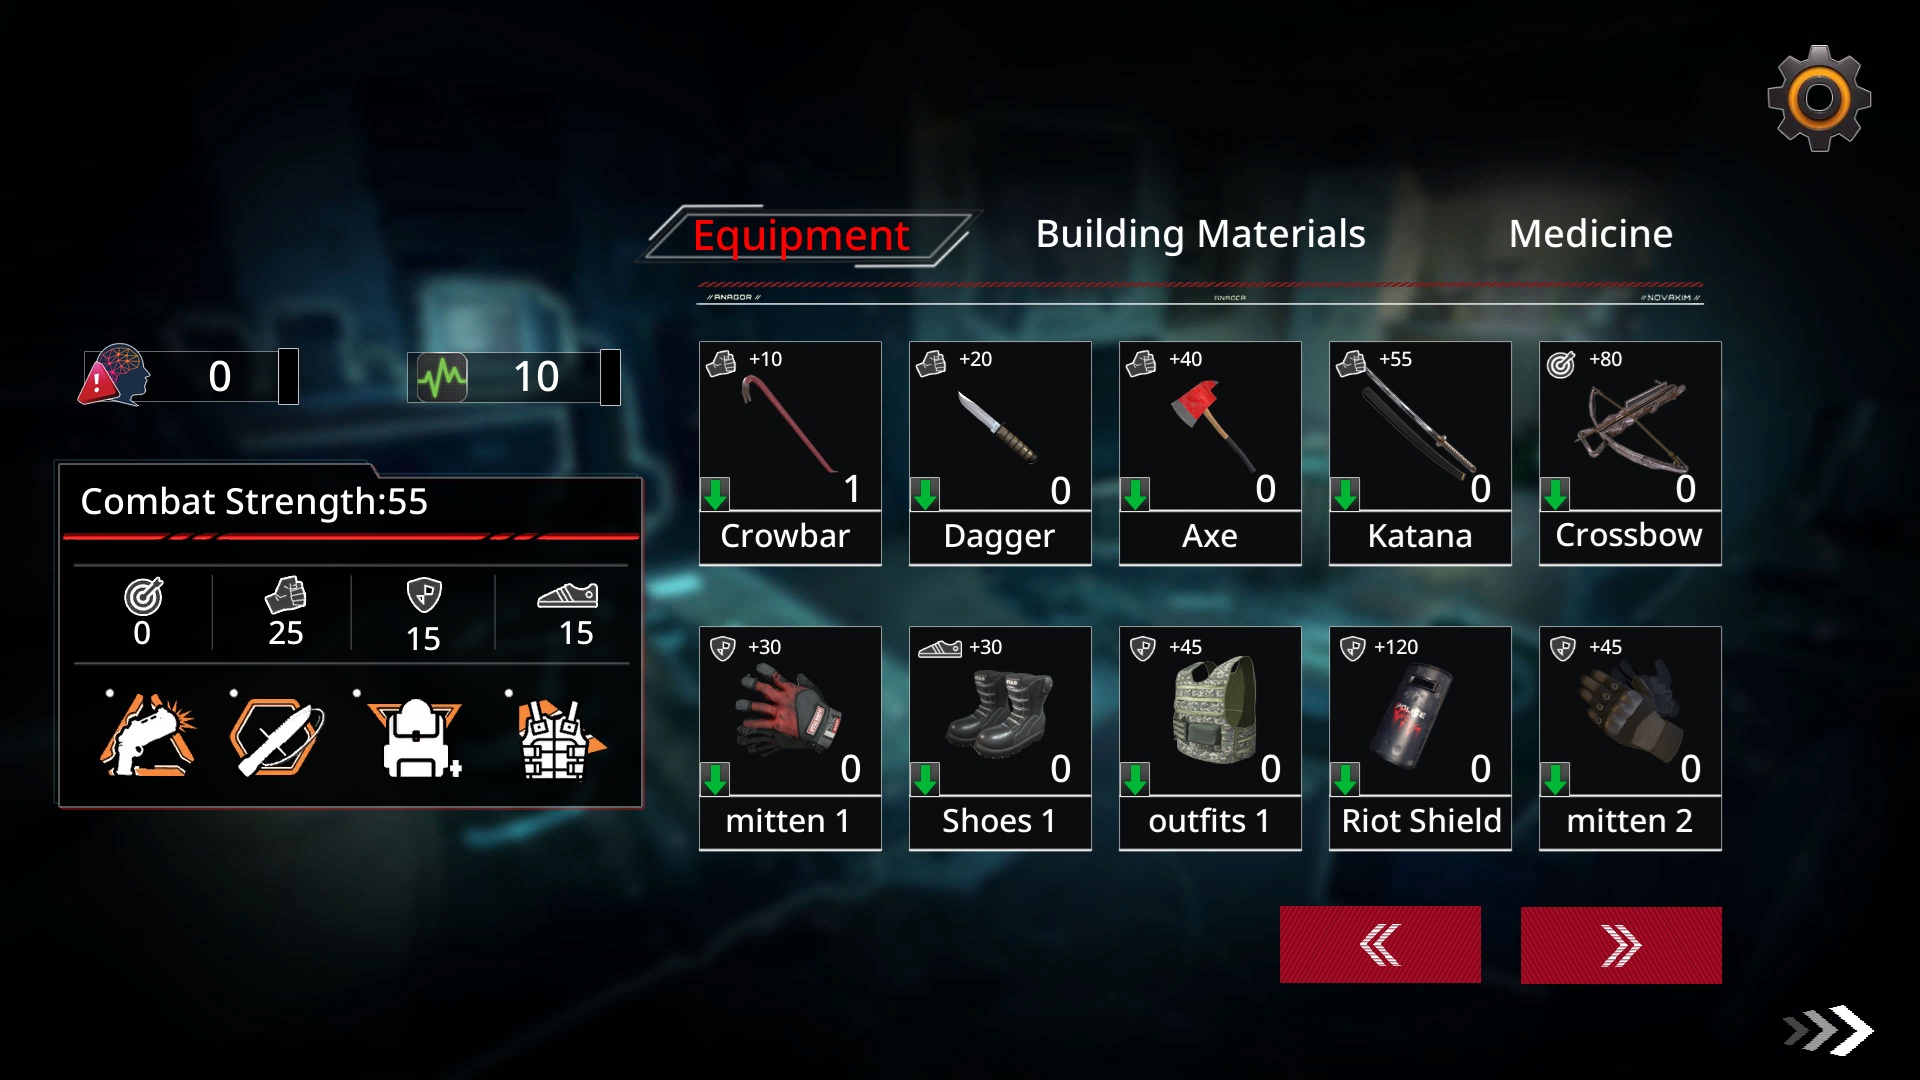
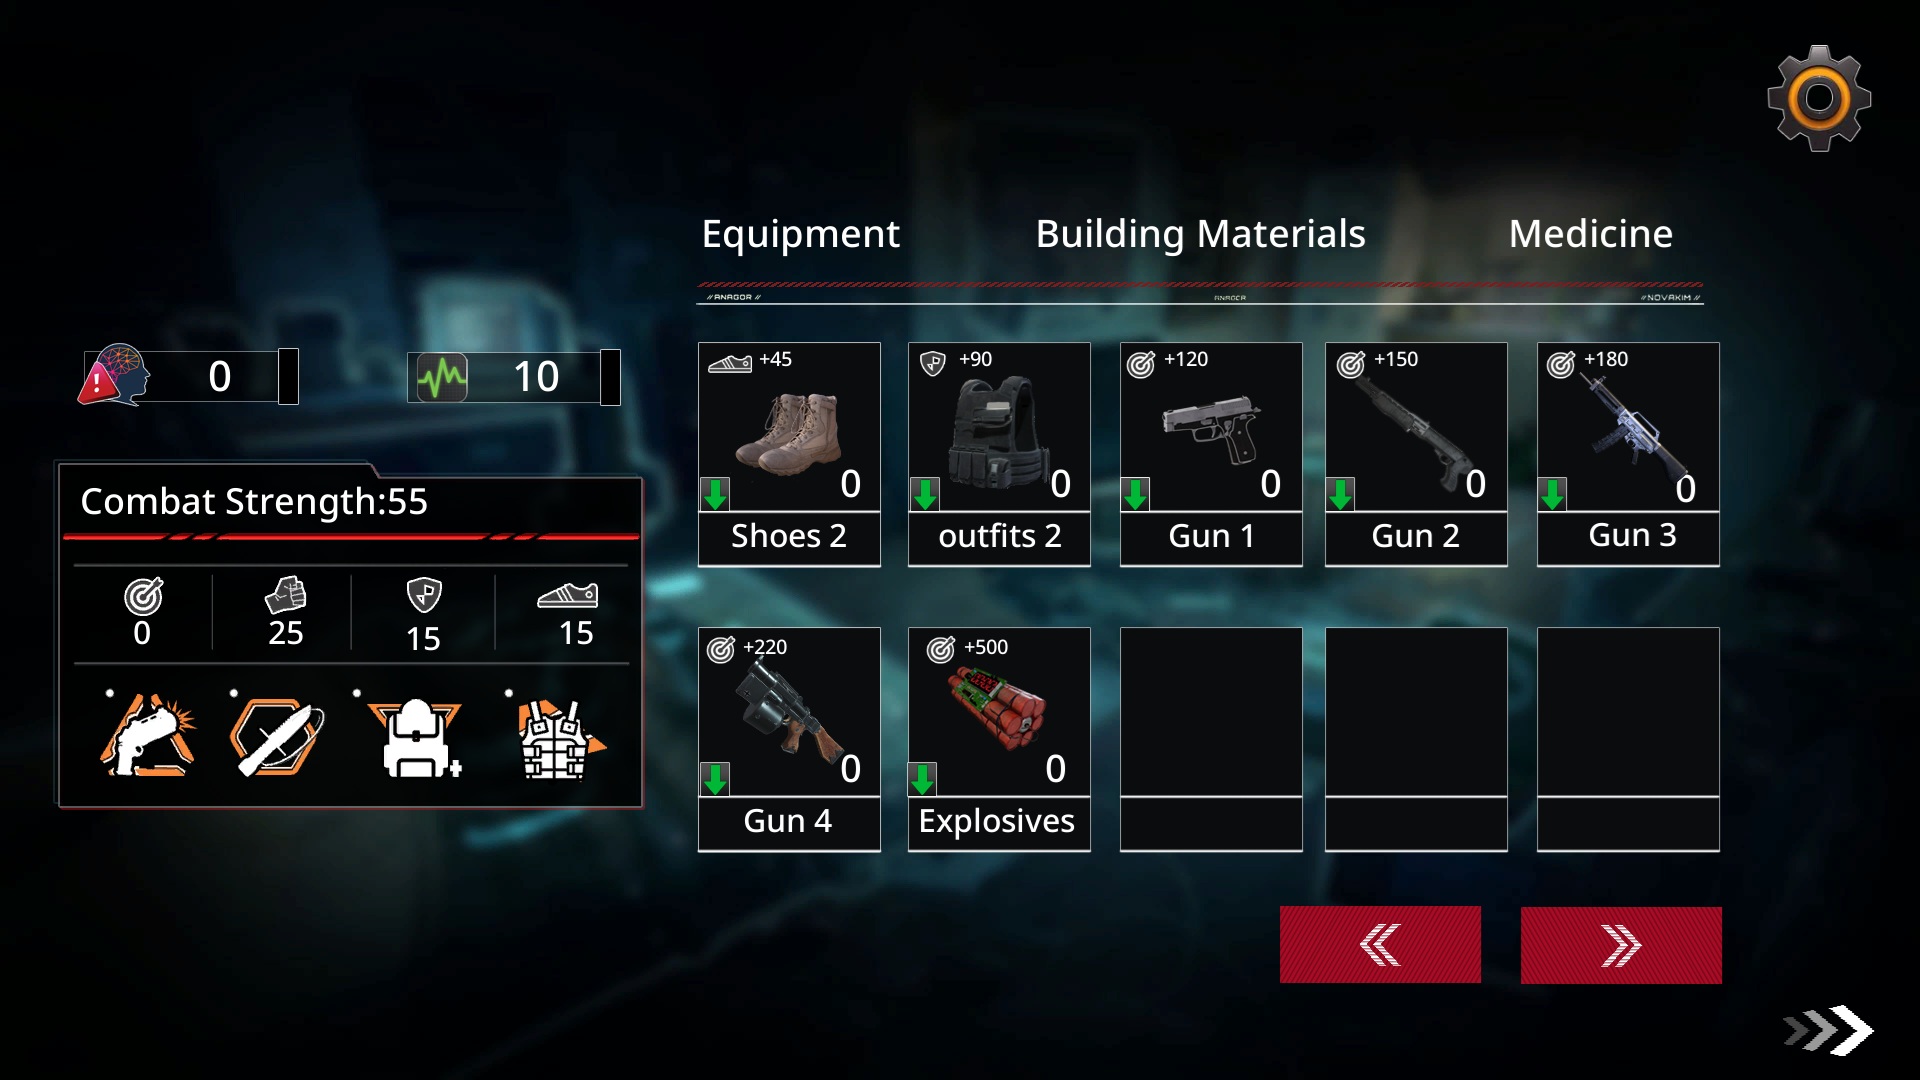
Inventory – Check Your Loot (Gear, Materials, Meds)
Gear Stuff
Like I said, check and equip your stuff (E).
Equipping’s a breeze—like any mobile game, tap the icon.
(Once equipped, an “E” tags the top-right corner—no pic needed, right?)
To ditch gear, hit the green down arrow bottom-left.
Watch out:
“Close” and “Ranged” weapons can roll together.
Like starting with “Crowbar + Crossbow” or “Katana + Crossbow.”
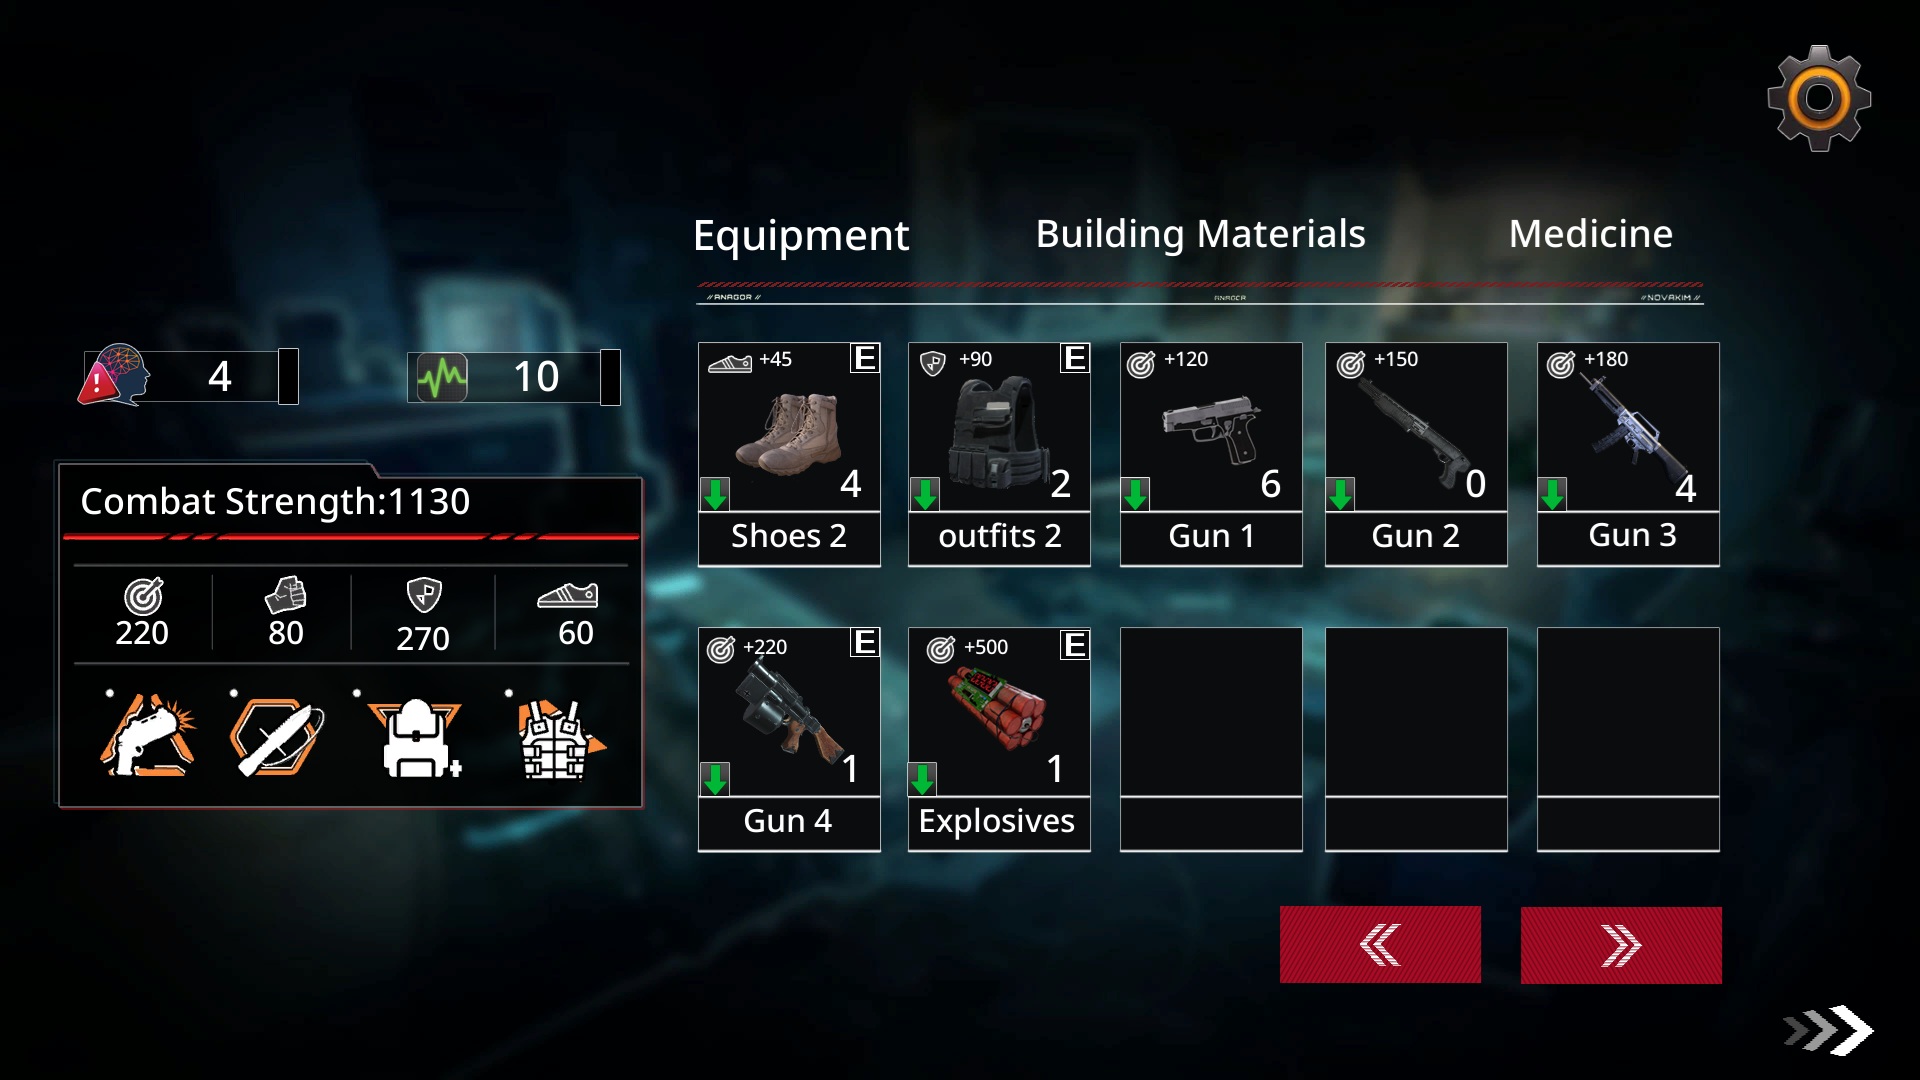
Dude maxes at 1130 combat power with the best gear.
(Katana + Riot Shield + Tactical Gloves + Combat Boots + Bulletproof Vest + Grenade Launcher + Explosives)
Still 820 shy of 1950.
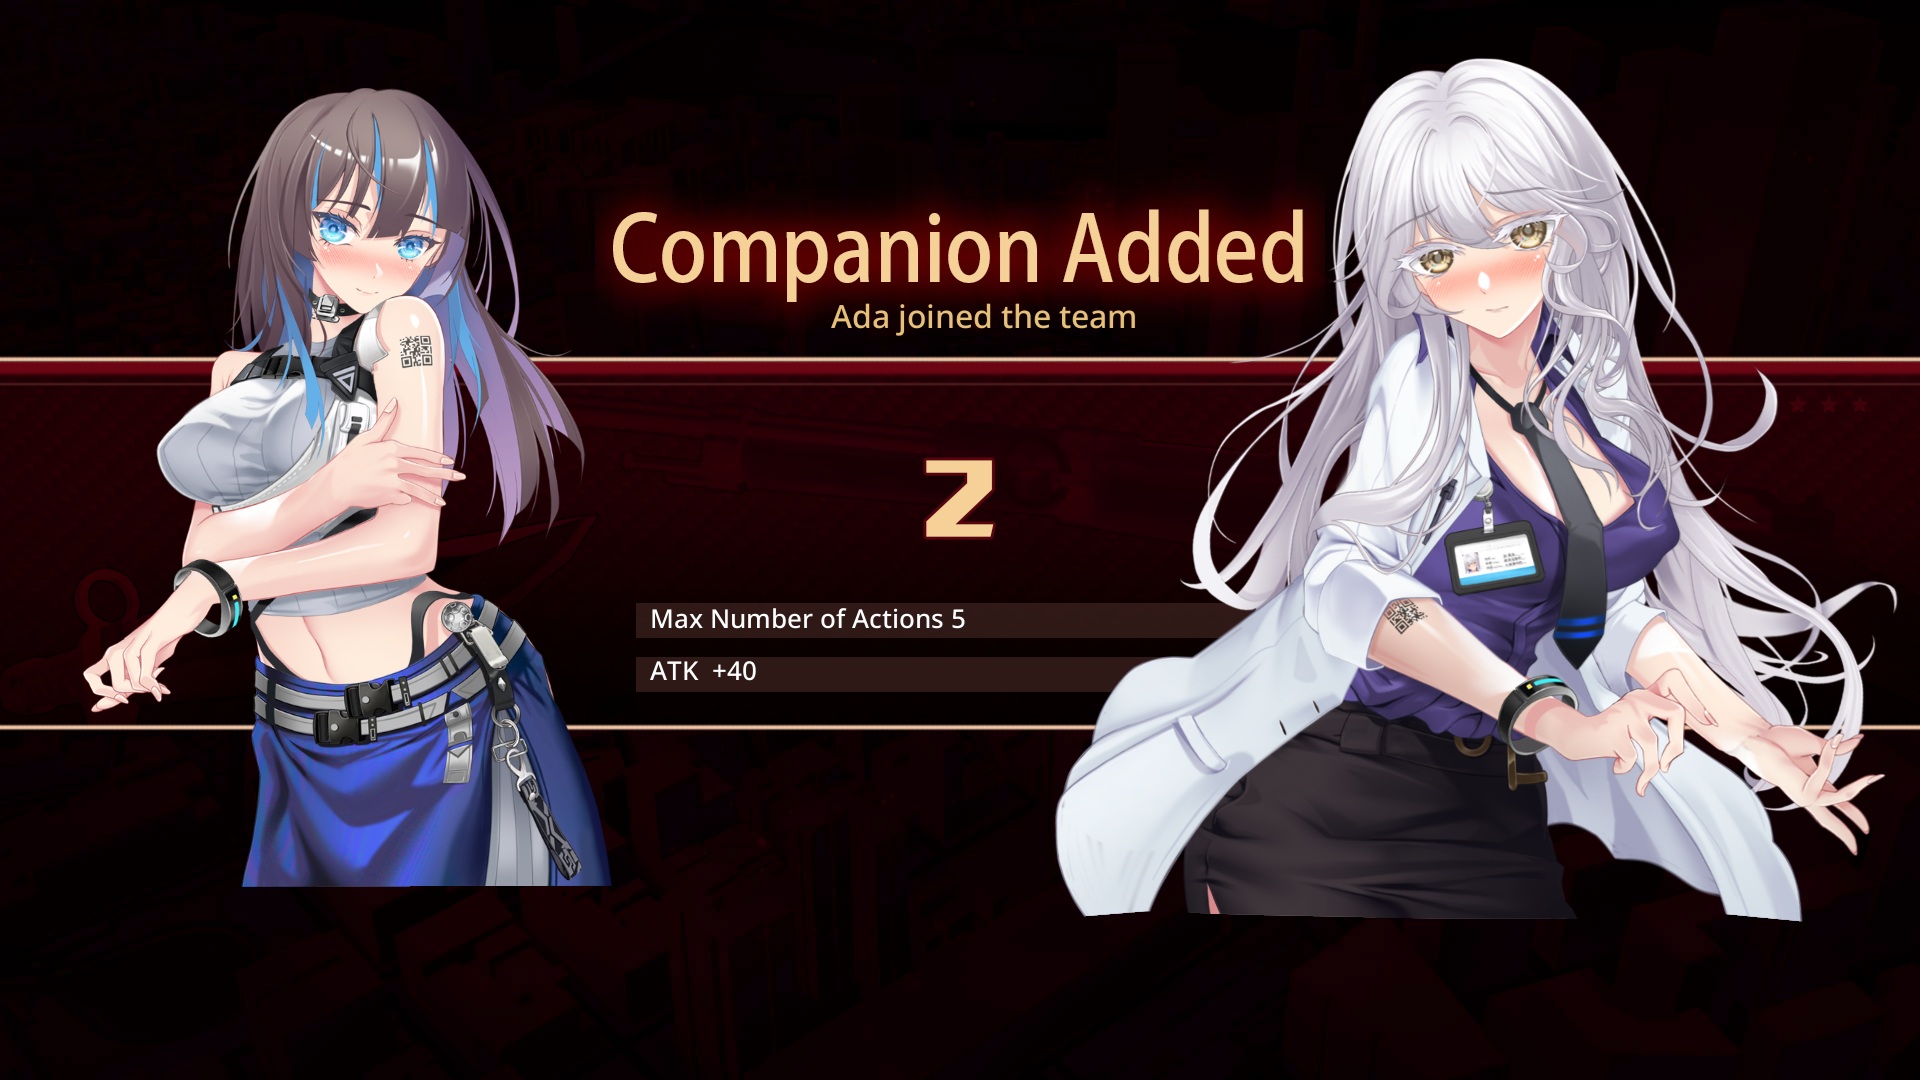
Girl (Ada) tops out at 615 fully decked.
Girl (Alice) caps at 610.
(Katana + Riot Shield + Tactical Gloves + Combat Boots + Bulletproof Vest + Grenade Launcher)
High-end gear’s in new exploration zones.
Unlock ‘em by clearing the basic three zones.
Bottom line: save both girls or no “True End” for you.
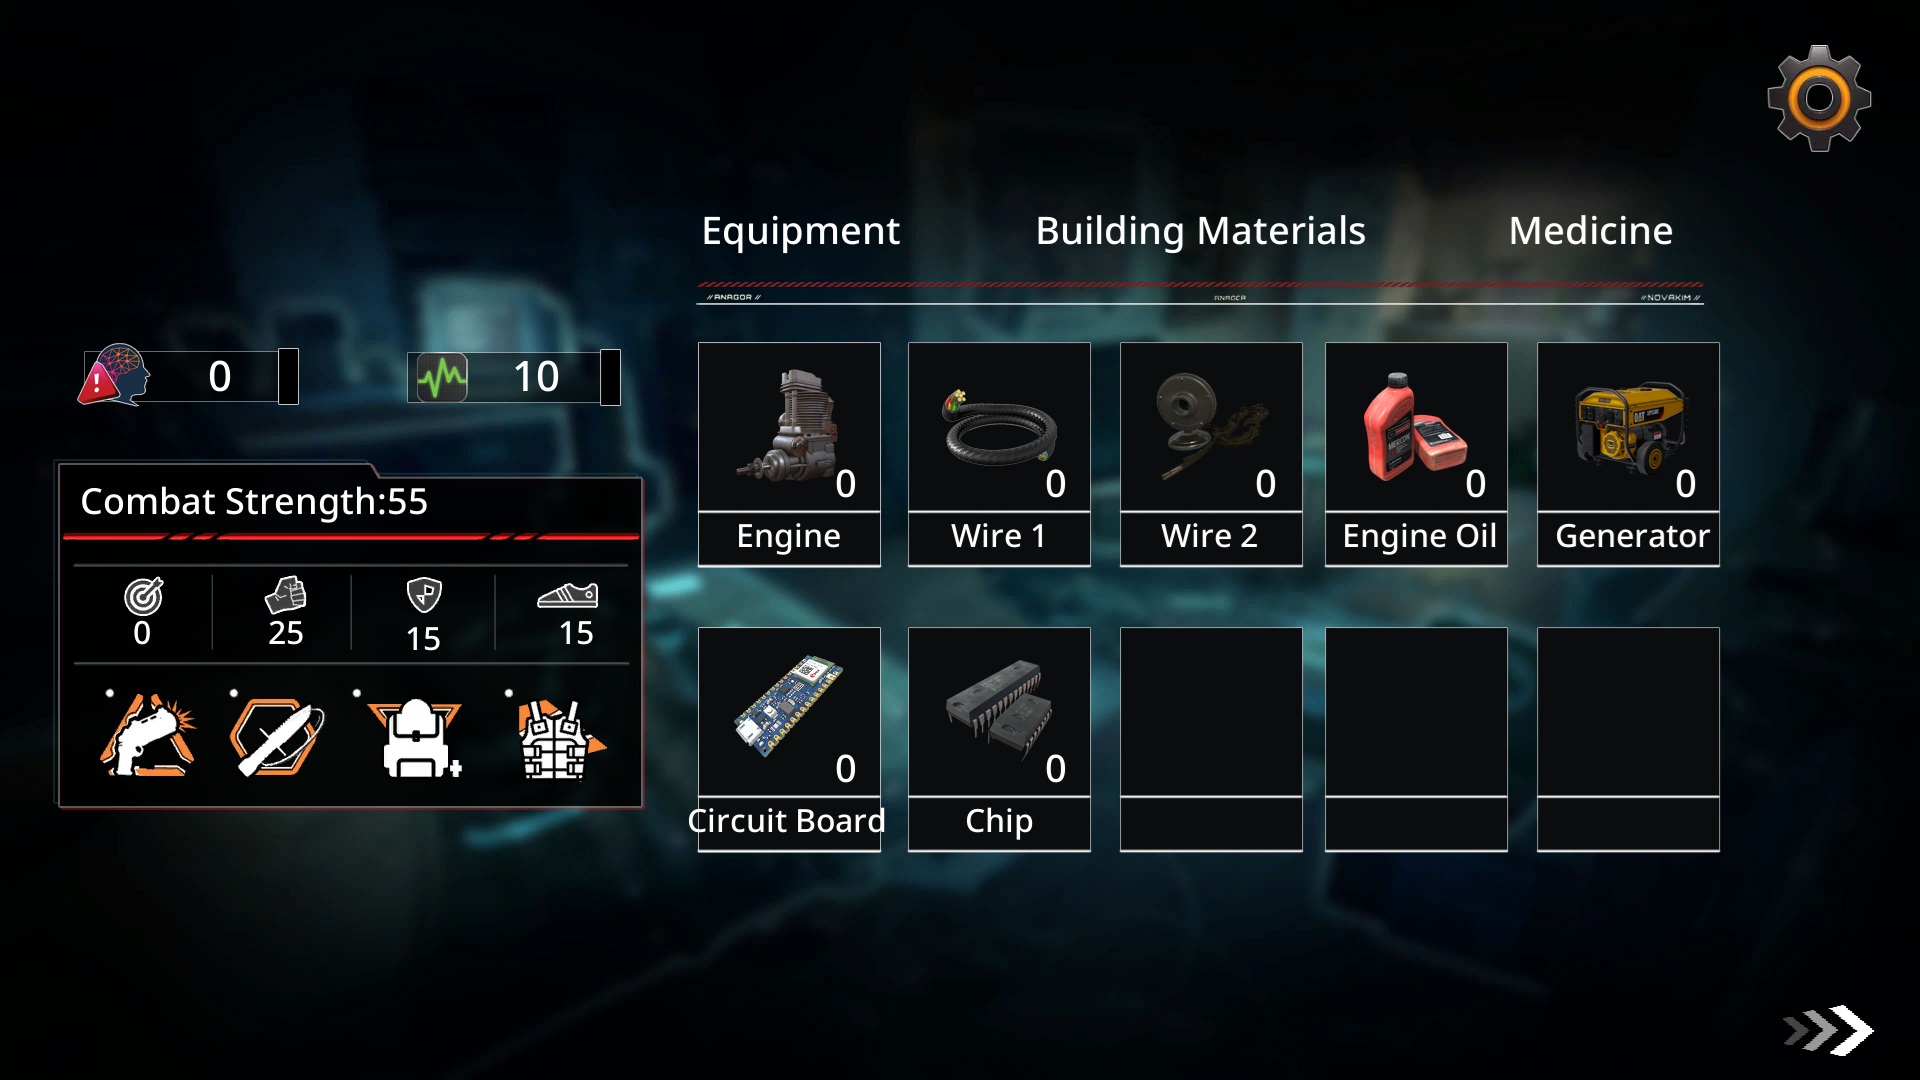
Materials Stuff
Follow the plot and difficulty, and materials pile up.
Unless you’re rushing safehouse upgrades, no hurry here.
(Safehouse level diffs explained below—keep reading.)
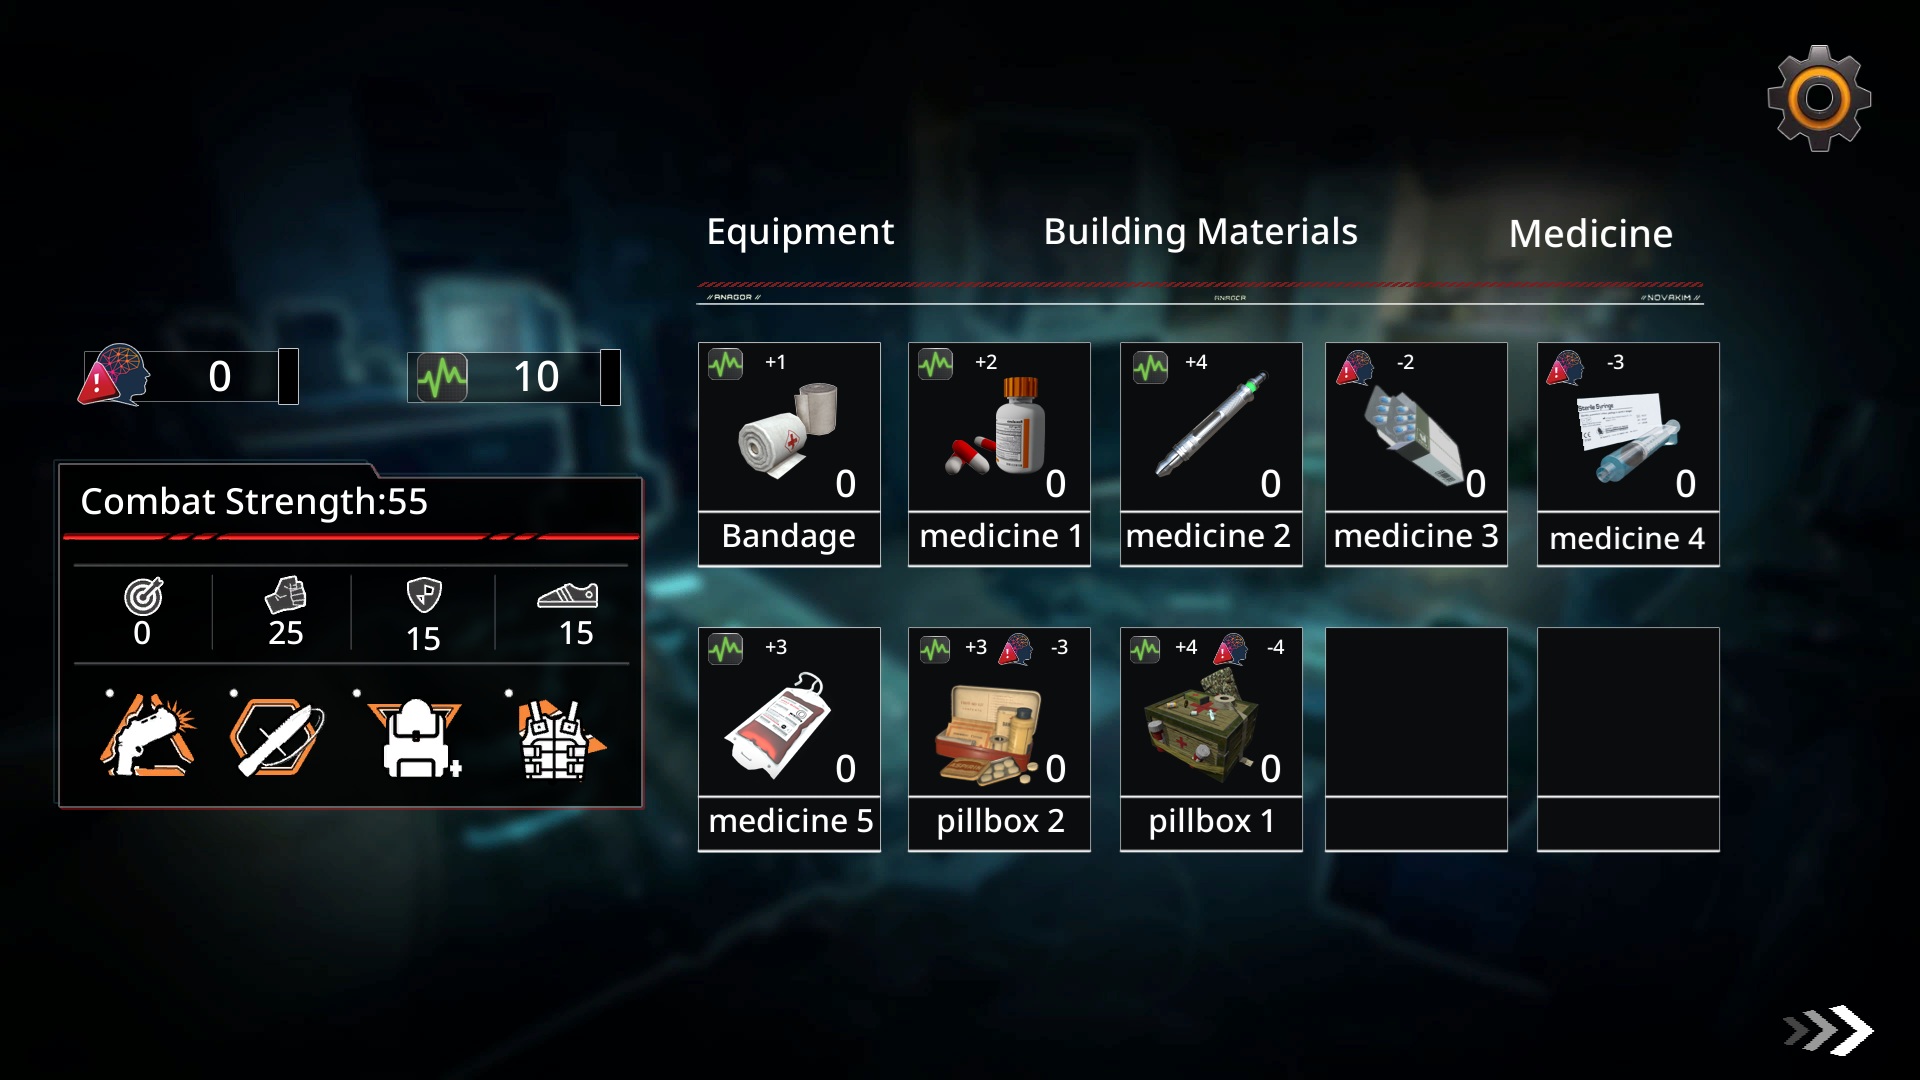
Meds Stuff
Got enough food or materials? Hit the hospital and buy from the doc.
For bang-for-buck, I’d grab “Sedatives”—drops Stress by 3, best single-item deal.
Health dips slow, but Stress climbs quick.
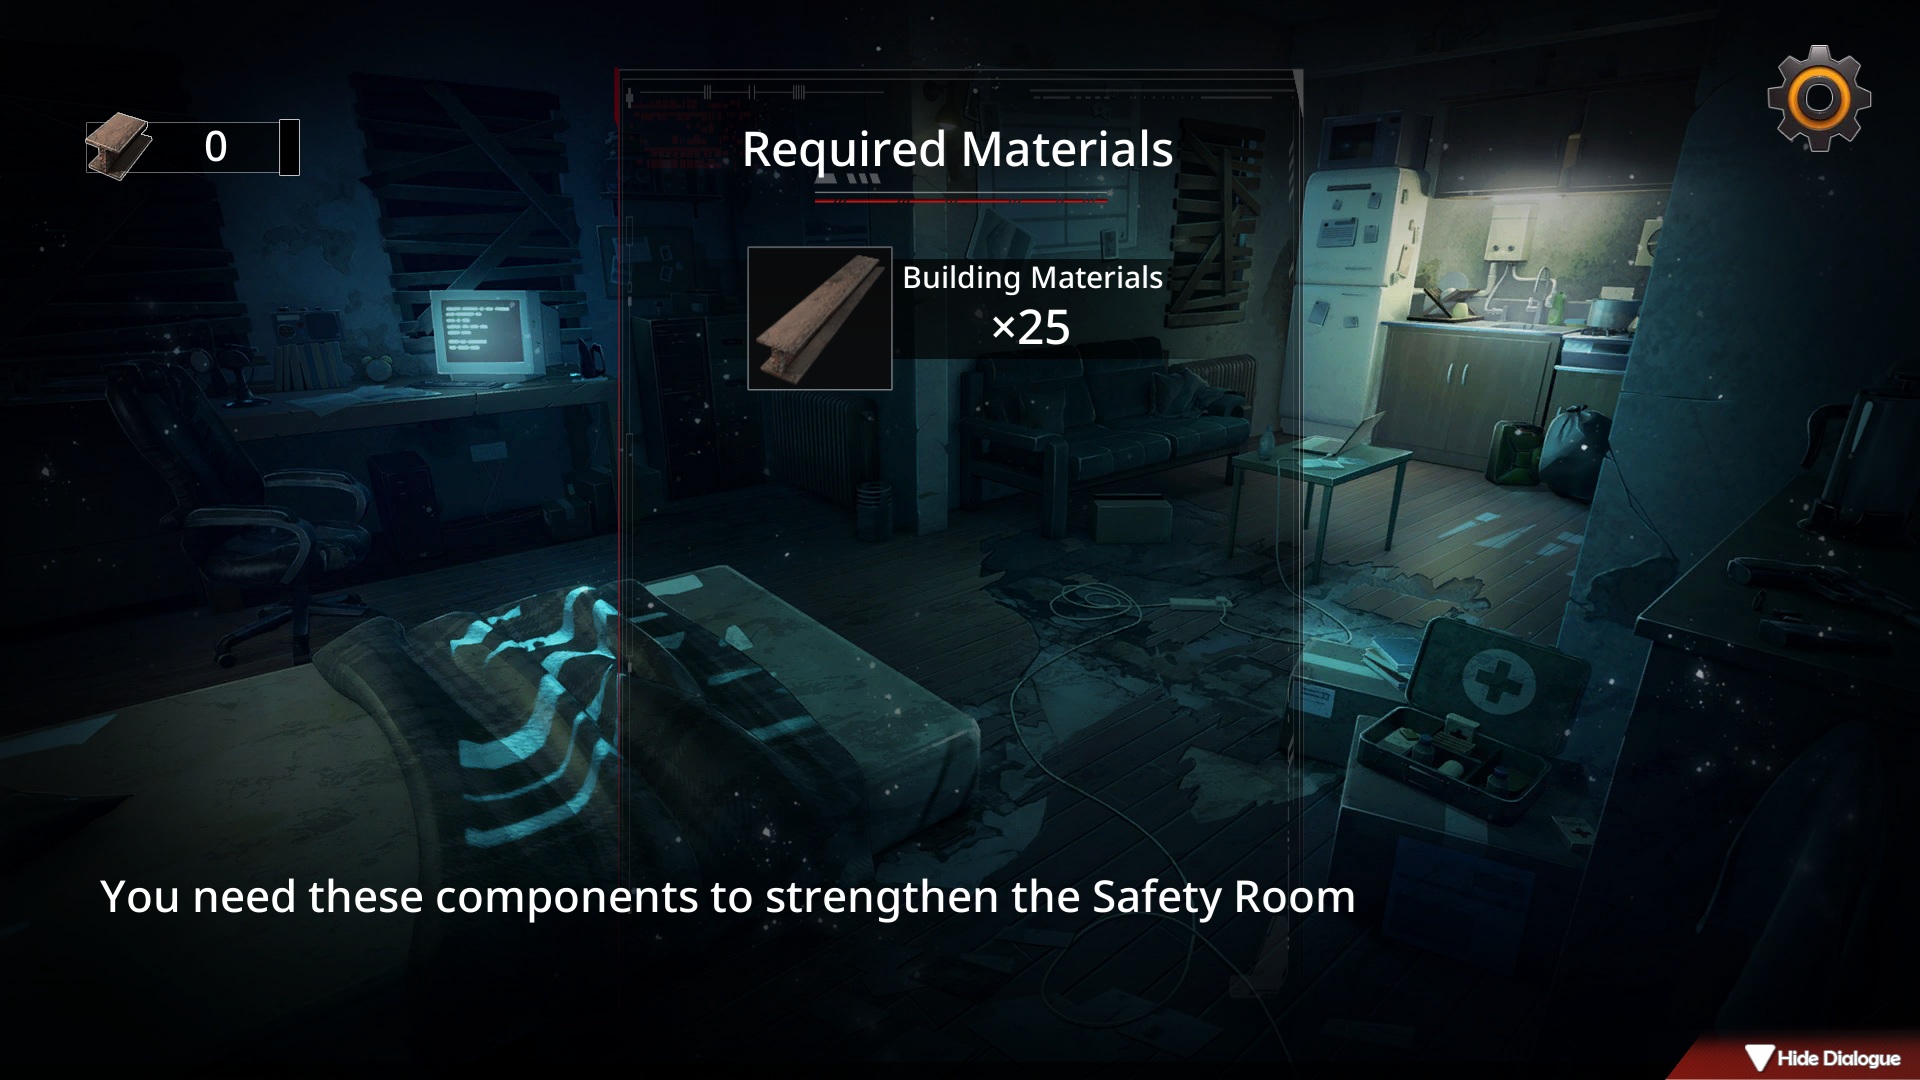
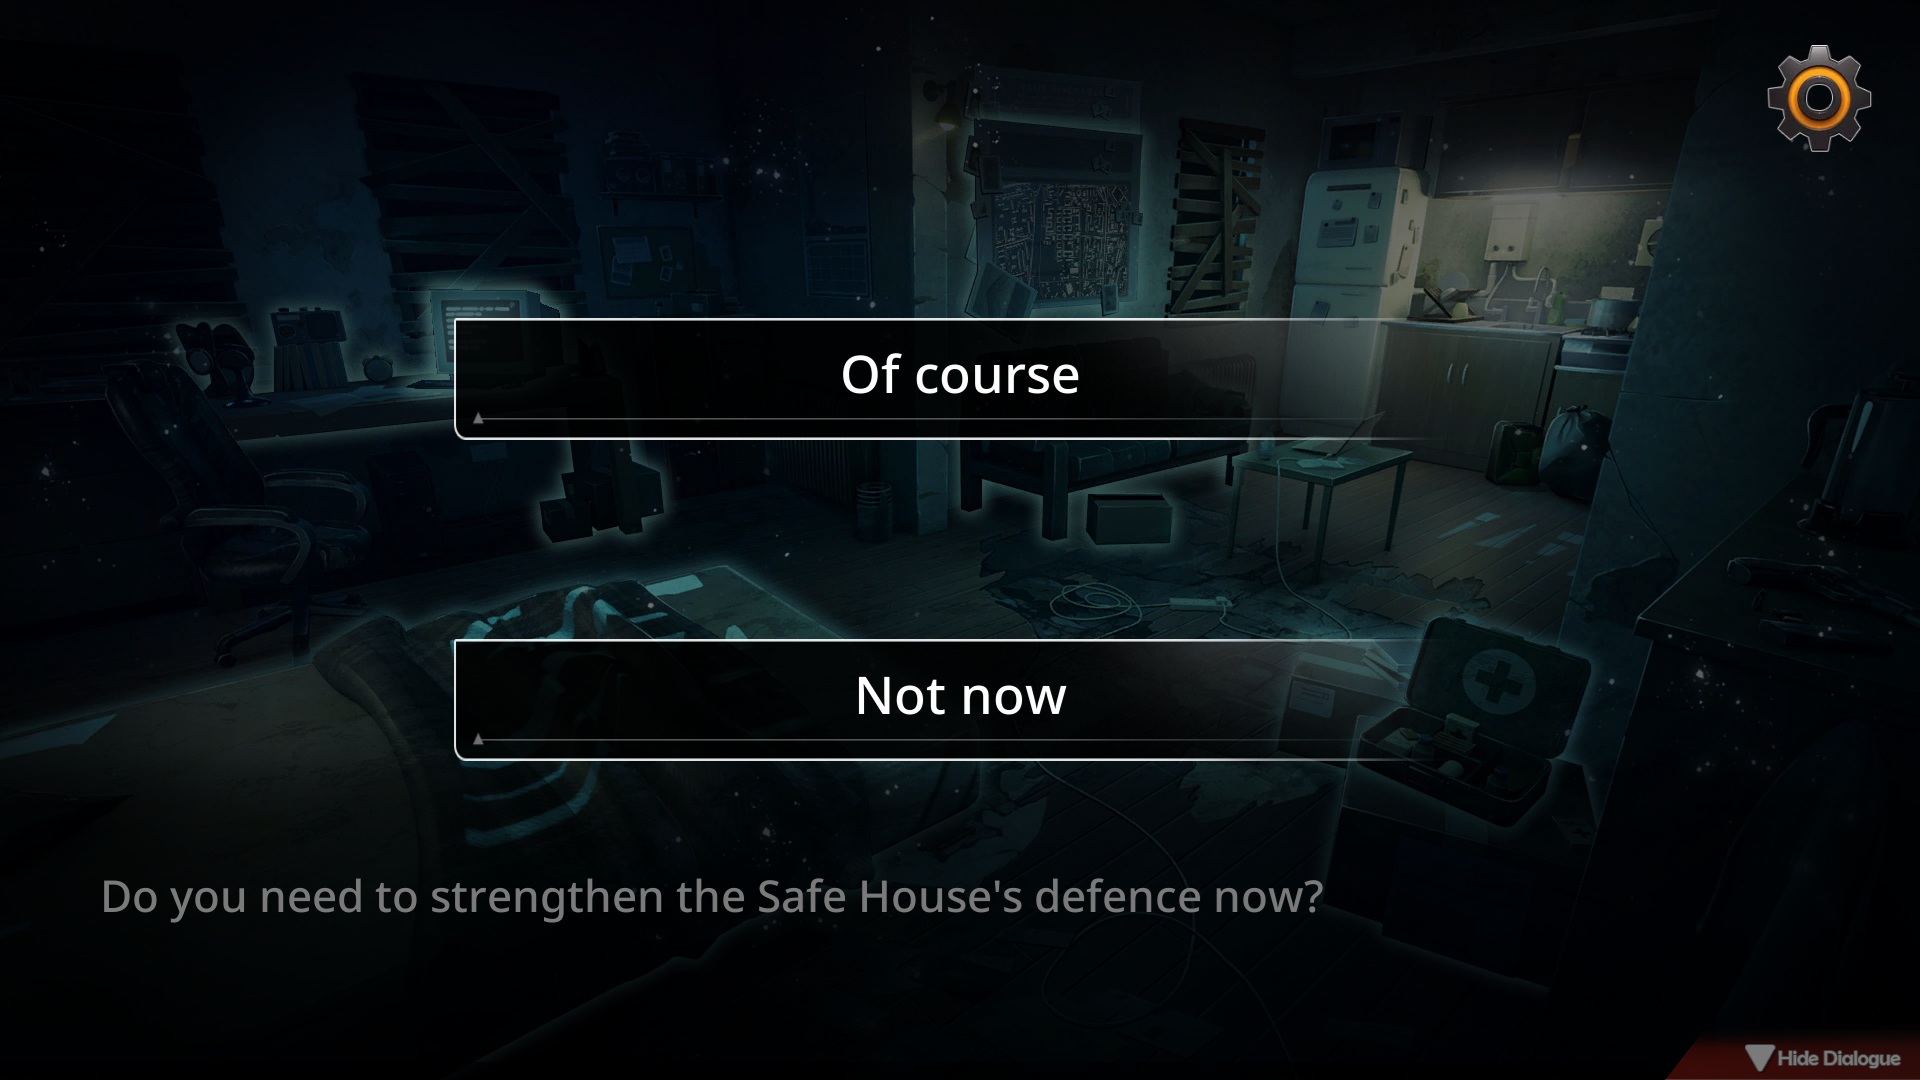
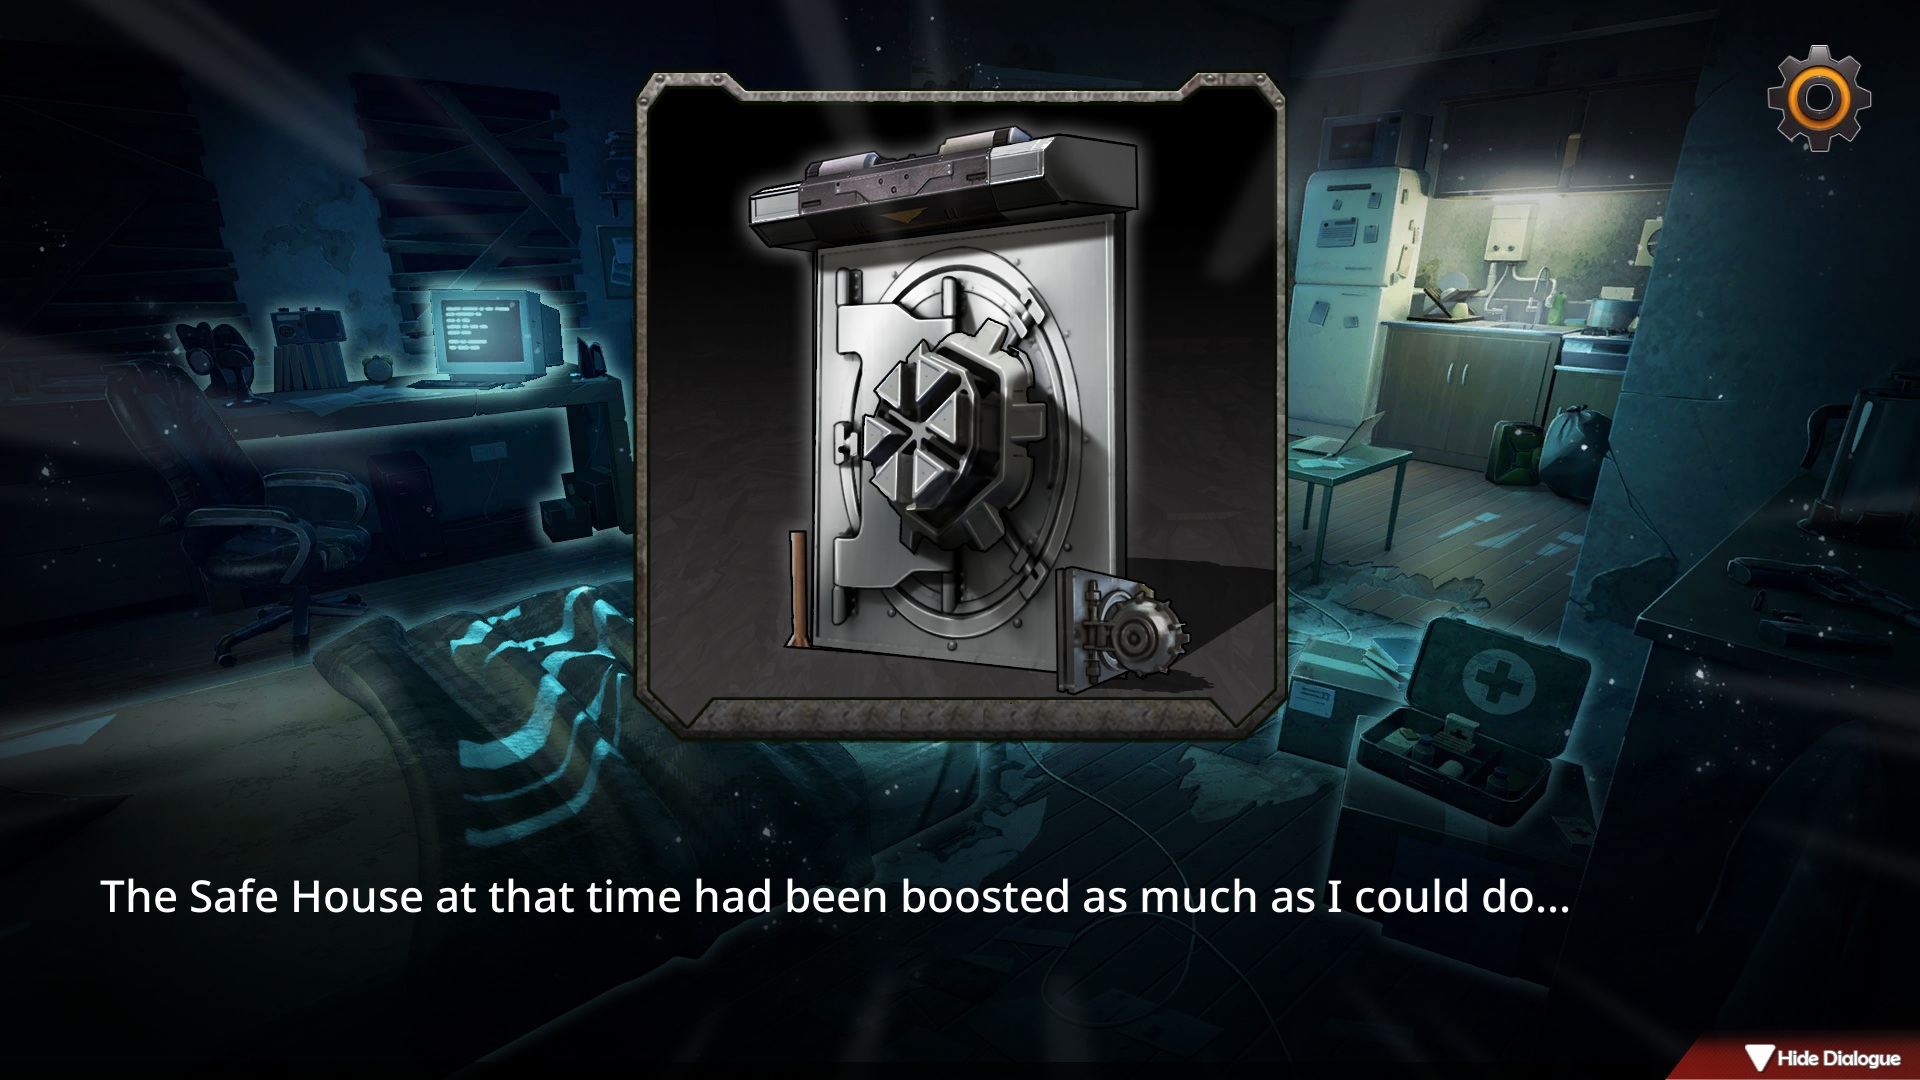
Upgrades – Safehouse Boosts
It’s all about pumping up safehouse defense—each level needs different stuff.
Maxes at Lv3.
From Lv2, you’re buying from black market dudes or scavenging new zones.
FYI: Upgrading doesn’t burn action points.
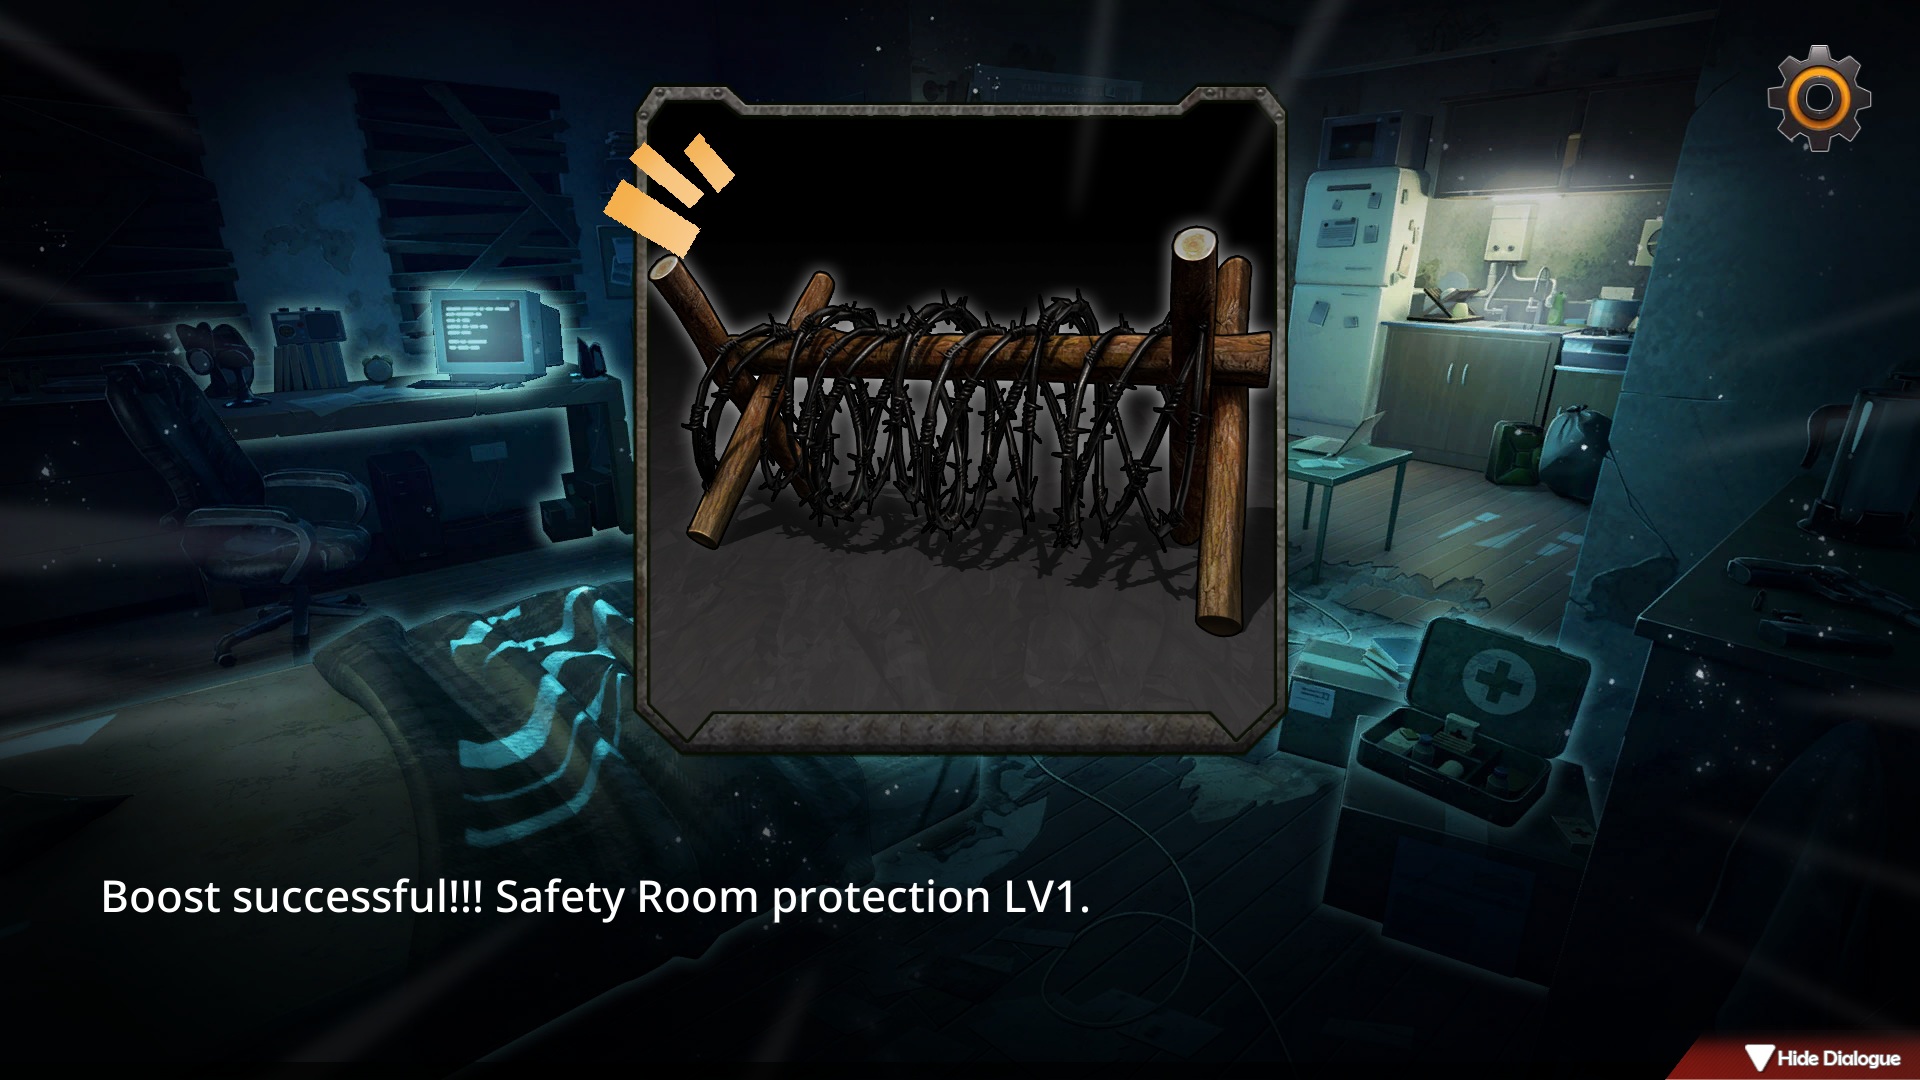
Lv1 needs | Materials x25
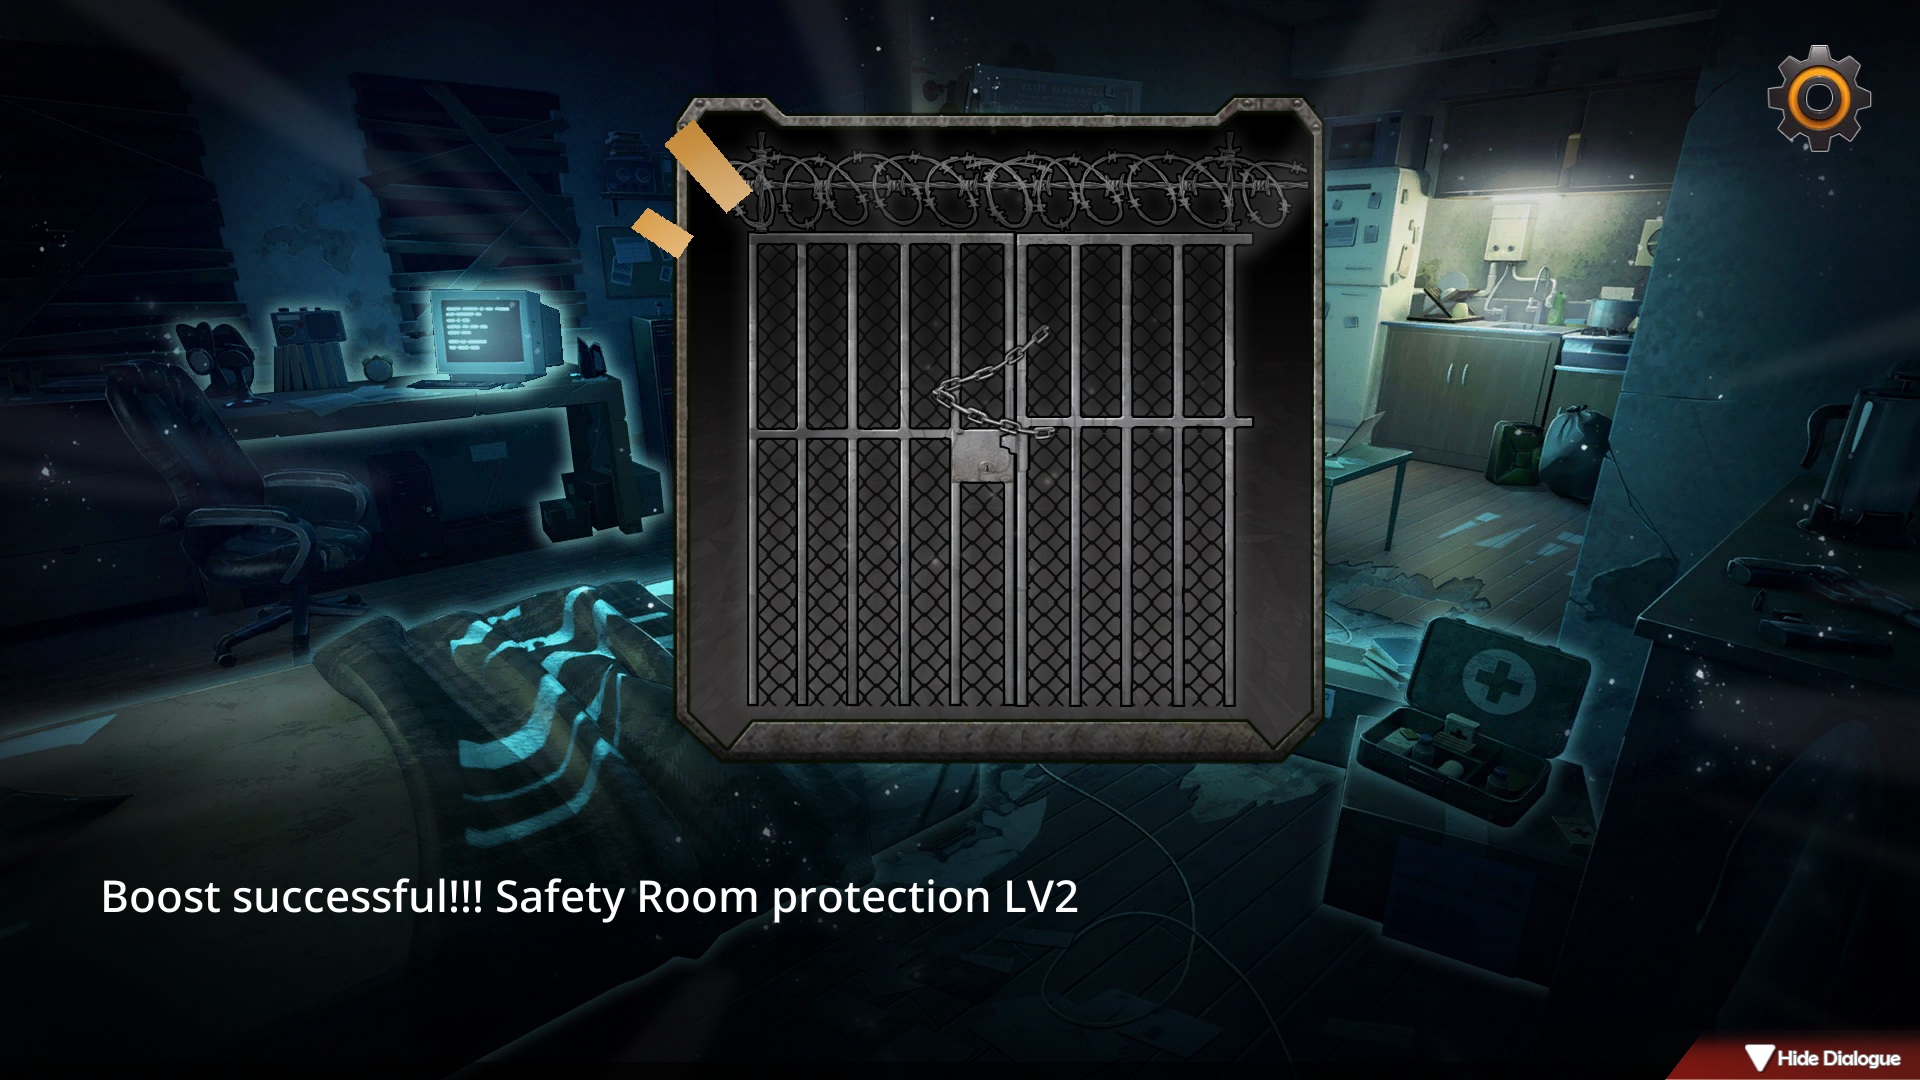
Lv2 needs | Materials x25, Generator x1, Wires x10, Circuit Board x1
Lv3 needs | Cables x5, Engine x1, Oil x10, Chip x1
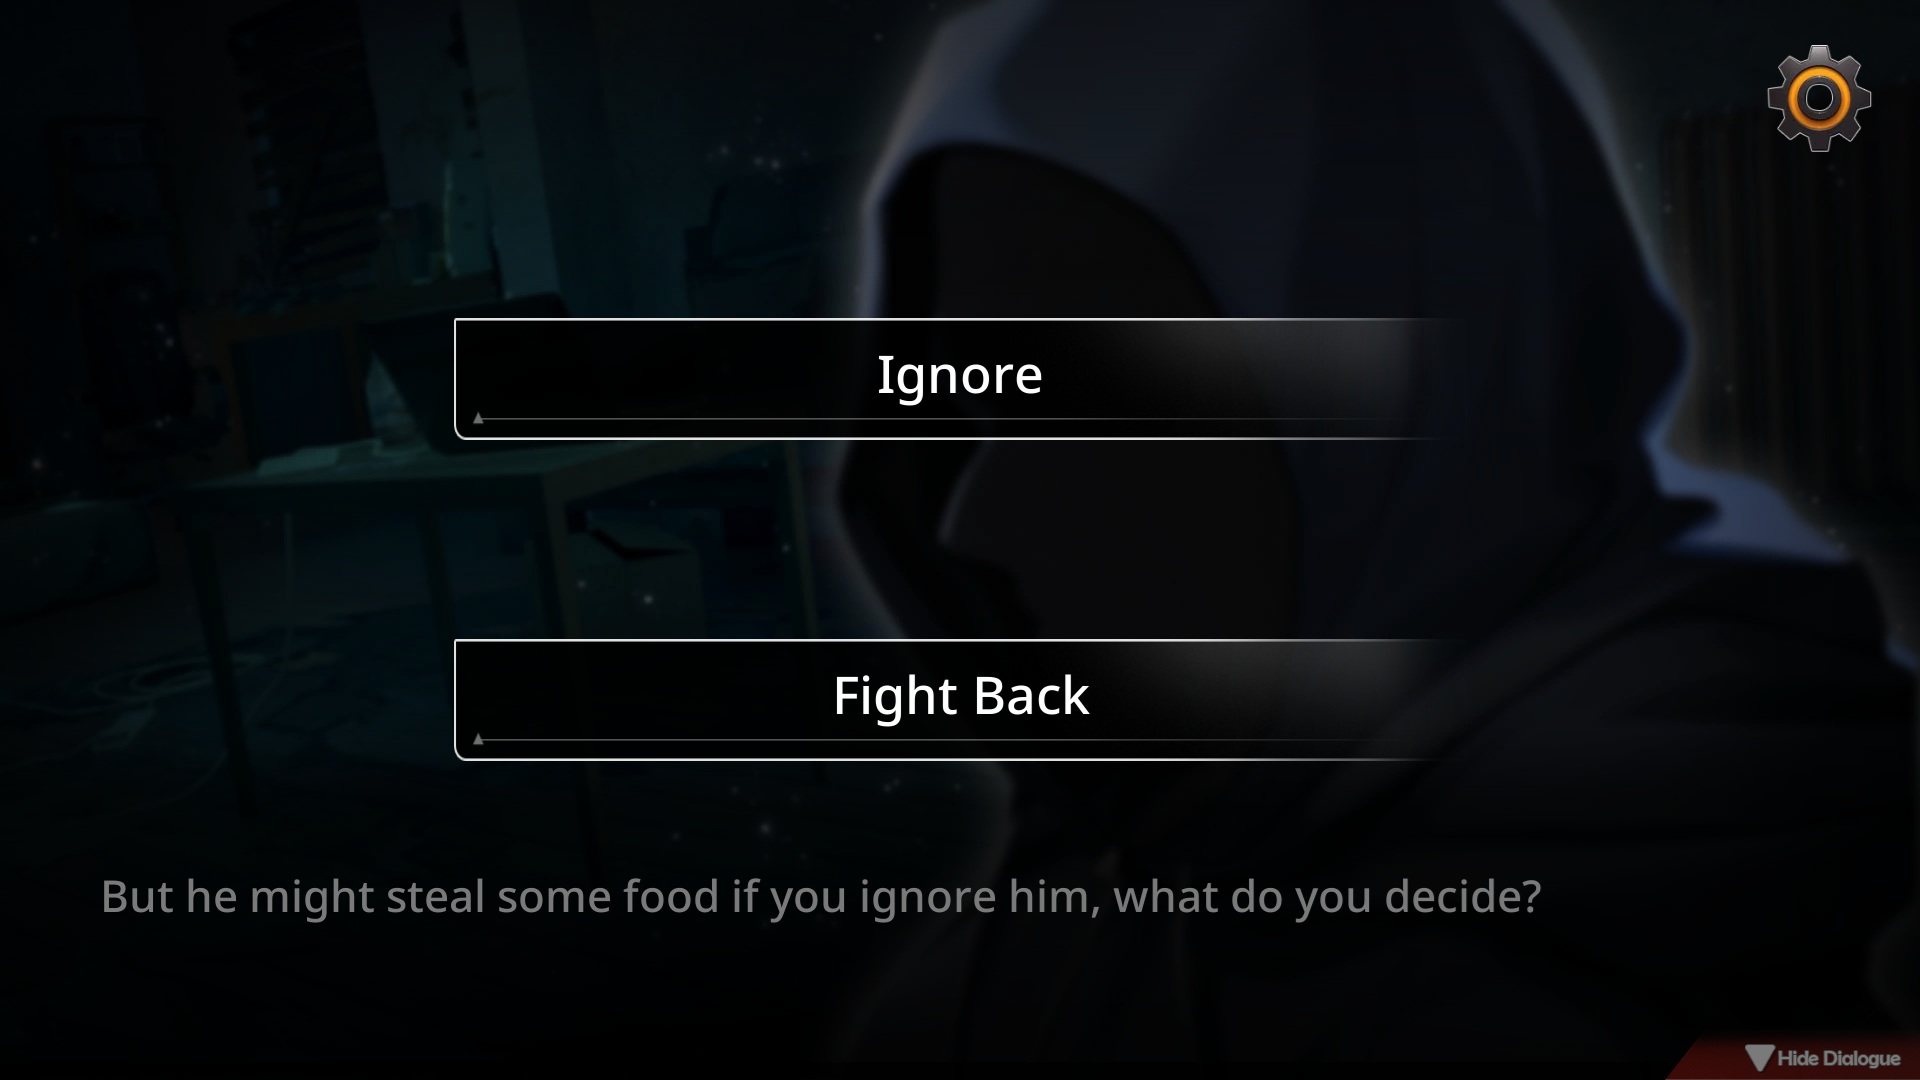
Upgrade perks? Keeps thieves and thugs out.
Early game, thieves laugh at you—choose “lose food” or “fight back.”
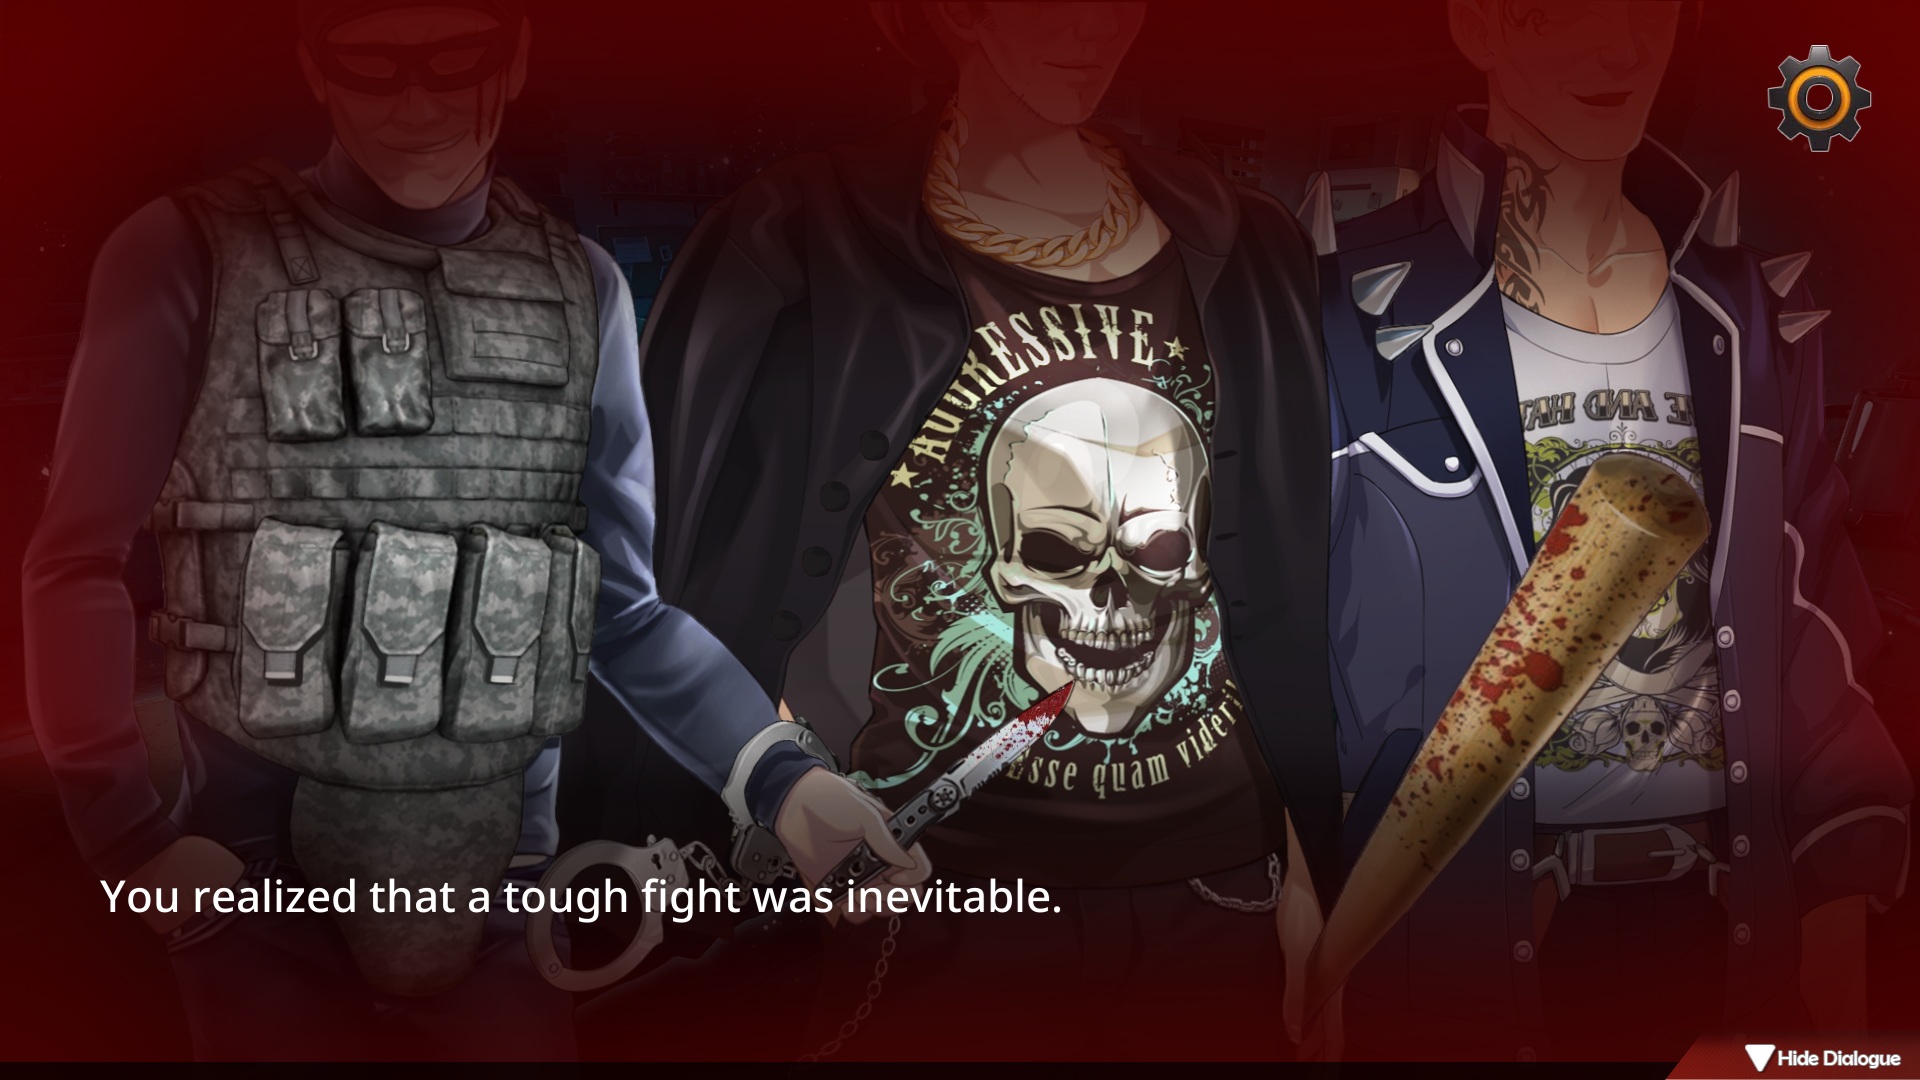
Mid-to-late, thieves vanish, thugs roll in—higher combat power.
You either “win” or “get smoked” if your power’s weak.
Lv3? Thieves and thugs just bounce.
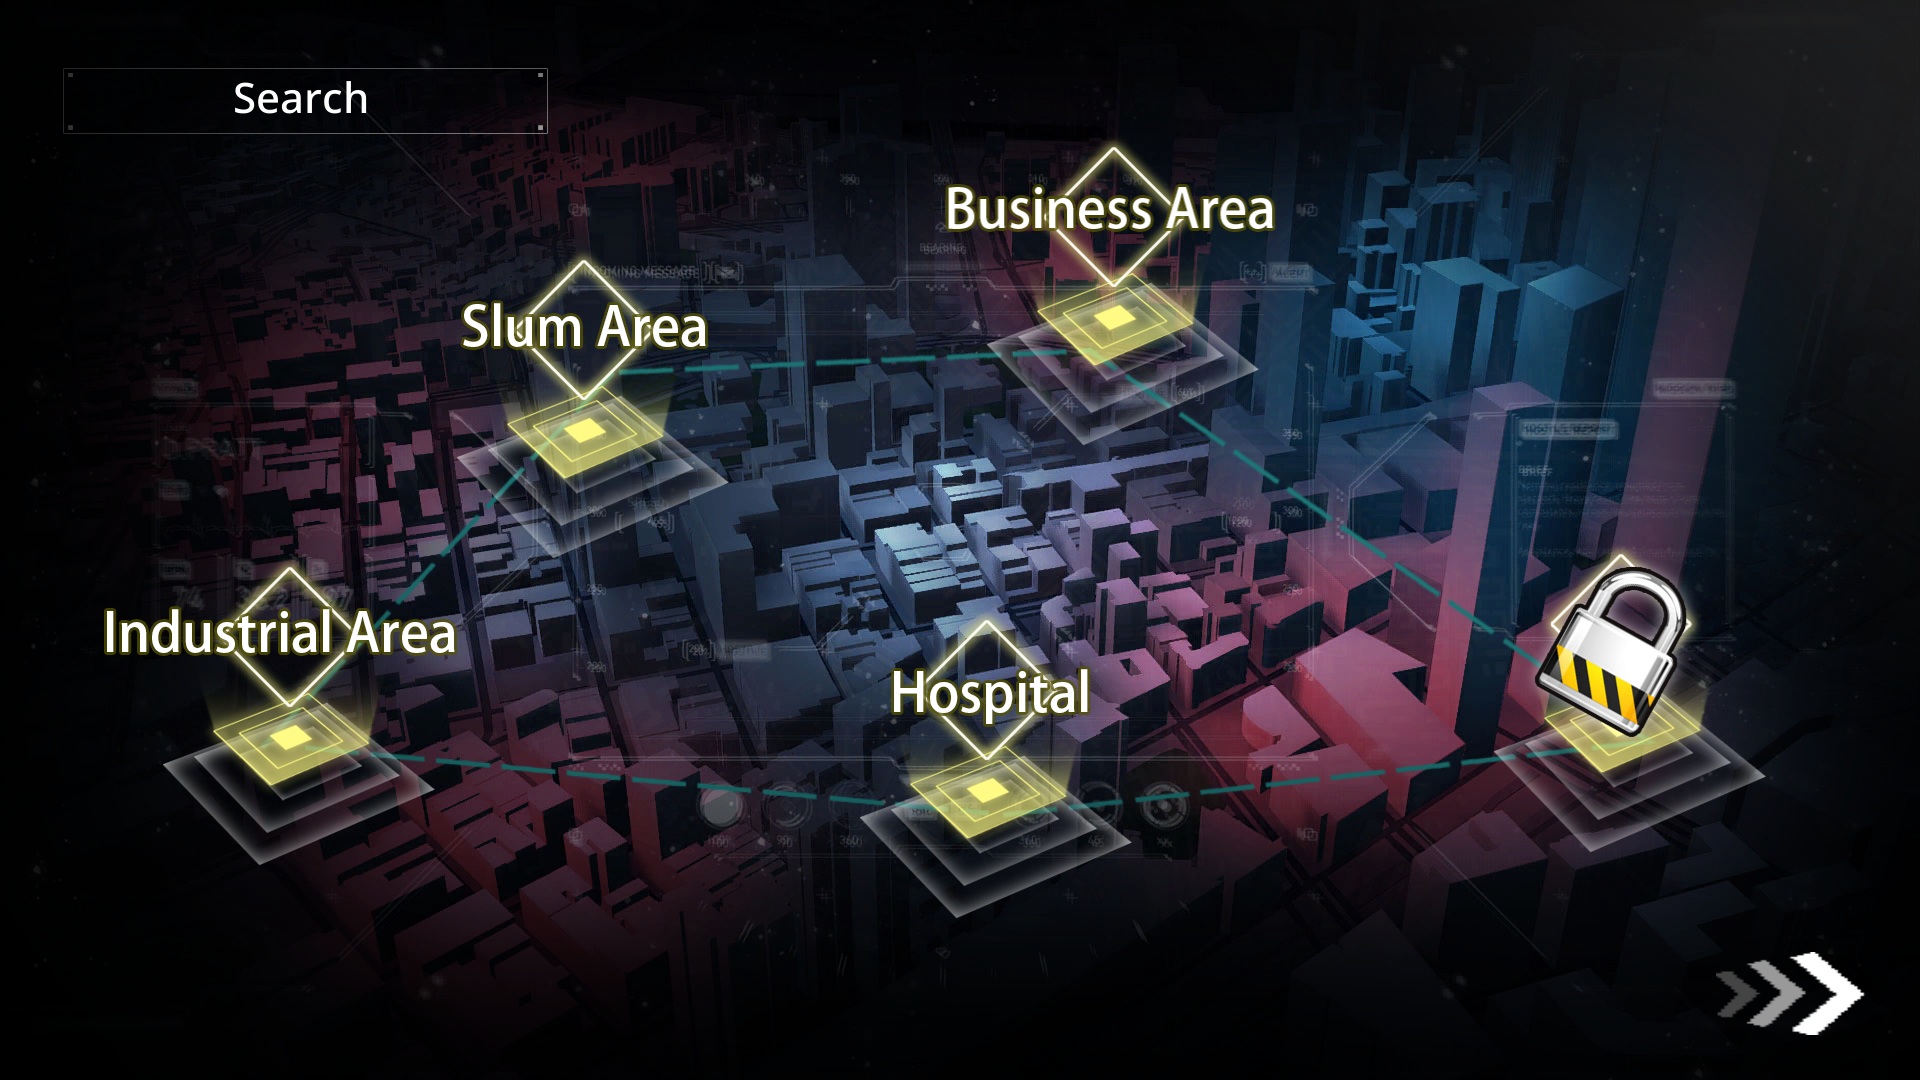
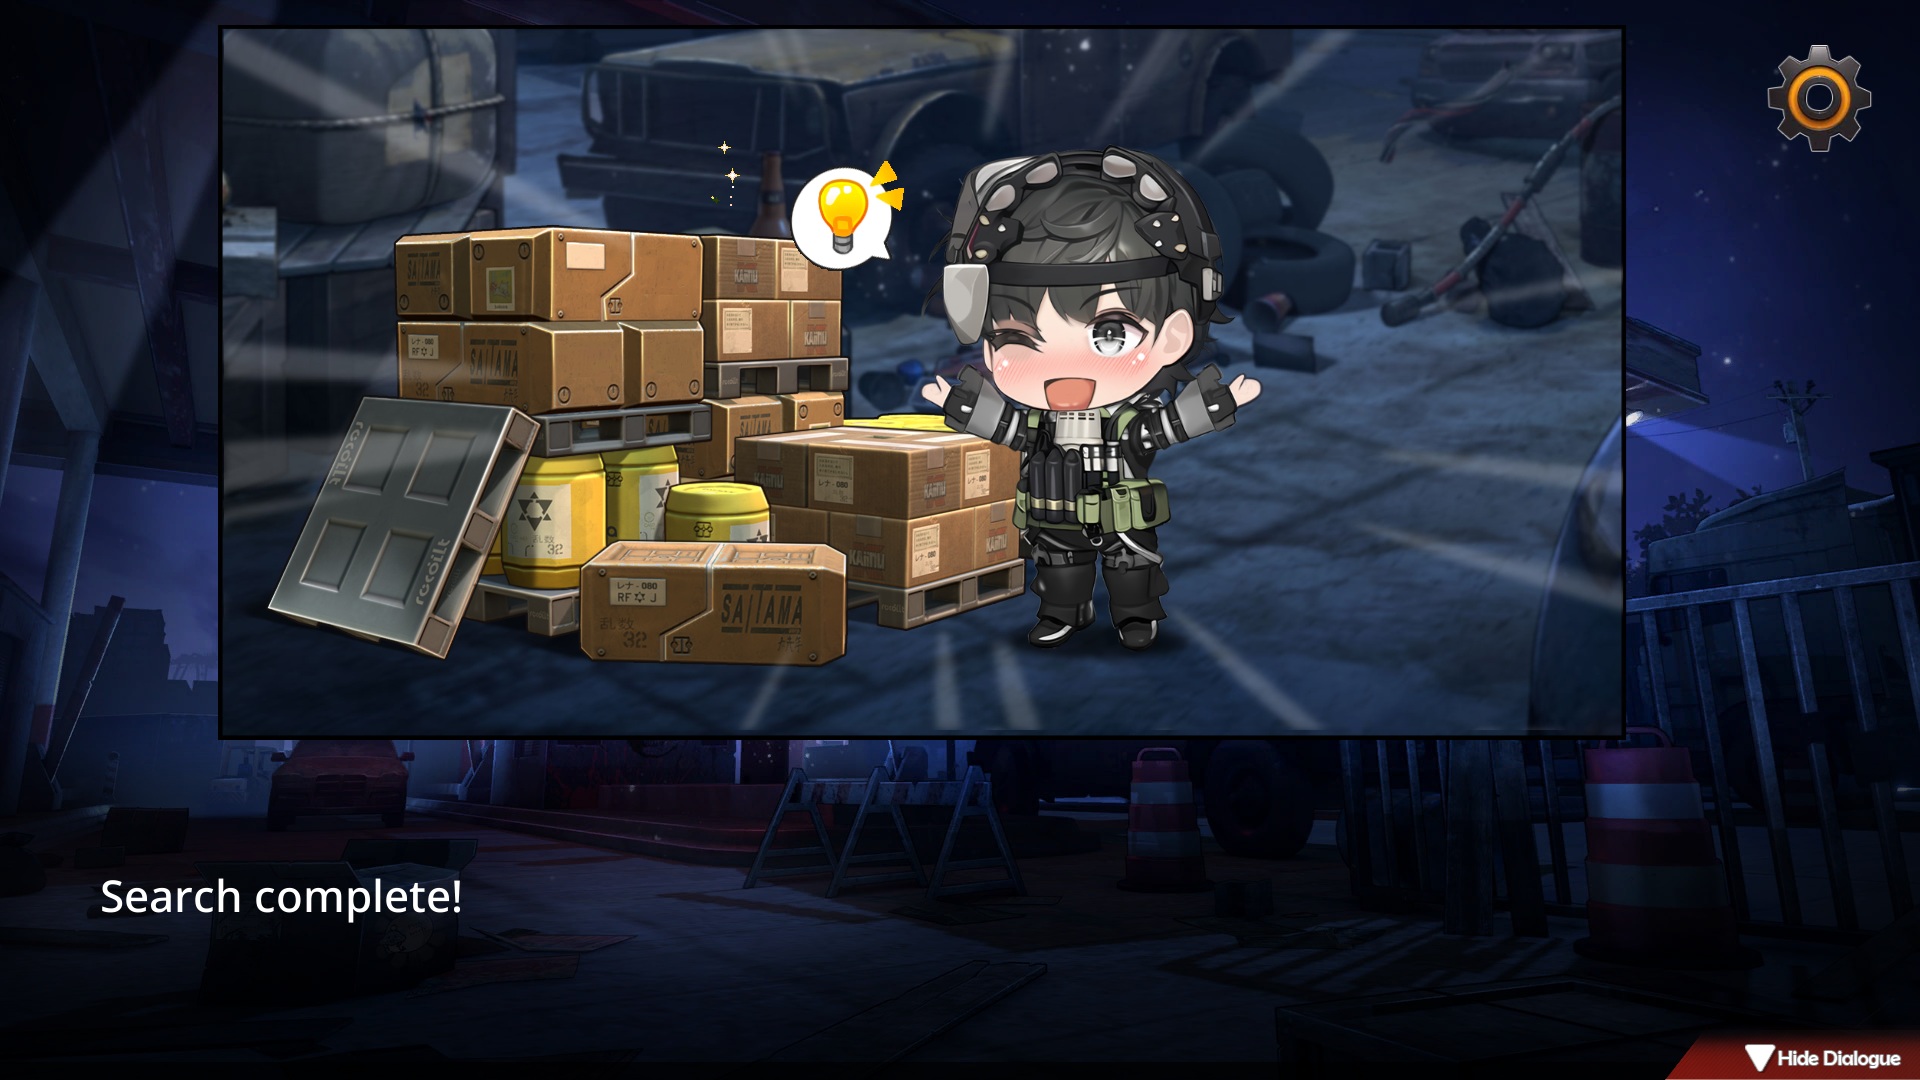
Exploring – Loot & Plot Triggers
Five zones to hit: Industrial / Slums / Commercial / Hospital / Locked Zone (needs unlocking)
Heads-up: three have difficulty tiers.
(Plan what you need before heading out—unless you’re chasing plot.)
Hospital eats an action point on click, but after two early plot triggers, it’s free.
Last zone unlocks when you clear Slums, Commercial, and Industrial.
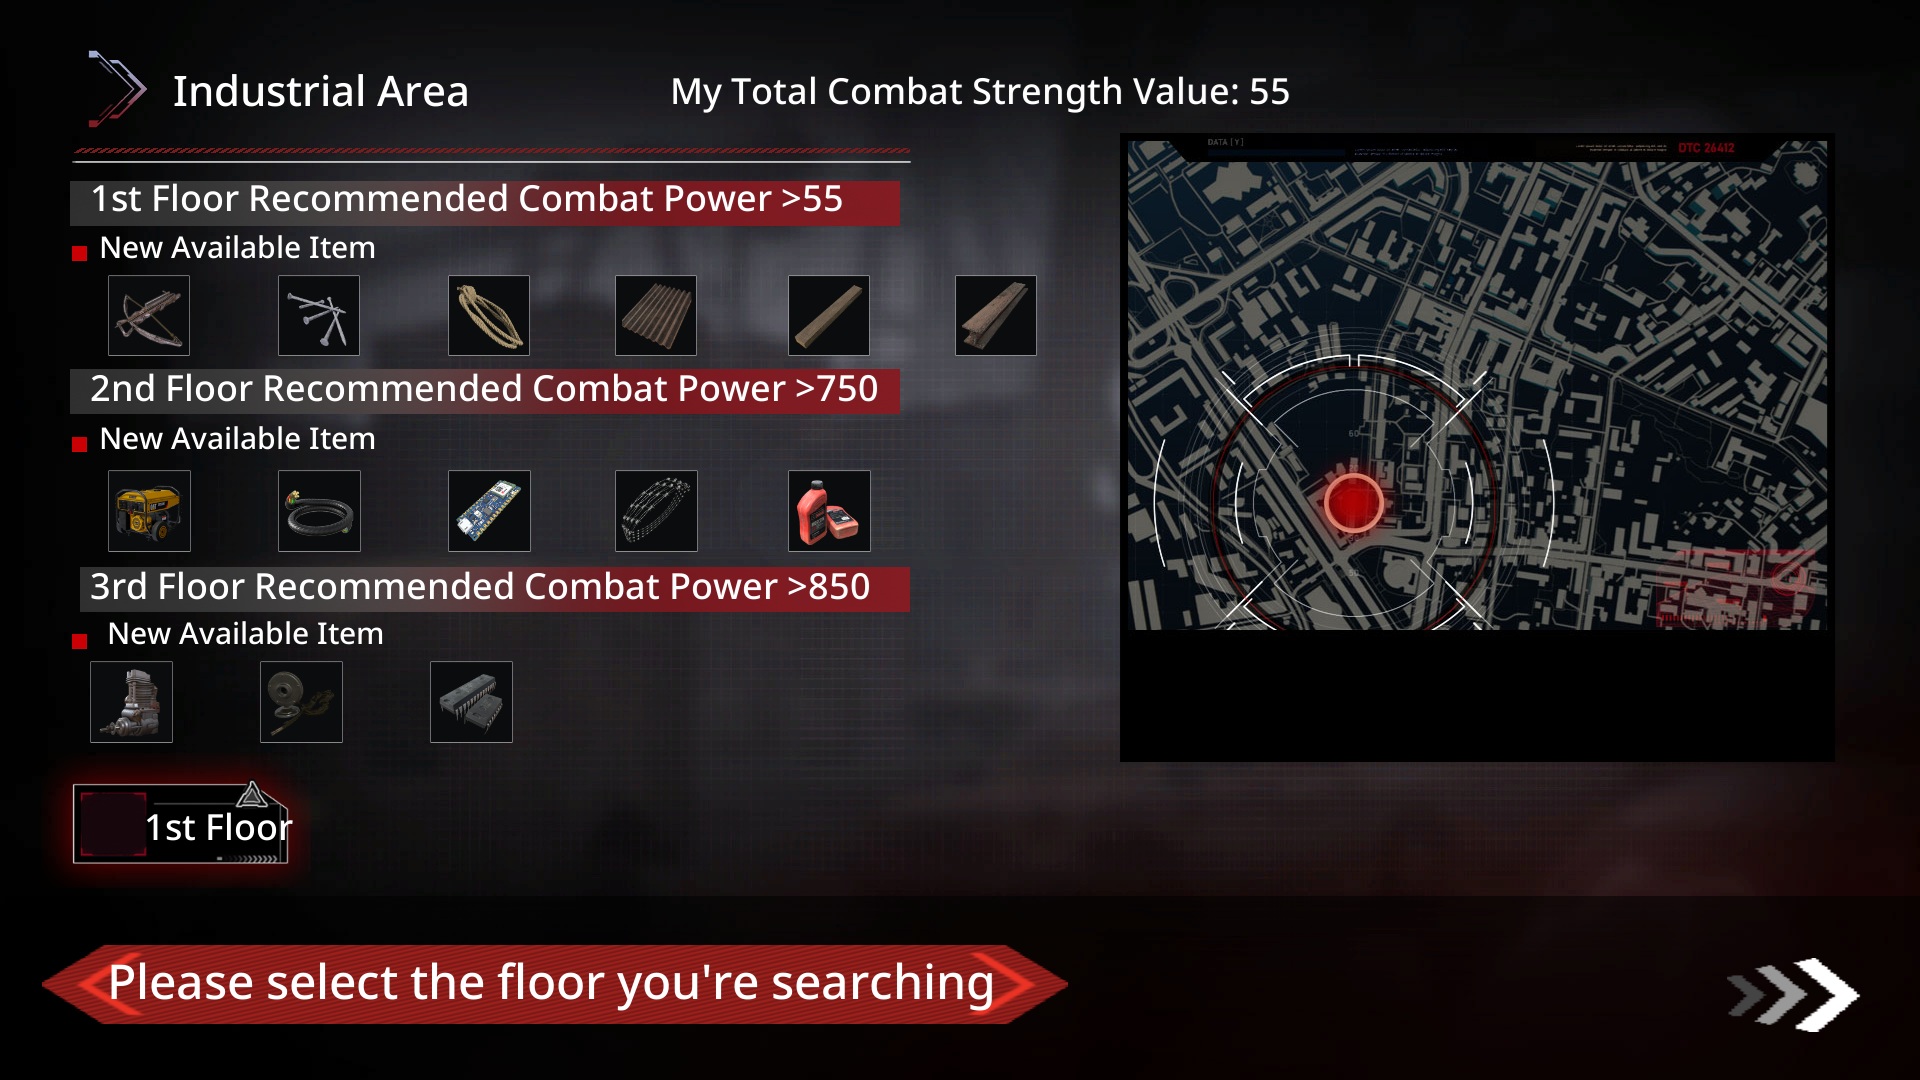
Take Industrial—starts at layer one.
Hit it n times to unlock layer two.
Layer three needs n more runs.
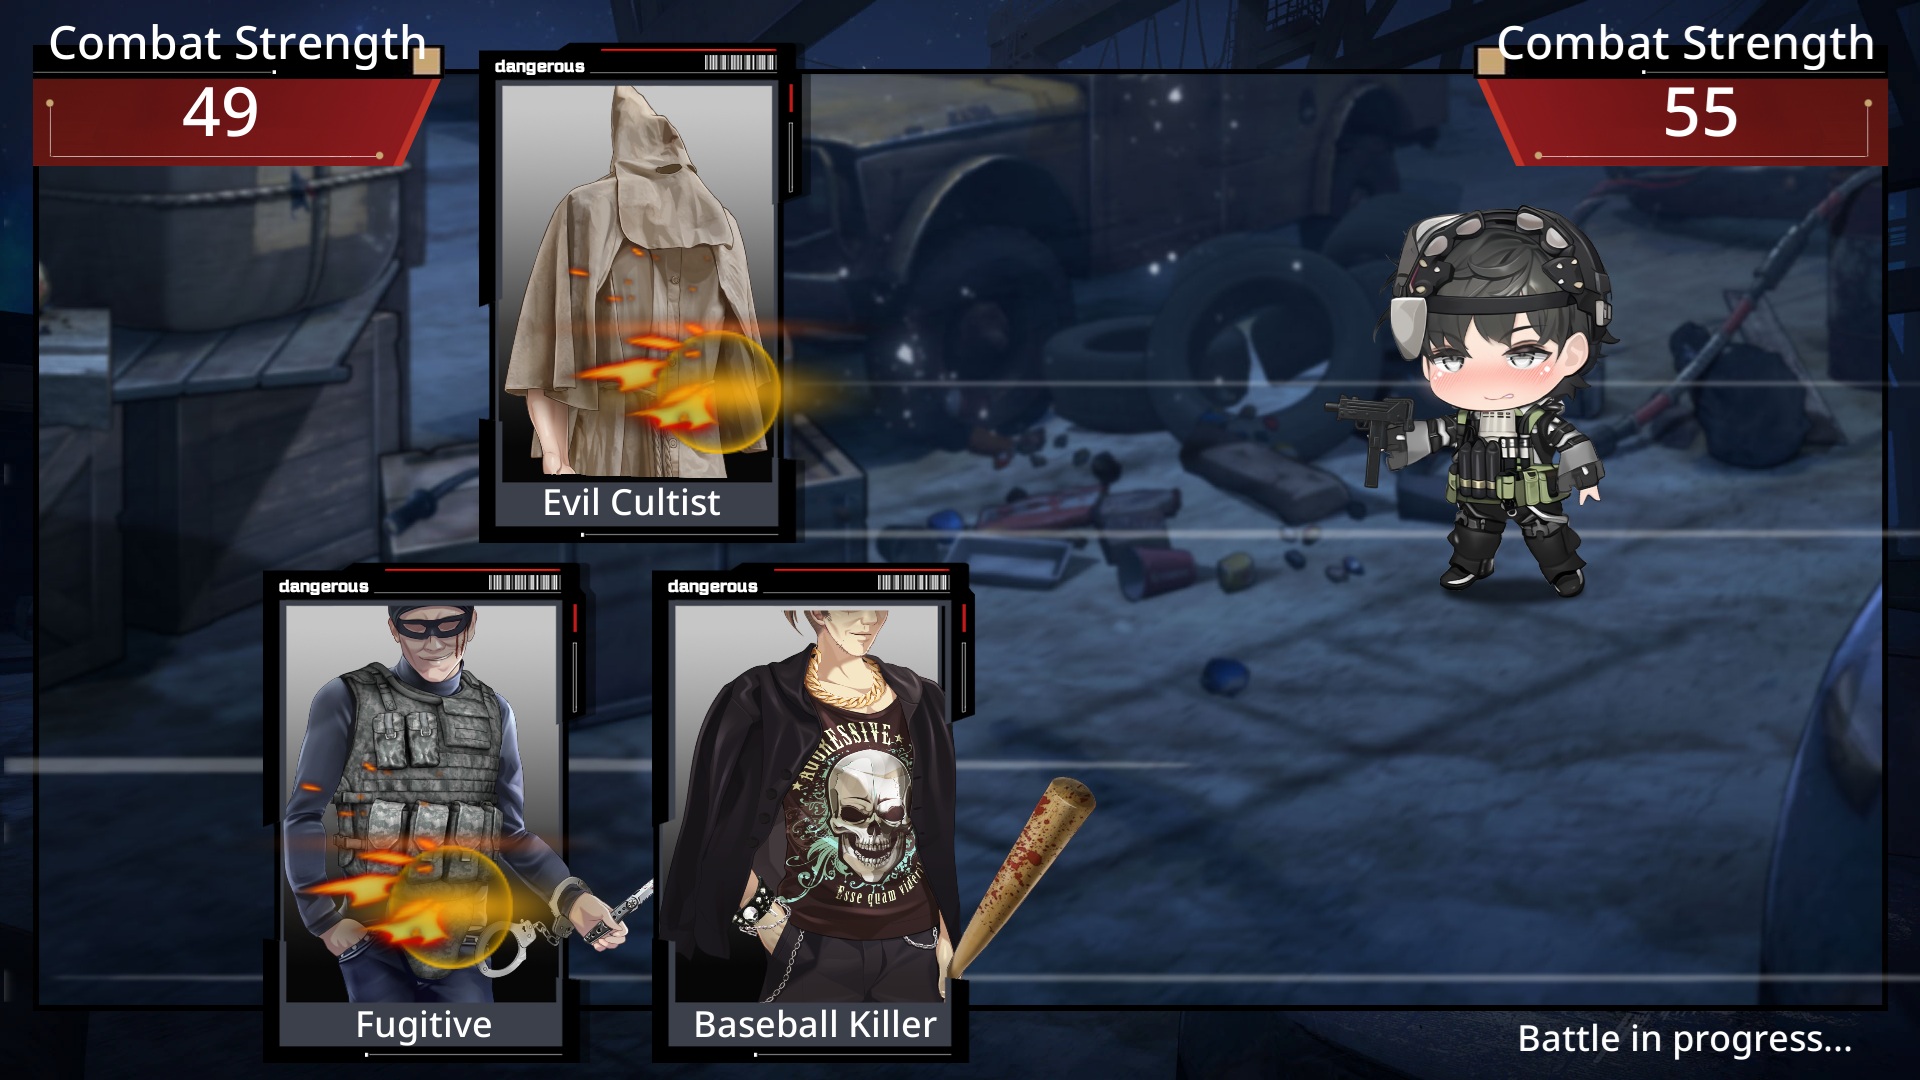
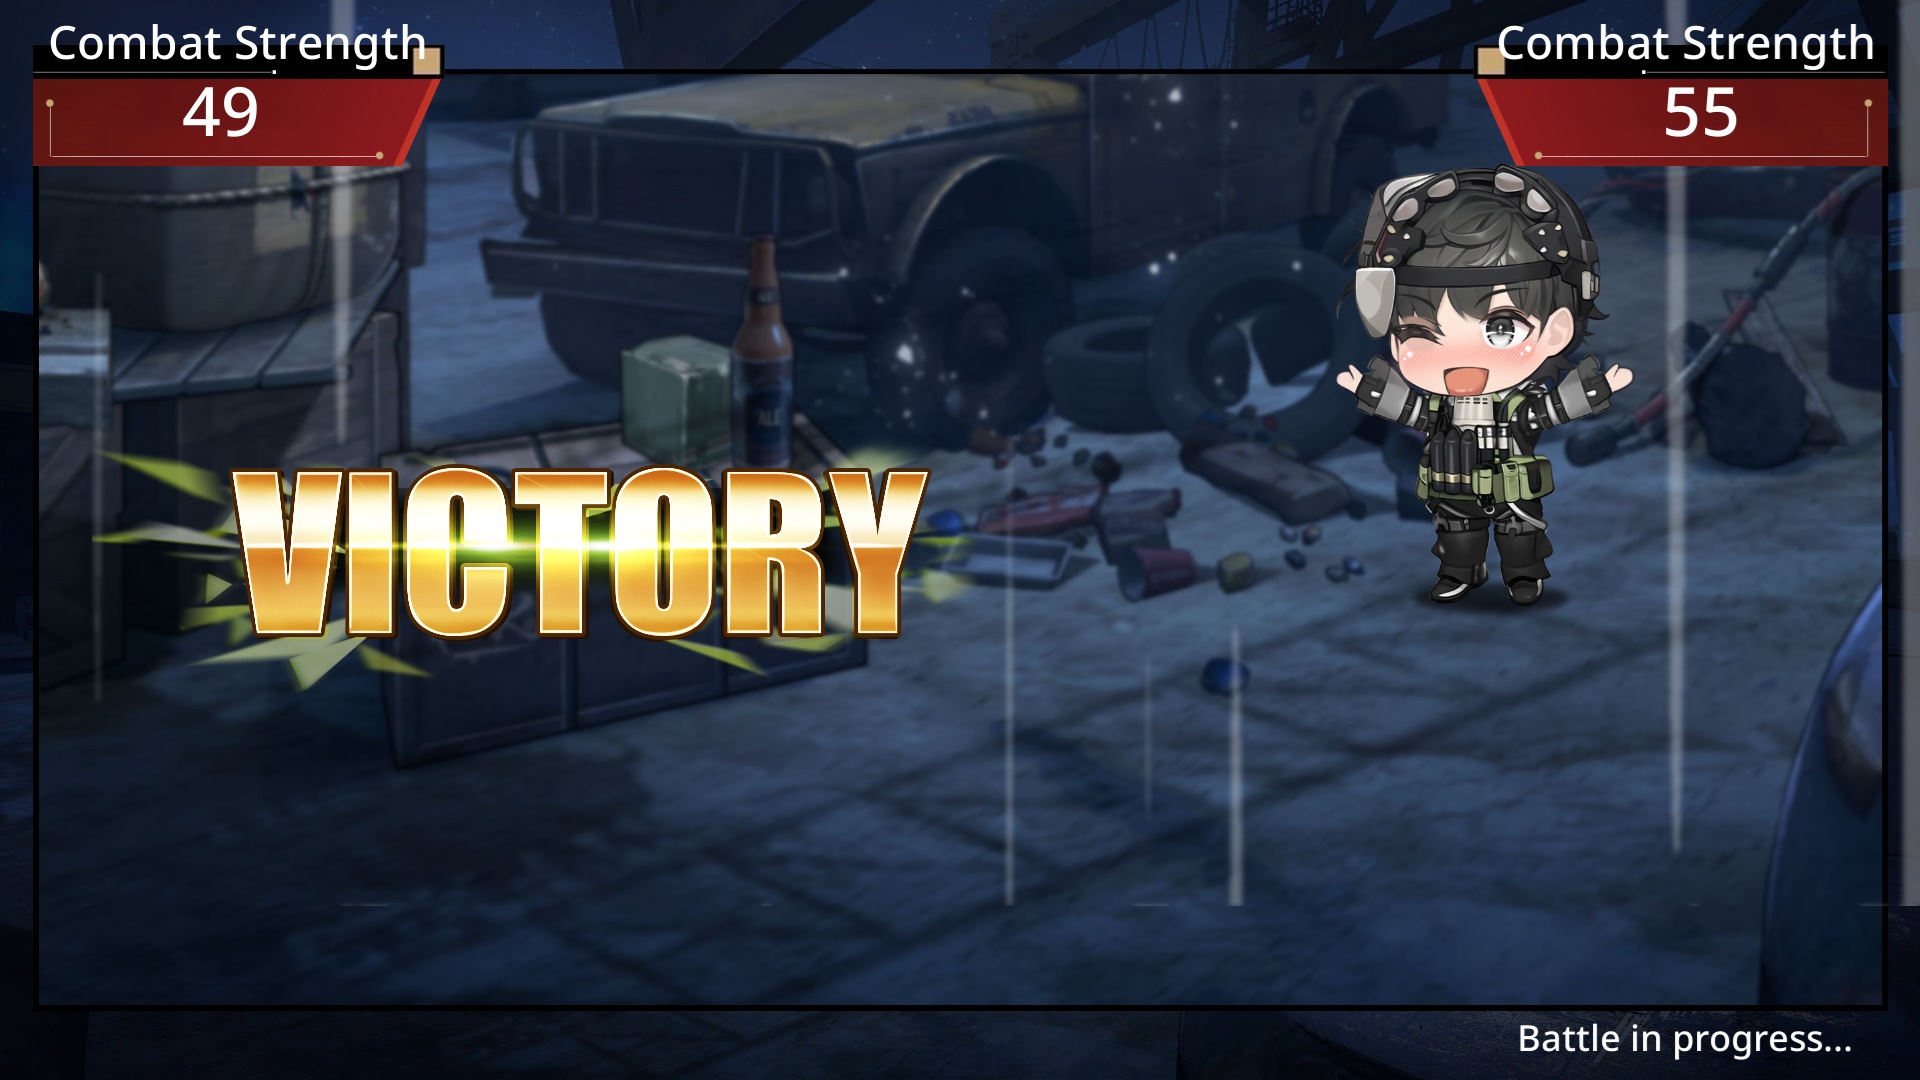
Grinding Industrial feels like a mobile game—auto-battle, win by combat power.
Sometimes you skip fights and just loot.
It’s all RNG, fam!
Industrial
Main loot: Materials
Layer 1 rundown:
- Run 1: Alice sighting plot.
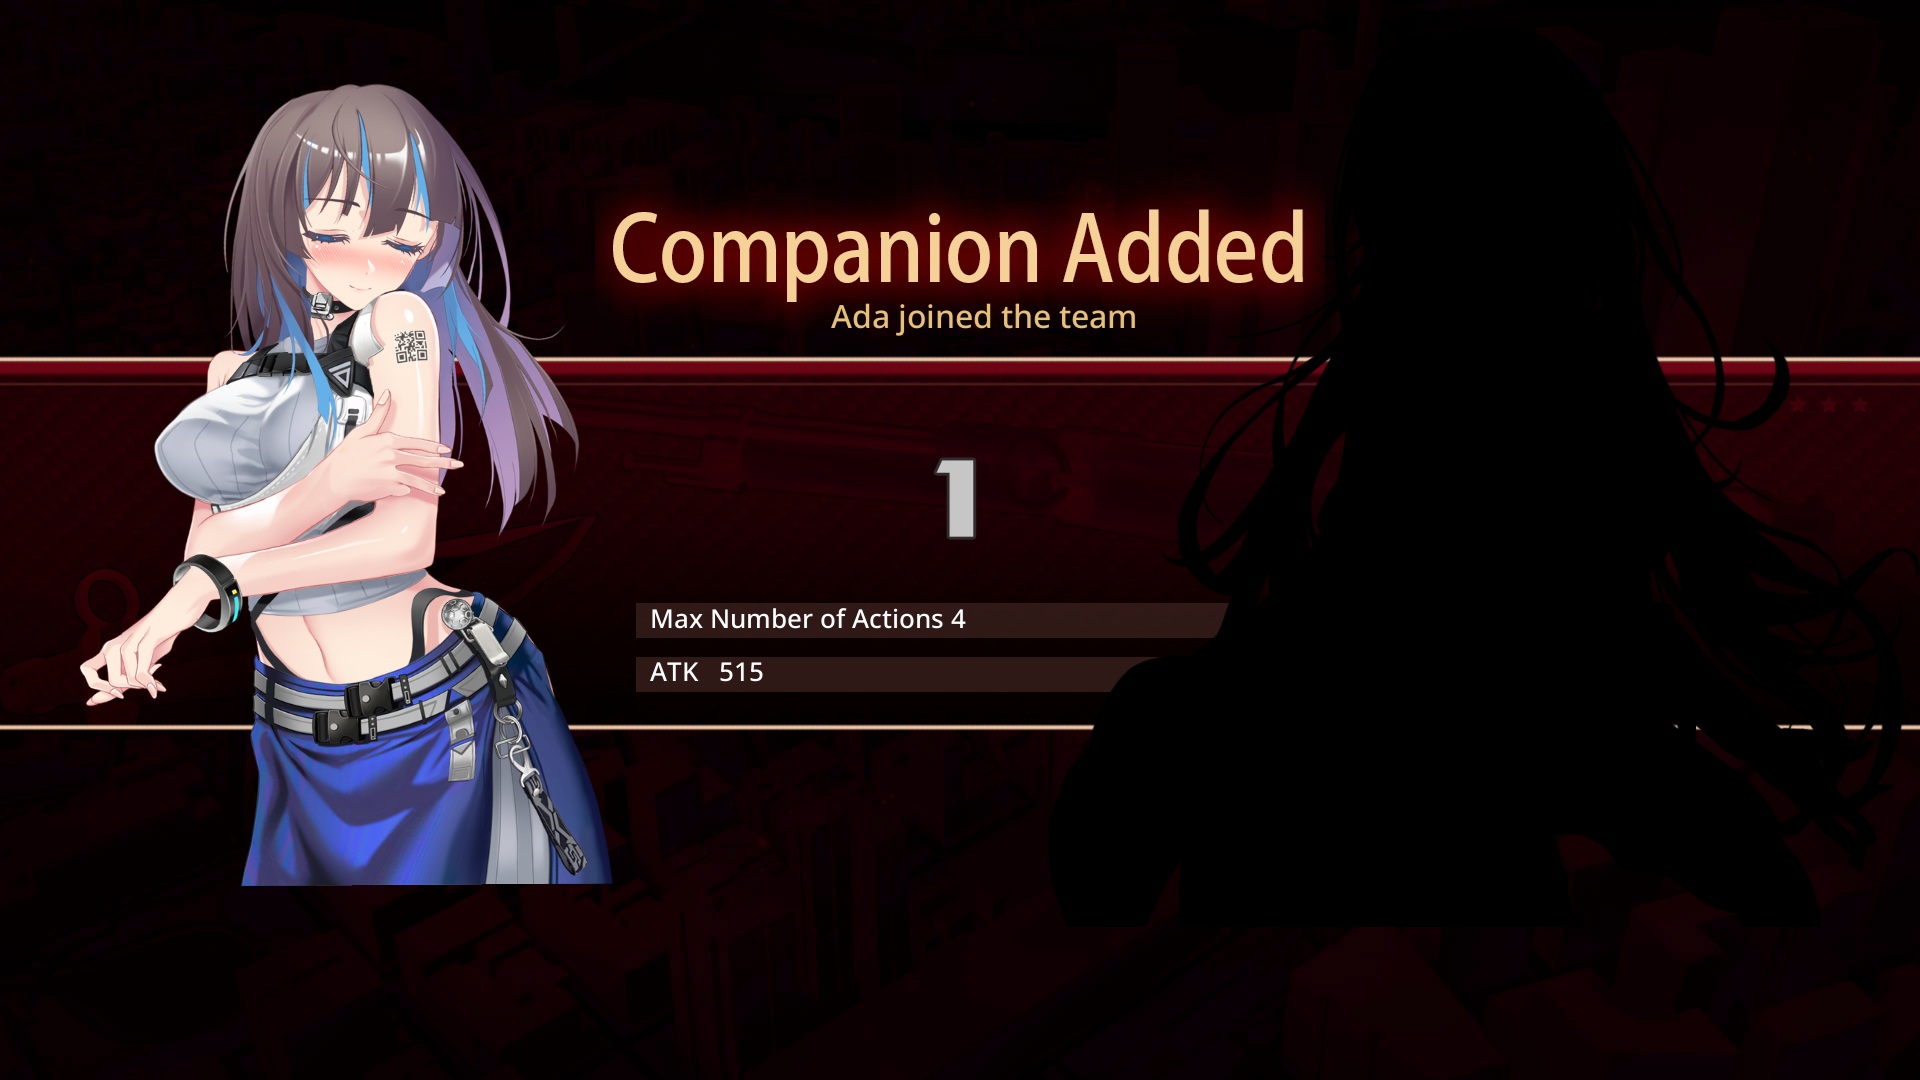
- Run 5: Core mission “Save Alice” & she joins.
- Run 10: Unlocks layer 2.
Layer 2:
- Run 1: Alice plot.
- Run 6: Hobo plot.
- Run 8: Unlocks layer 3.
Layer 3:
- Run 1: Monster plot.
- Run 3: John bro plot.
- Run 6: John bro plot.
- Run 8: Industrial “cleared.”
Same spot, loot varies.
(Even post-plot, no fixed drops.)
Some material items don’t list solo—lumped into total Materials.
Like:
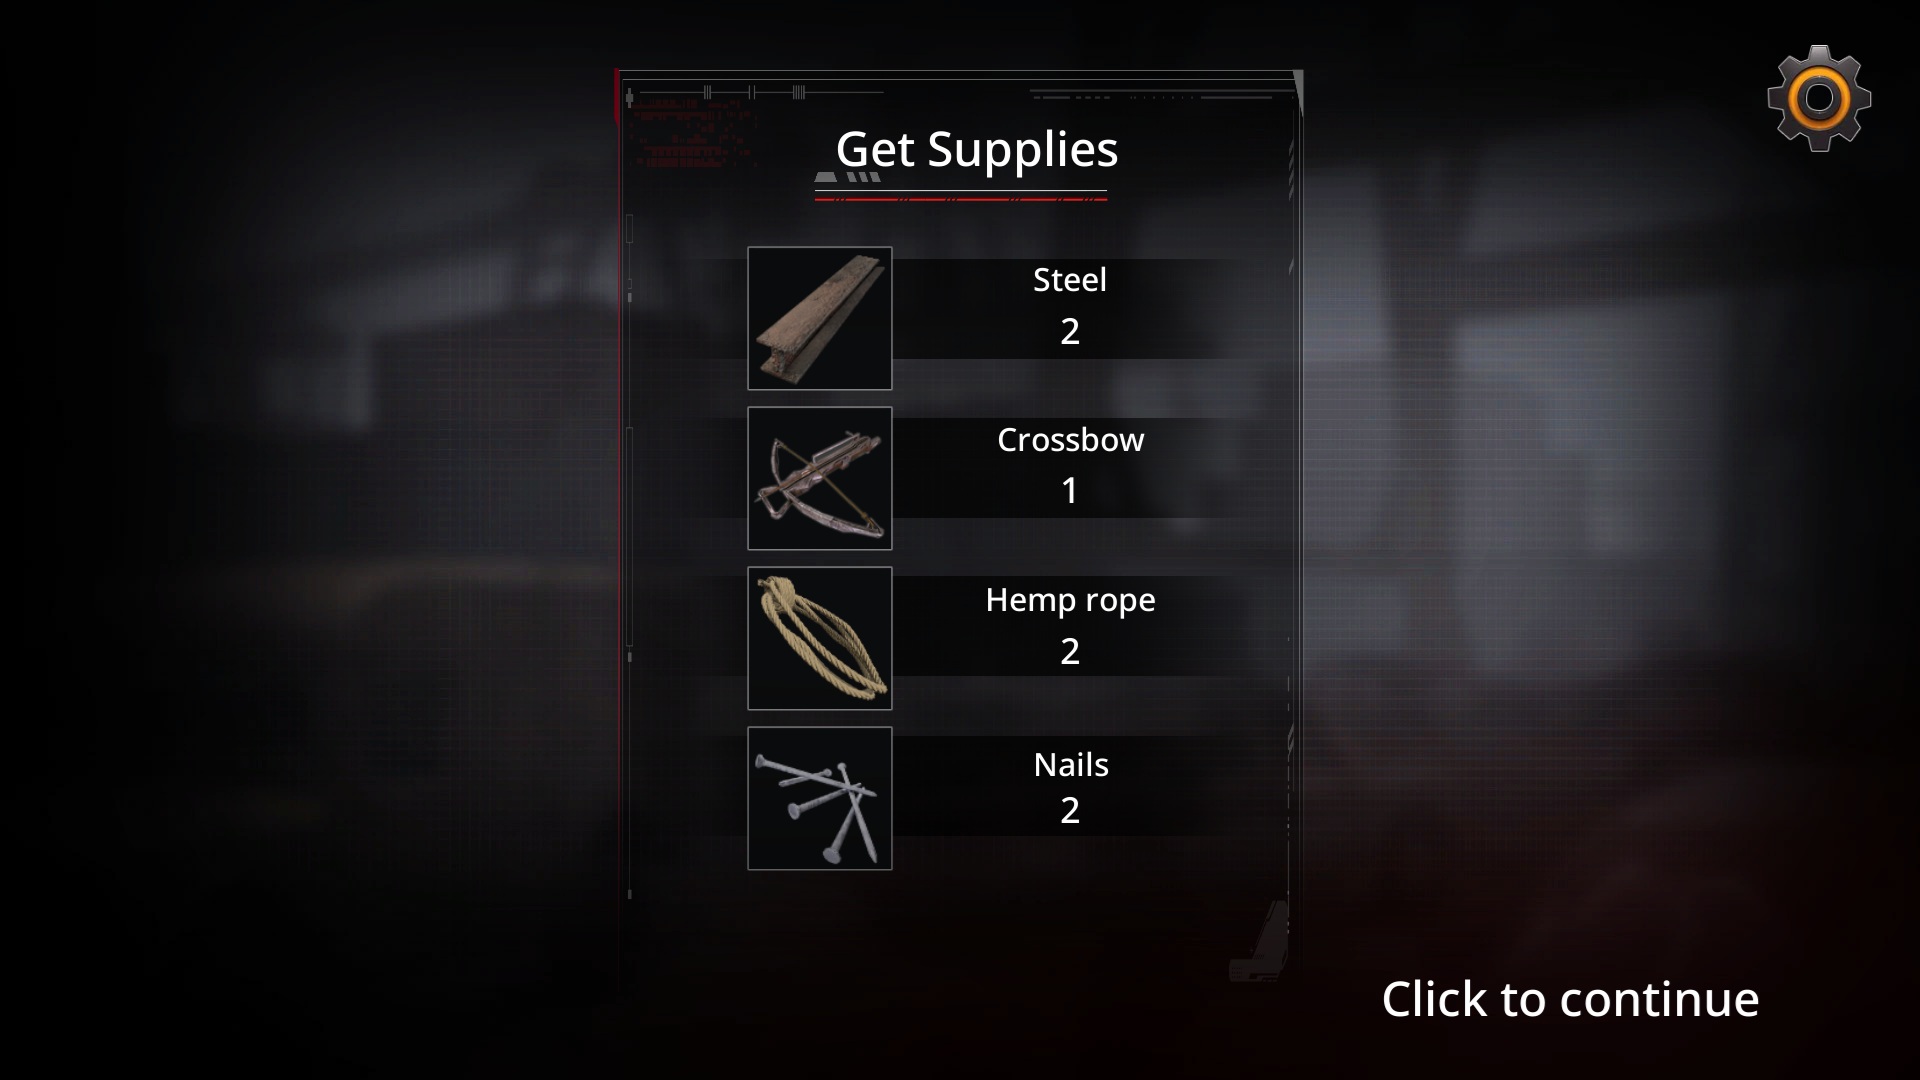
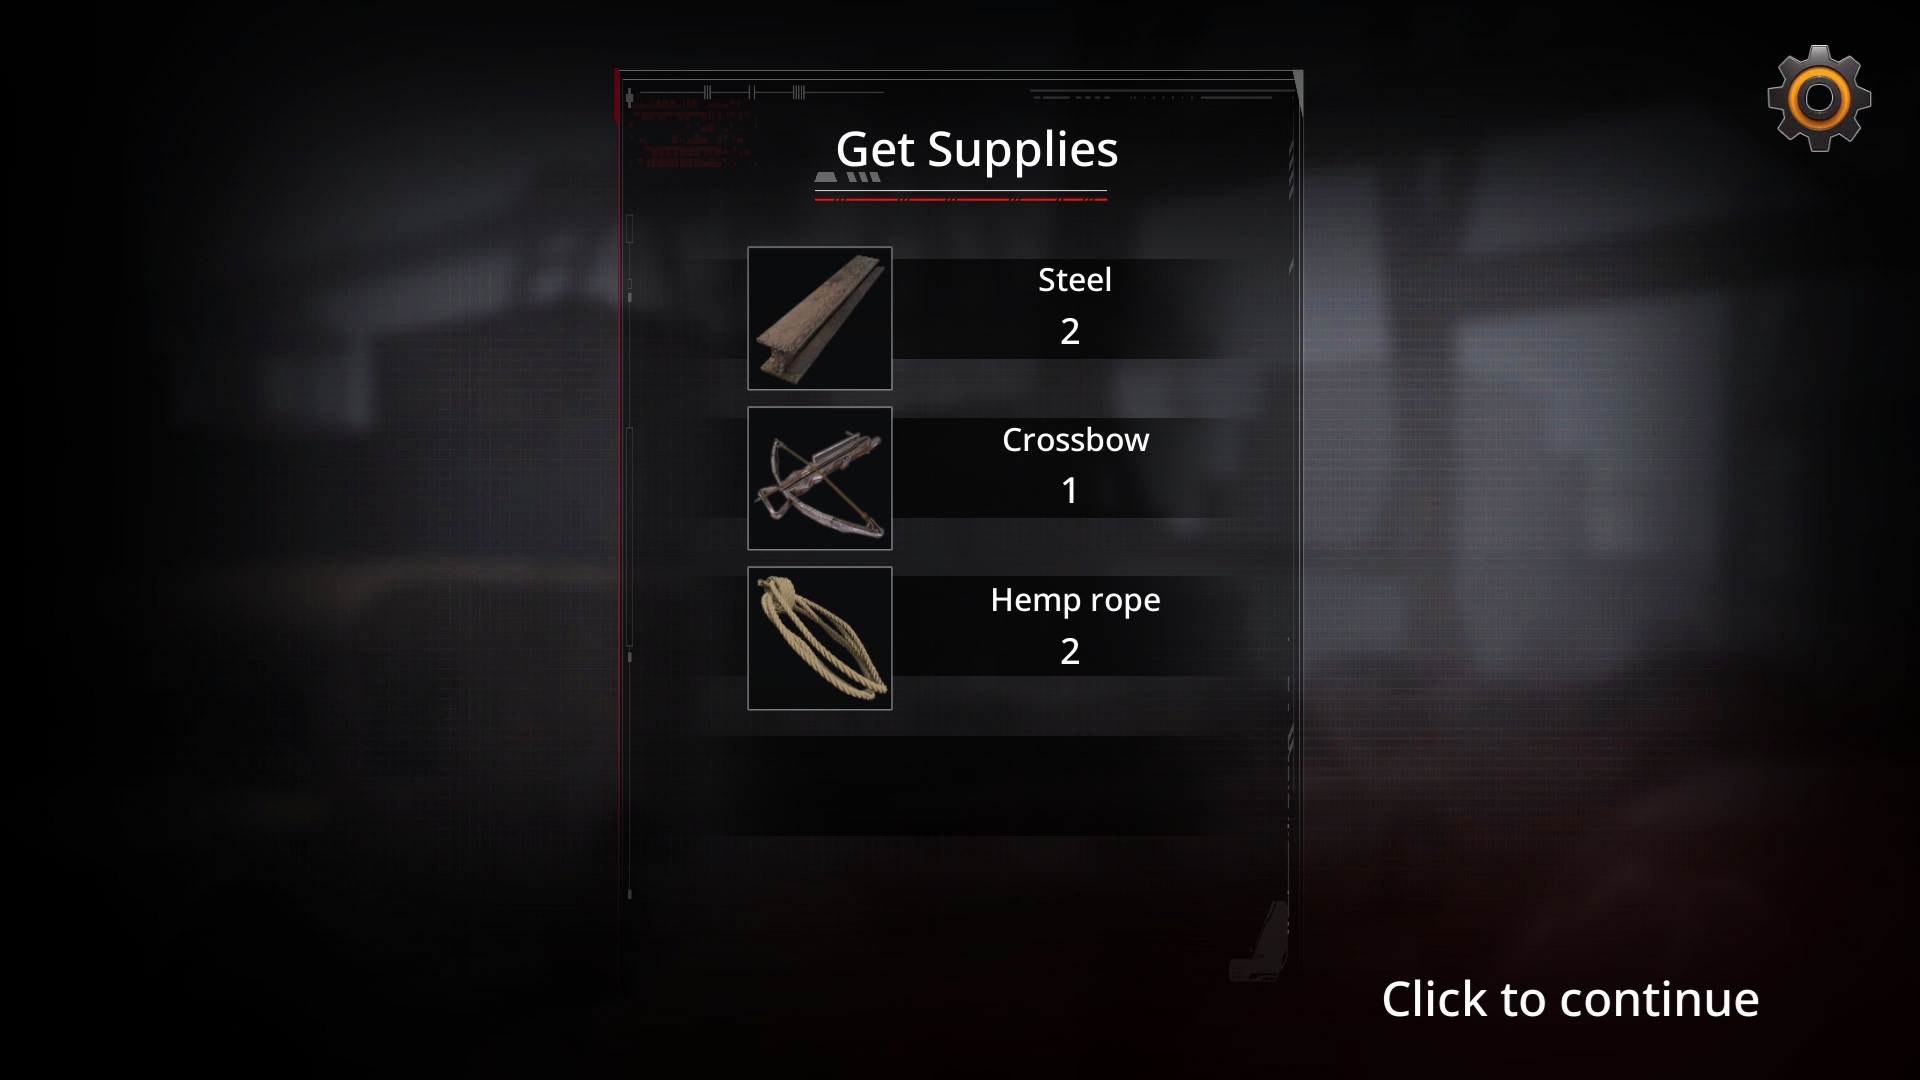
Layer 1:
- Steel | 1:4, 2 Steel = 8 Materials
- Rope | 1:1, 2 Rope = 2 Materials
- Nails | 1:2, 2 Nails = 4 Materials
- Rusty Sheet | 1:2, 2 Sheets = 4 Materials
Layer 2:
- Wire | 1:3, 2 Wire = 6 Materials
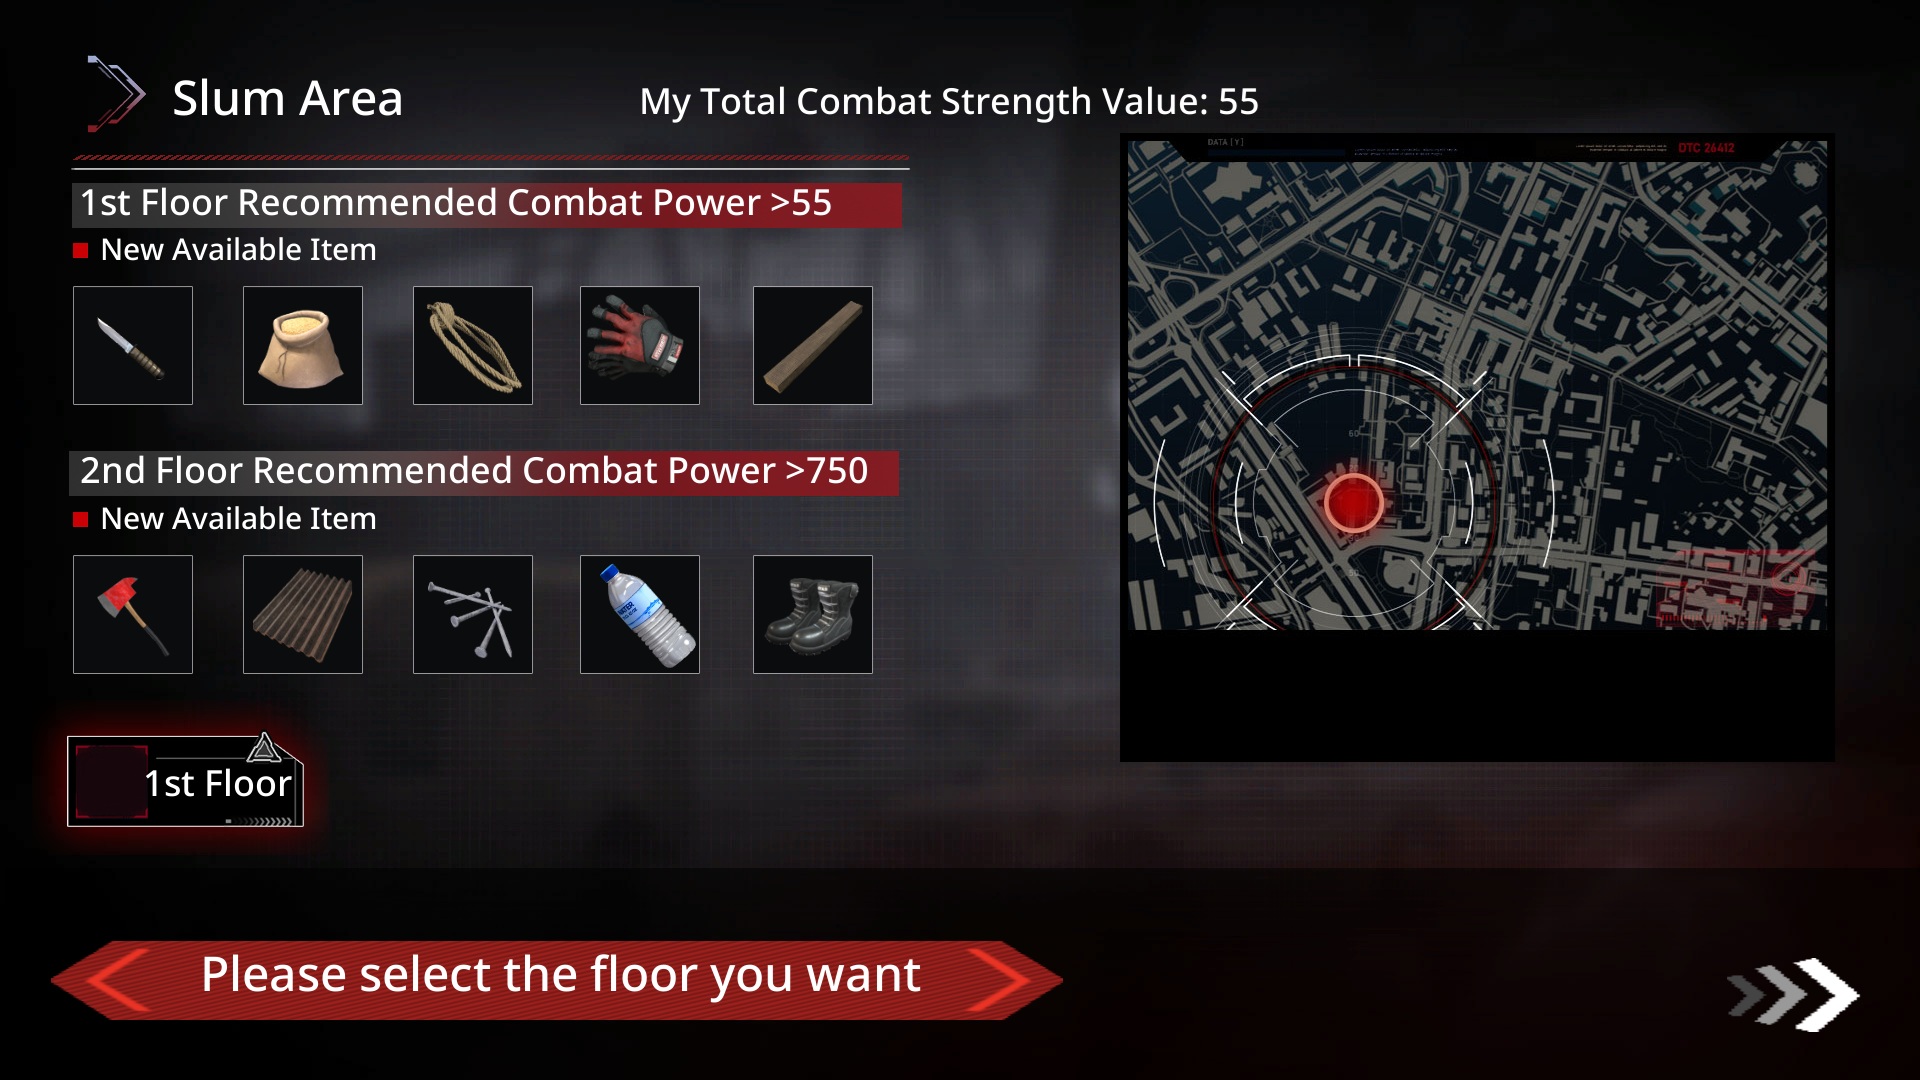
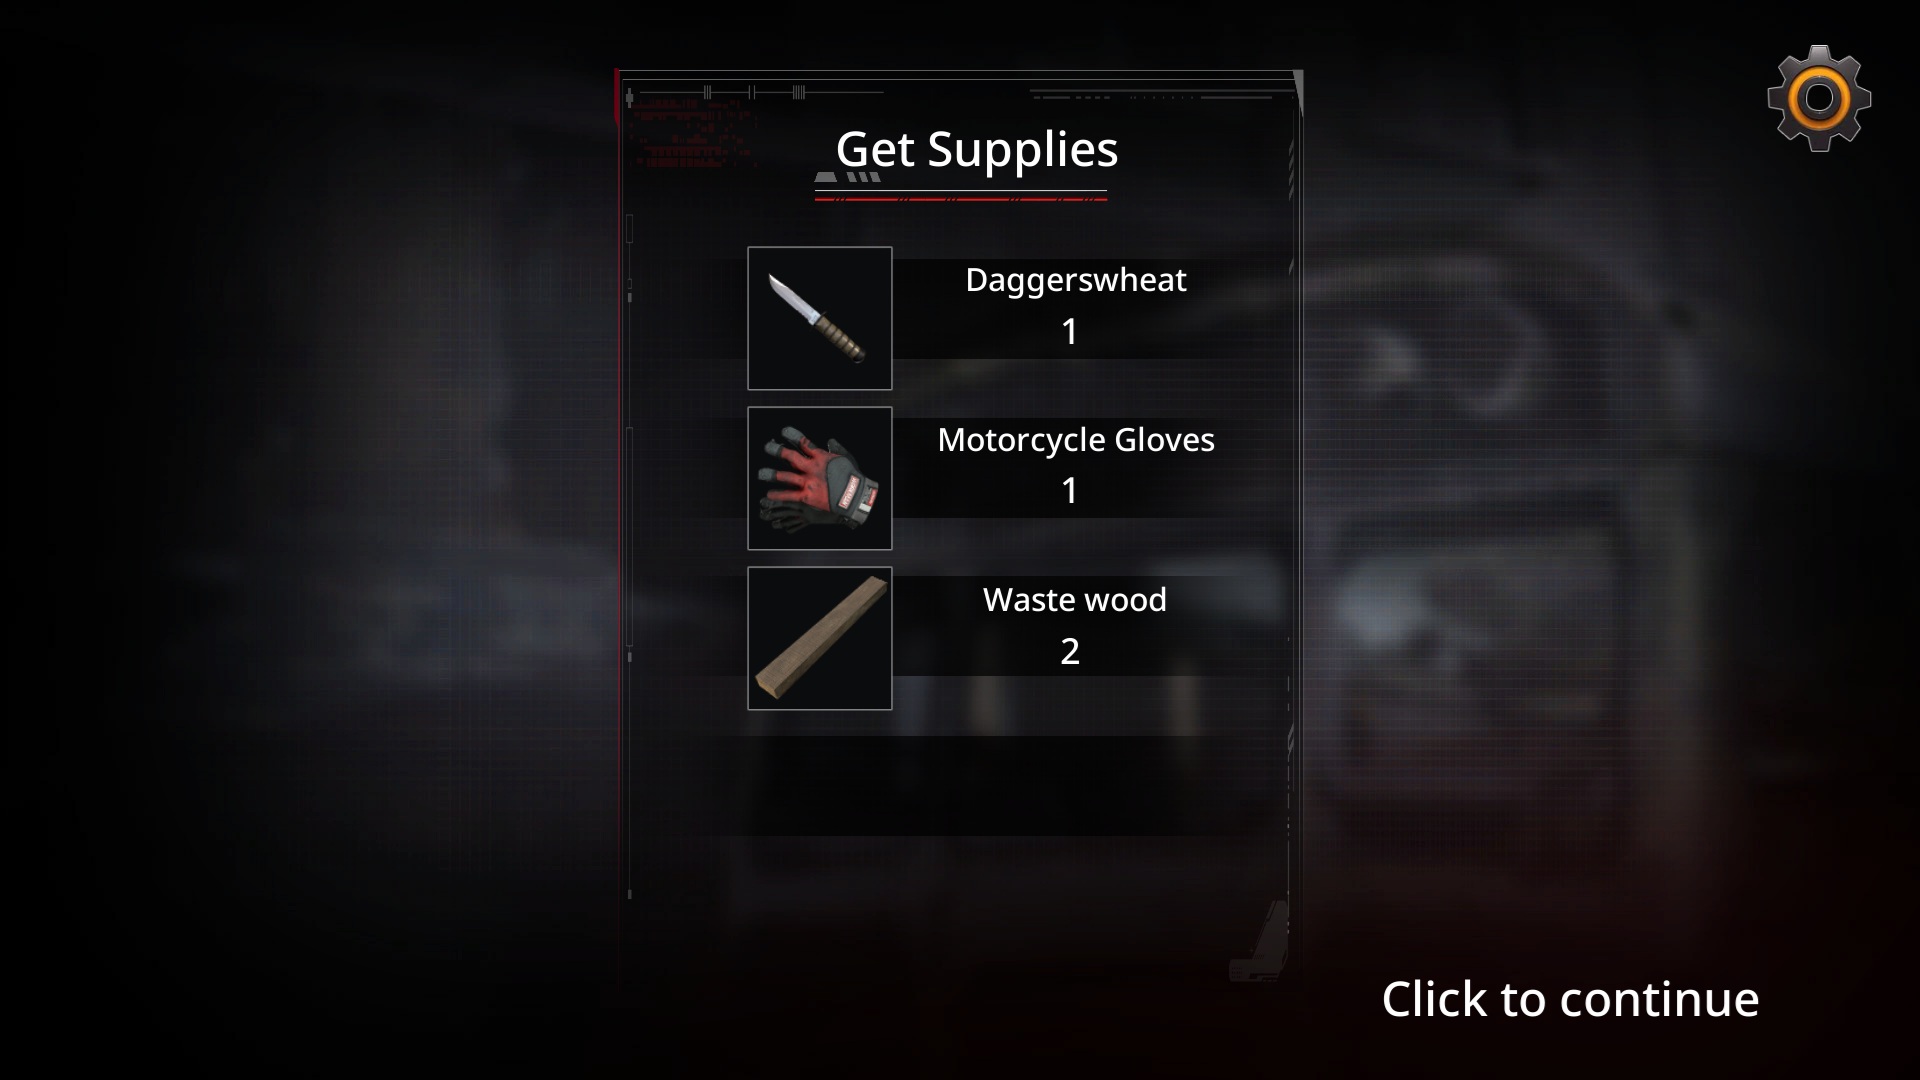
Slums Area
Main loot: Starter Gear
Layer 1 rundown:
- Run 1: Thief chick plot (drops Stress -2 or -1, Food -3).
- Run 4: Rira CG plot (give food).
- Run 7: Rira CG plot 2.
- Run 10: Unlocks layer 2.
Layer 2:
- Run 1: Black market dude plot.
- Run 2: CG mission “Solia” plot (give food).
- Run 9: CG mission “Solia” plot 2.
- Run 12: Slums “cleared.”
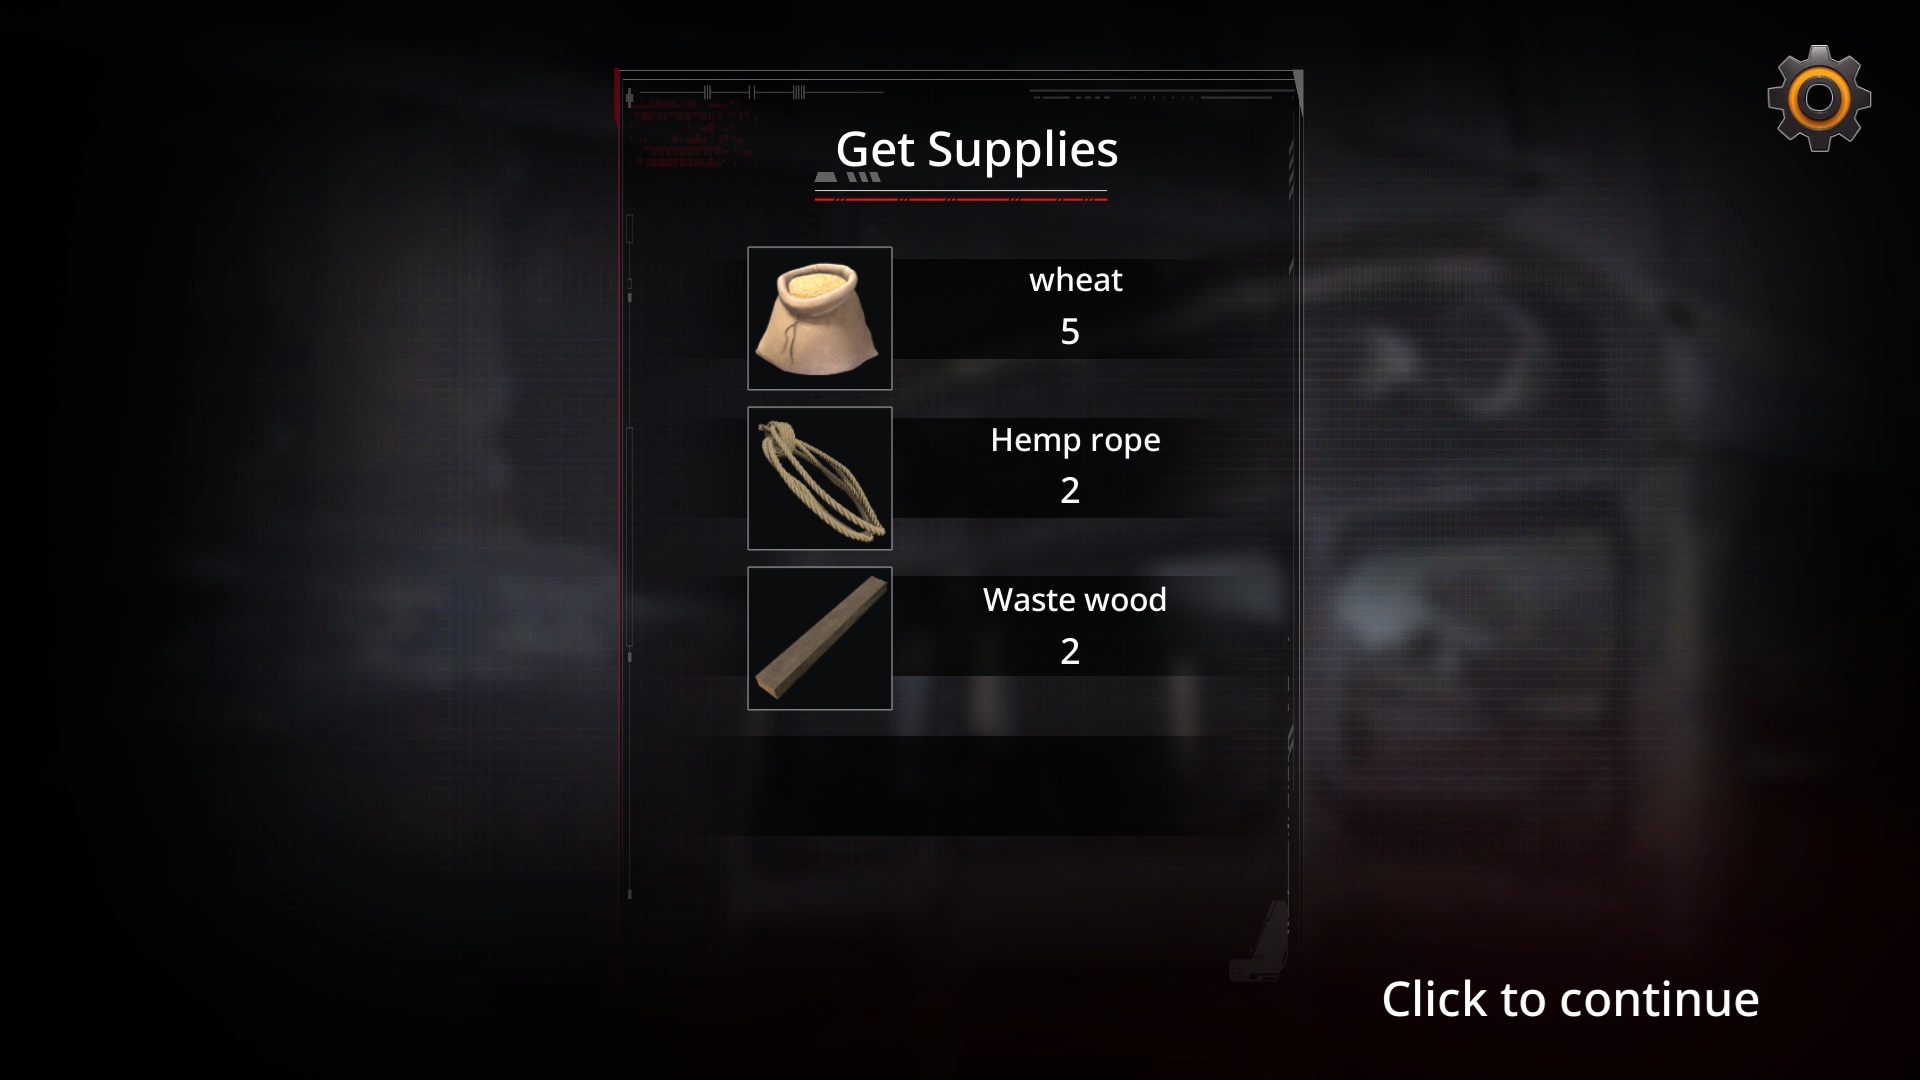
Besides materials, food’s lumped into total Food too.
Like:
Layer 1:
- Wheat | 1:2, 5 Wheat = 10 Food
- Water | 1:2, 2 Bottles = 4 Food
- Scrap Wood | 1:1, 2 Wood = 2 Materials
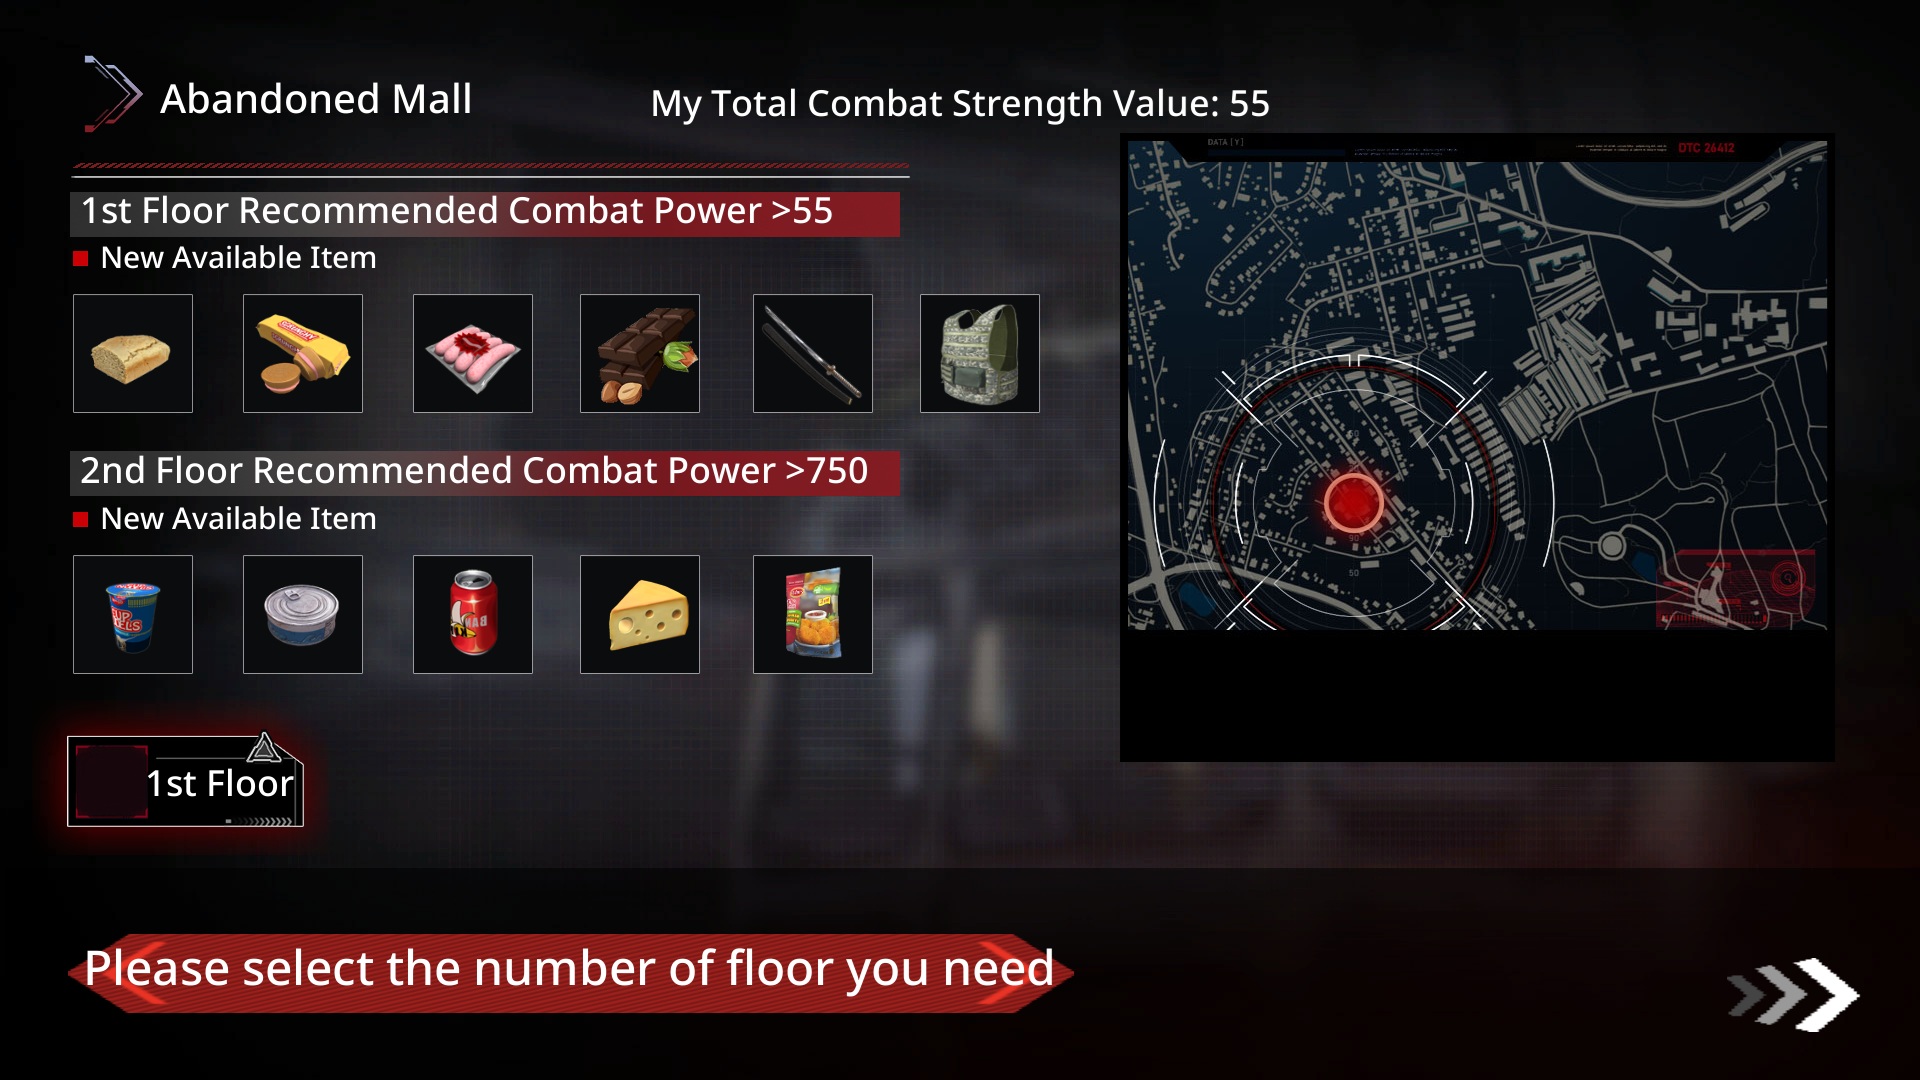
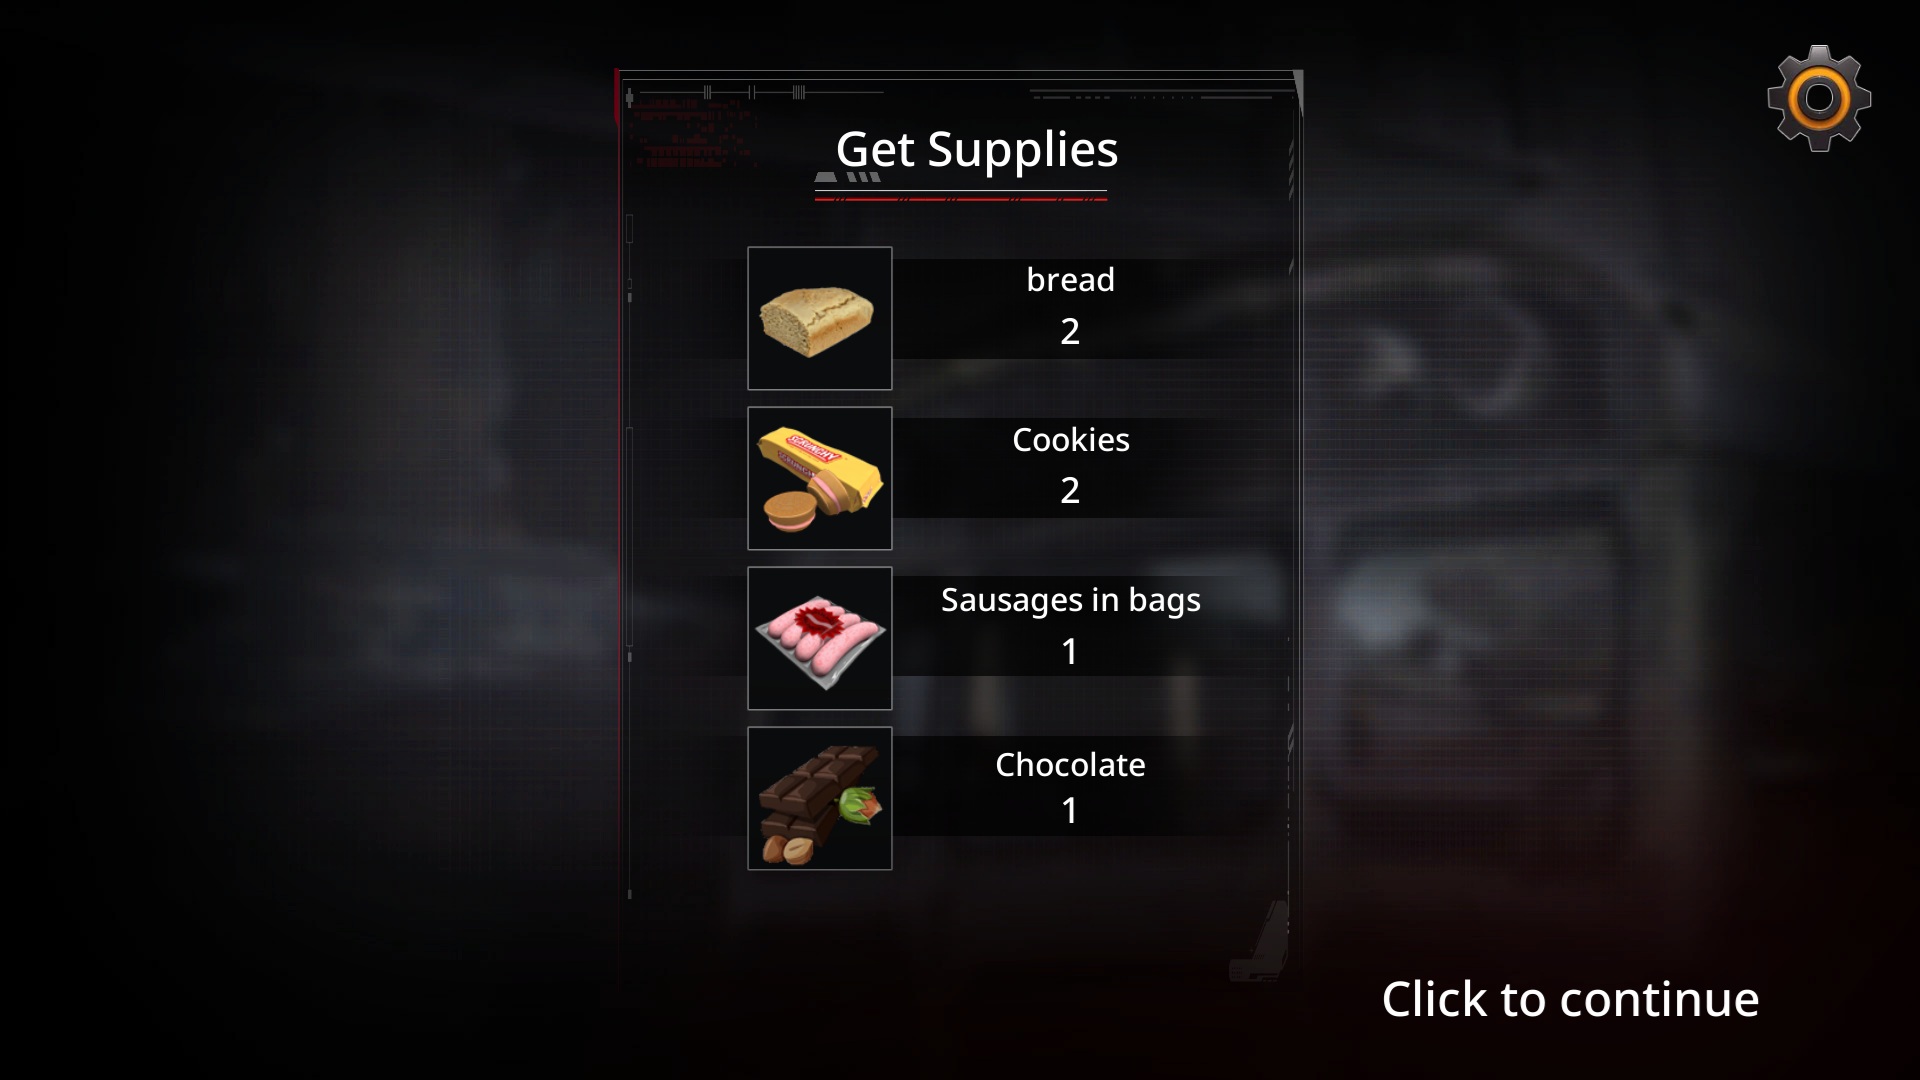
Abandoned Mall
Main loot: Food
Layer 1 rundown:
- Run 1: Special forces plot.
- Run 6: Will plot.
- Run 10: Unlocks layer 2.
Layer 2:
- Run 1: Core mission “Aria” plot.
- Run 6: Will cult meetup plot.
- Run 12: Commercial “cleared.”
Unlisted loot ratios:
Layer 1:
- Bread | 1:4, 2 Bread = 8 Food
- Cookies | 1:4, 2 Cookies = 8 Food
- Sausage Packs | 1:6, 2 Packs = 12 Food
- Chocolate | 1:6, 2 Chocs = 12 Food
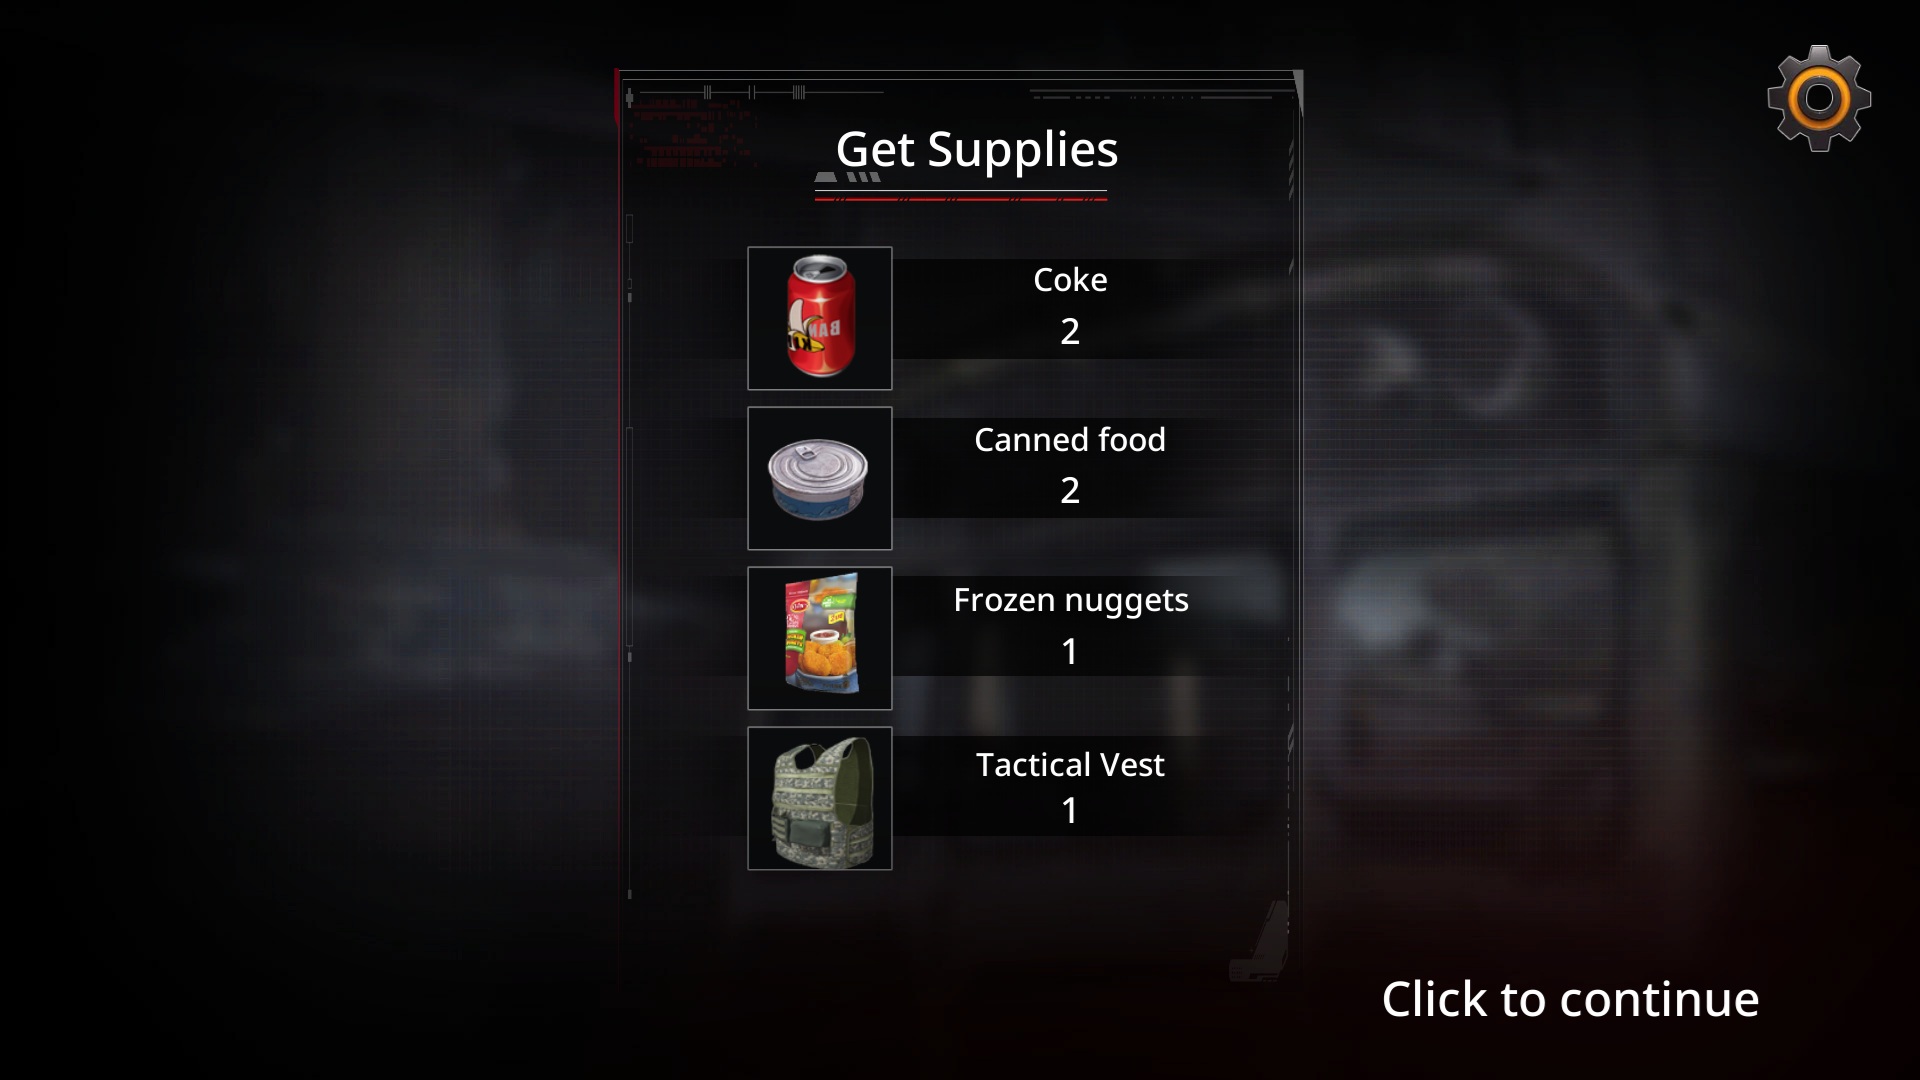
Layer 2:
- Cola | 1:3, 2 Cola = 6 Food
- Cans | 1:8, 2 Cans = 16 Food
- Cheese | 1:5, 2 Cheese = 10 Food
- Cup Noodles | 1:5, 2 Noodles = 10 Food
- Fried Nuggets | 1:4, 2 Nuggets = 8 Food
These ratios? Just math.
Average-wise, layer 2 cans jackpot your food.
But pull Cola, and you’re just laughing at your RNG luck.
Post-fight loot’s all random, fam.
Late-game, you’re swimming in stuff—buy meds like crazy.
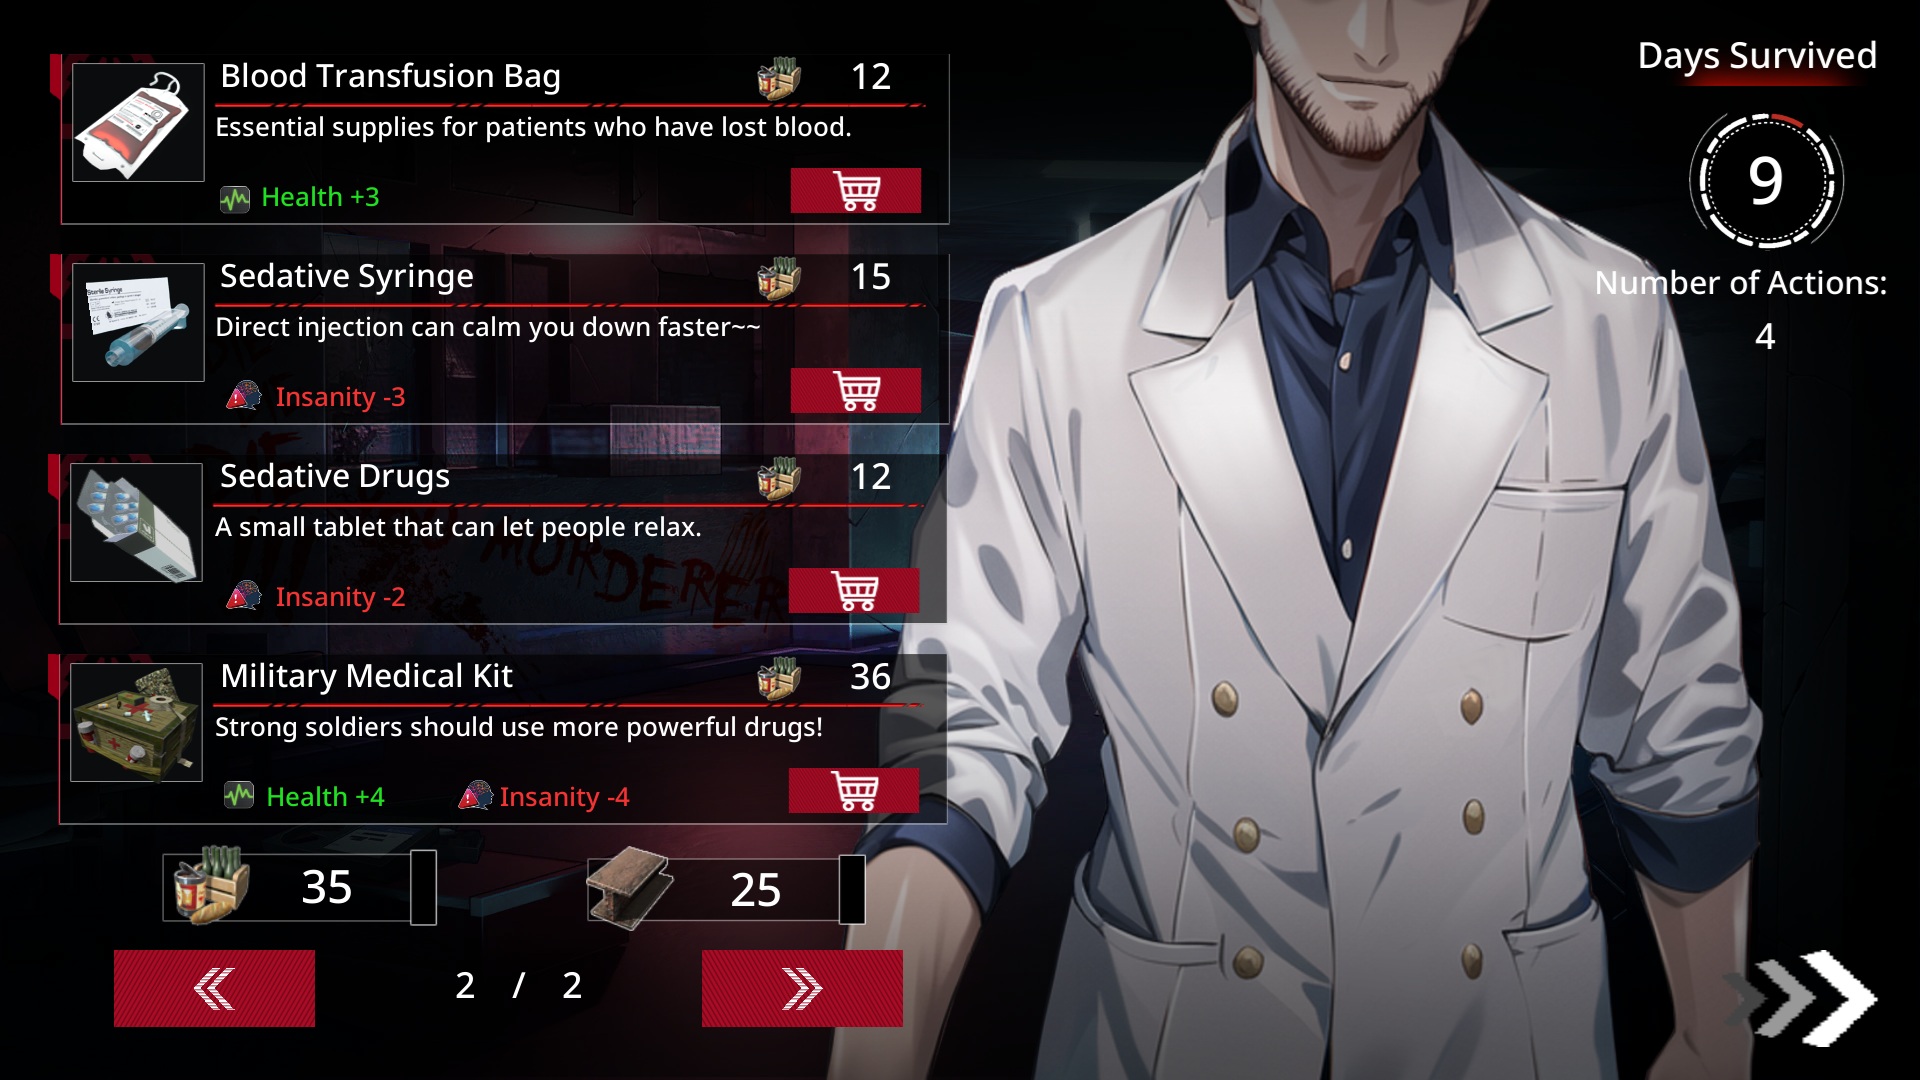
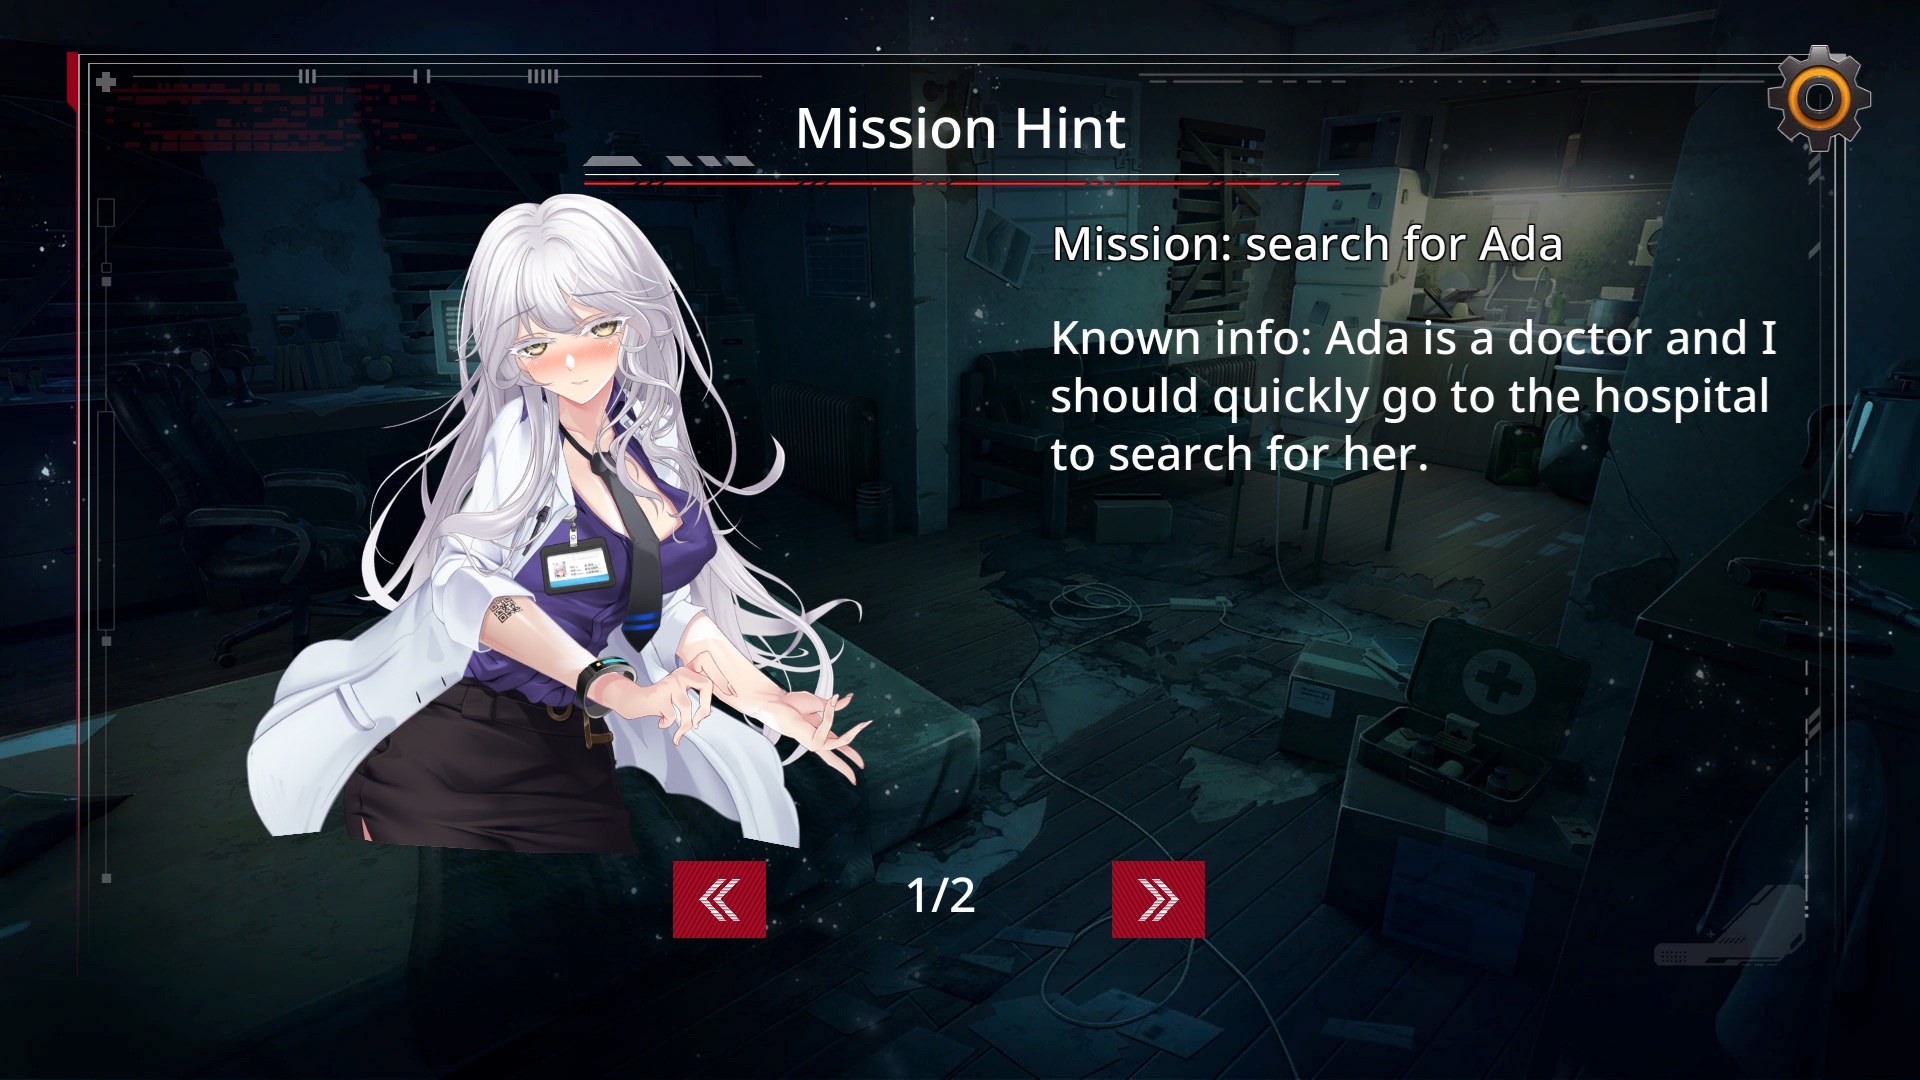
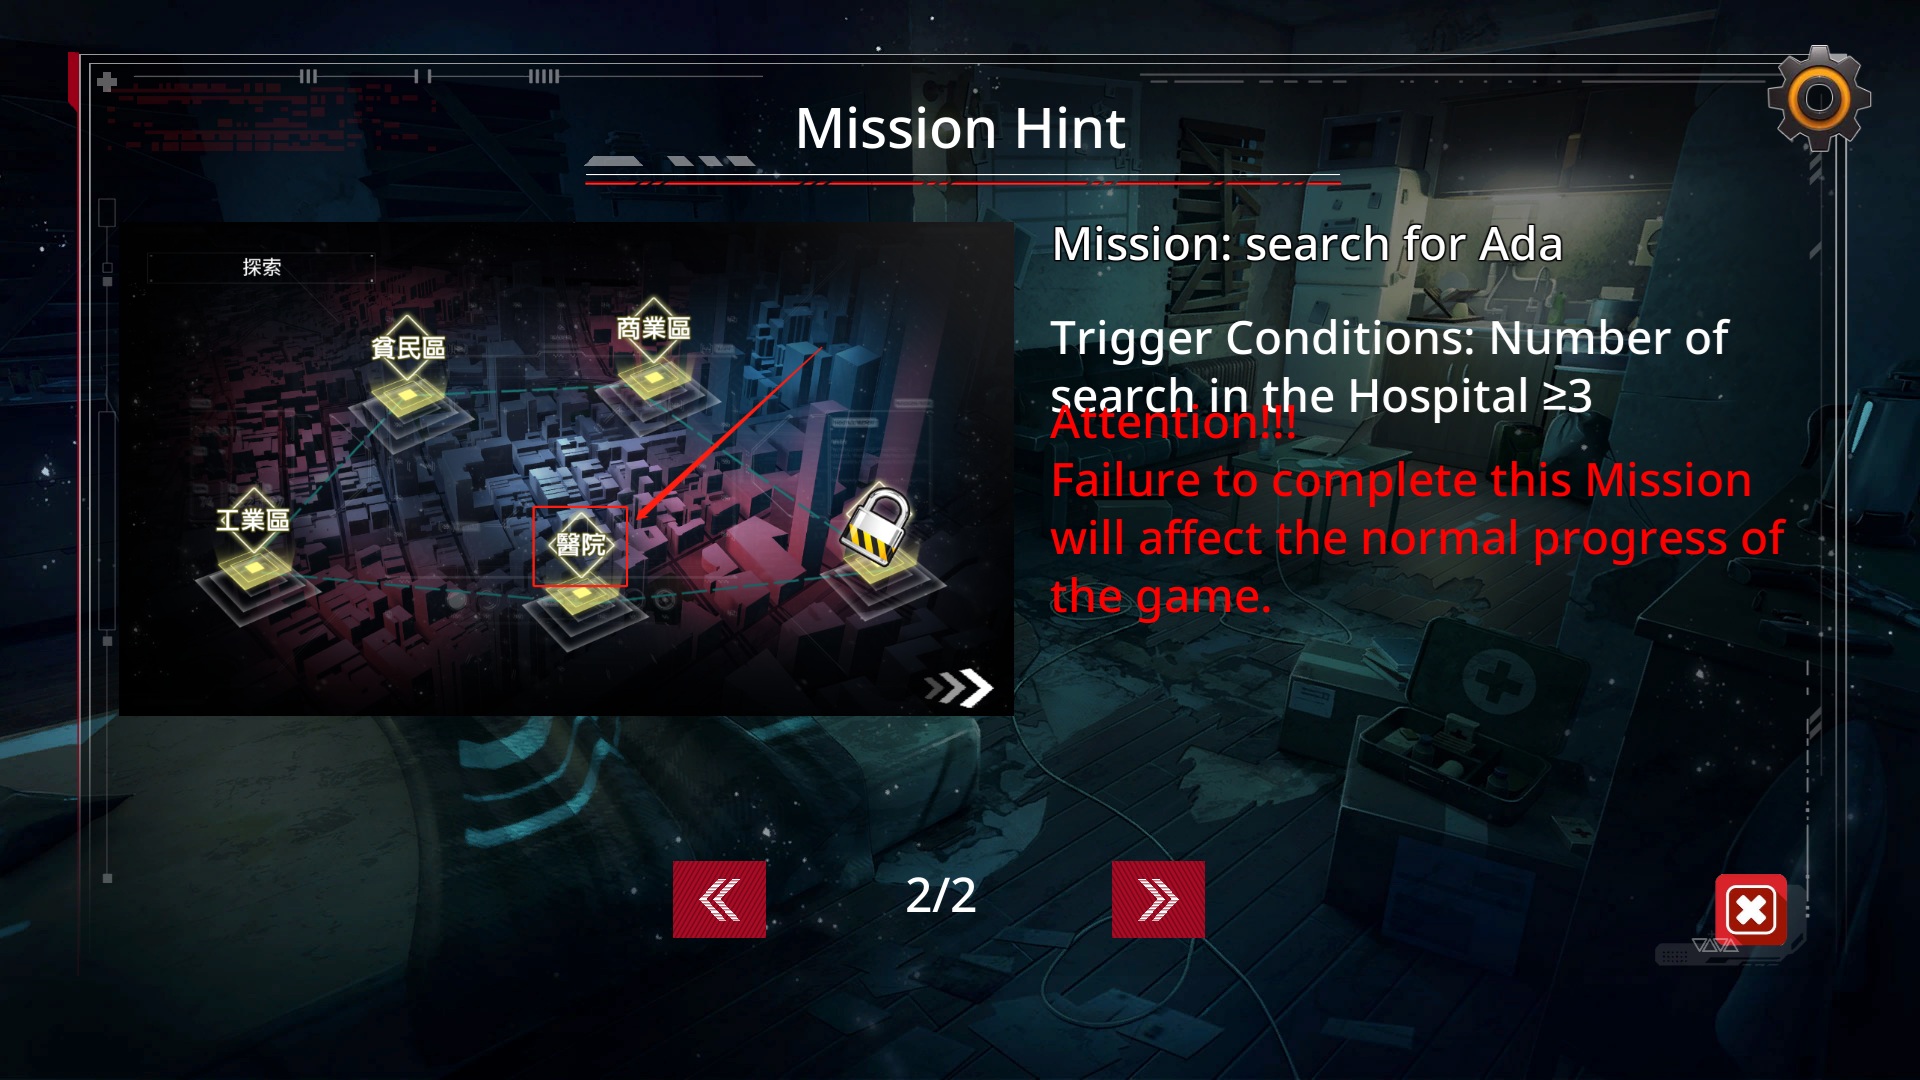
Hospital
Main loot: Buy Meds
Rundown:
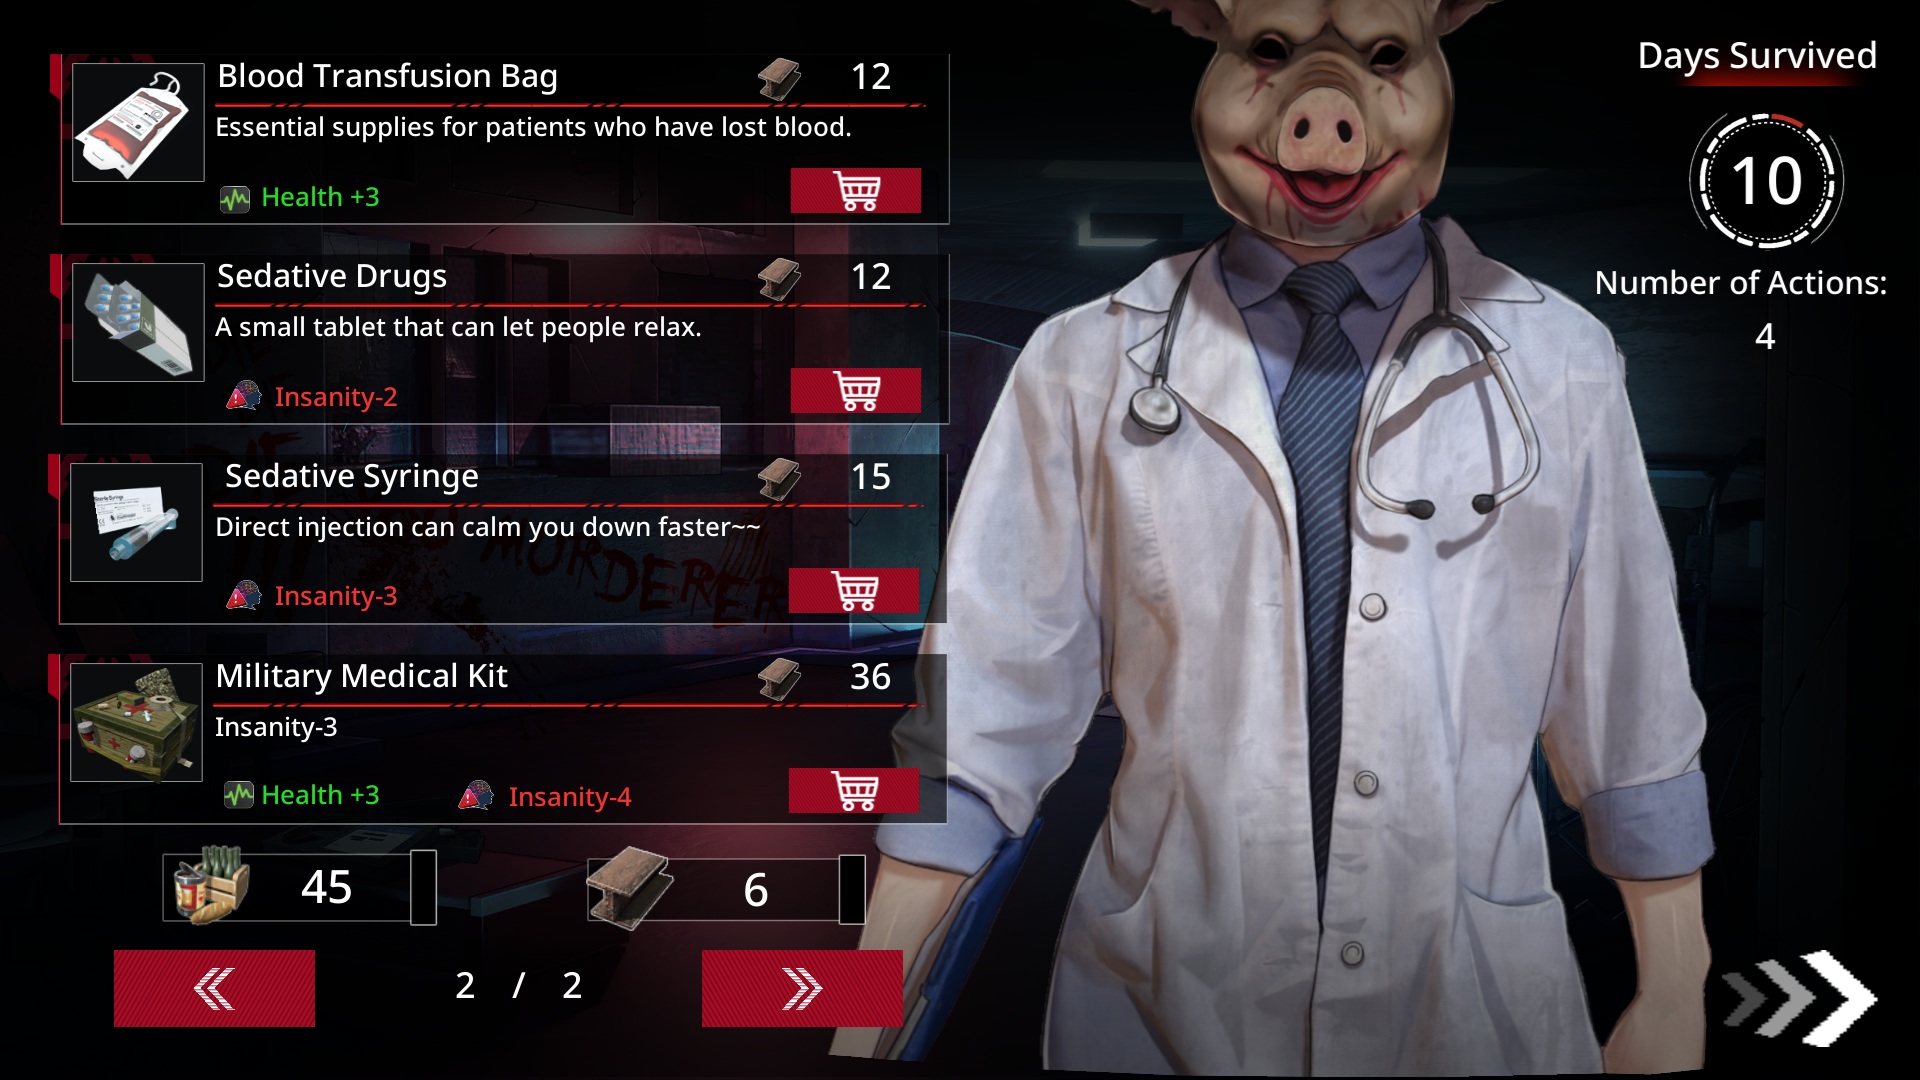
- Run 1: Pig-head doc plot (can buy meds).
- Run 2: Nurse bolts plot (can buy meds).
- Day 5: Bro plot unlocks.
- Run 3: Helen plot & save Ada & she joins (solo only).
- Doc turns normal (Ward).
- Run 3: Save Ada & she joins (with Alice).
- Doc stays Pig-head.
After 3 runs, Hospital trips let you buy straight from the doc.
(Or skip early—just trigger 2 plots.)
Buying meds still costs an action point.
FYI:
First run, chat Pig-head doc up—talking’s free.
But pre-Day 5 bro plot, it’s just NPC chatter.
Trick:
No buying? Click meds, then “back”—no action point lost.
Hit “leave,” and you burn one.
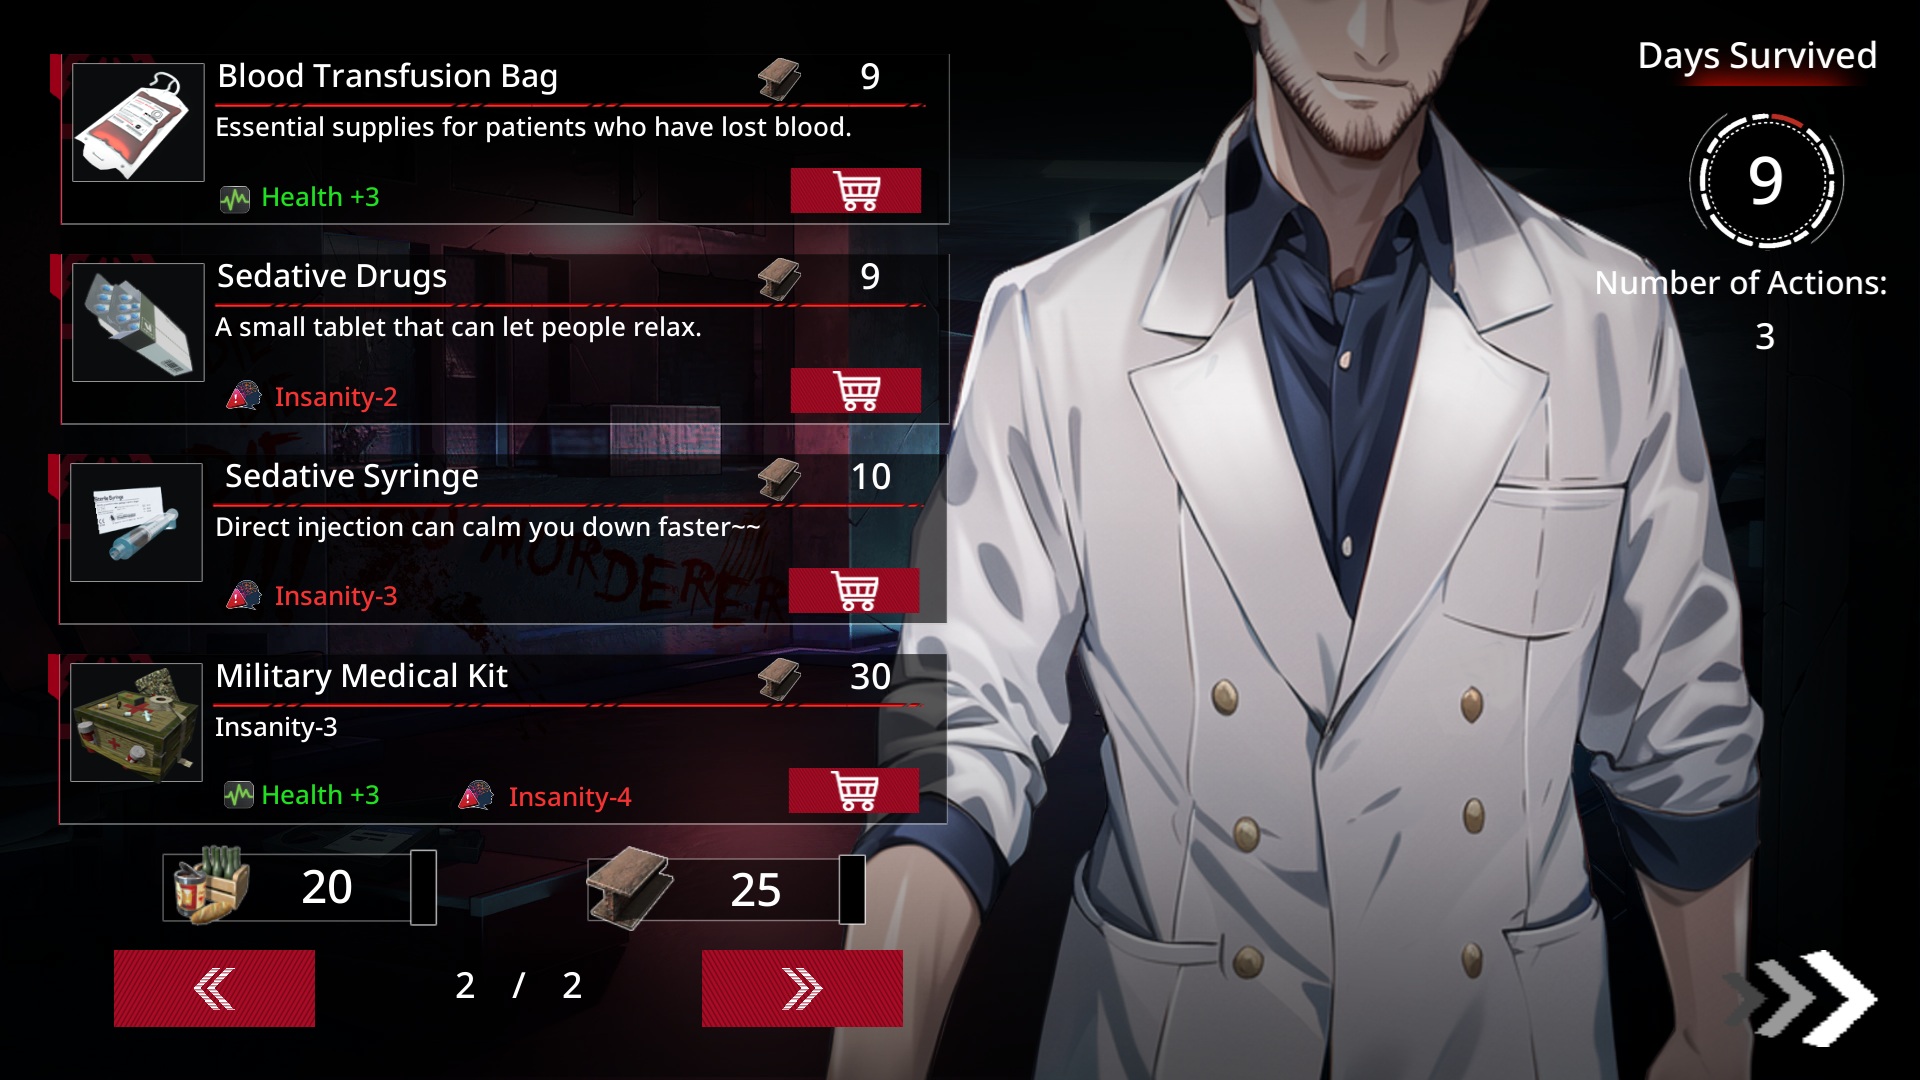
Funny bit: Buying from Pig-head with materials?
“Sedatives” say Stress -3 but do -2.
“Military Medkit” says +4/-4 Health/Stress, does +3/-3.
Inventory stats don’t lie—just a UI glitch.
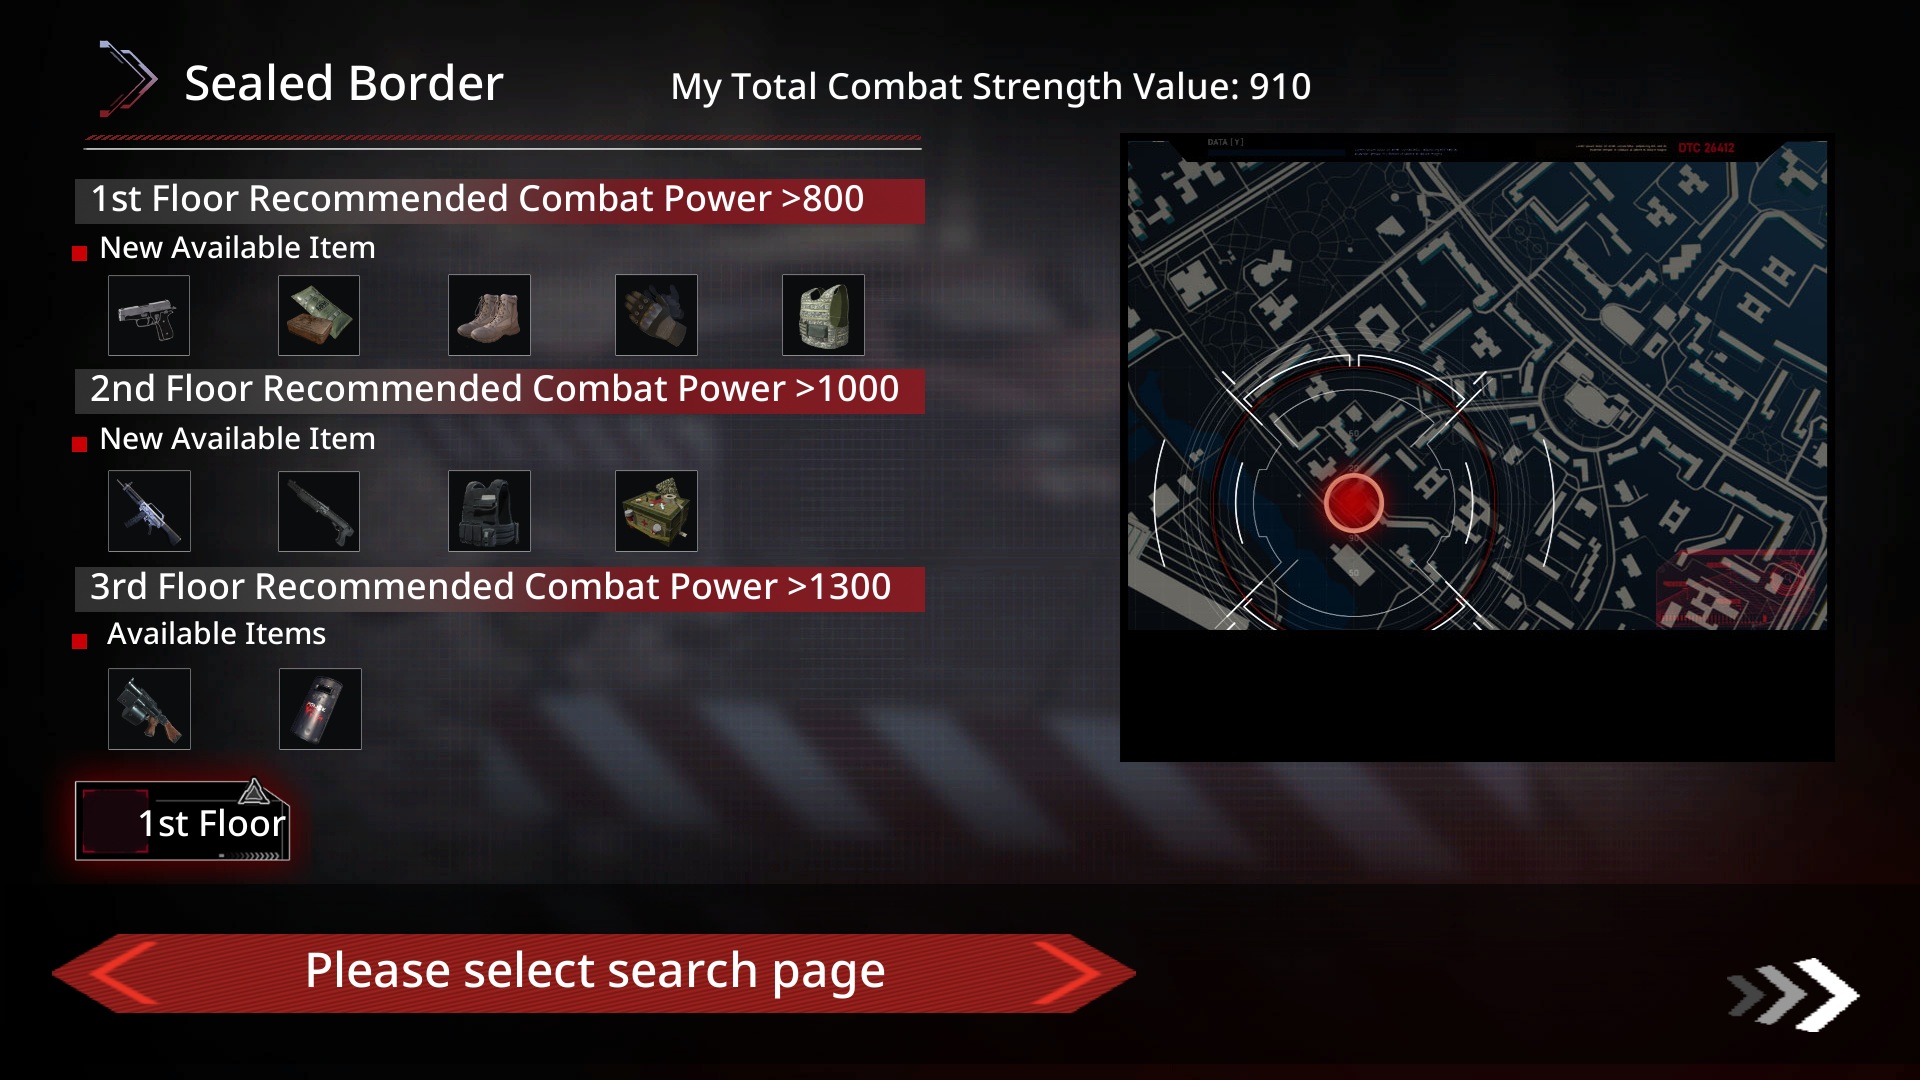
Sealed Border
Main loot: Weapons, Armor
Layer 1 rundown:
- Run 1: Map plot.
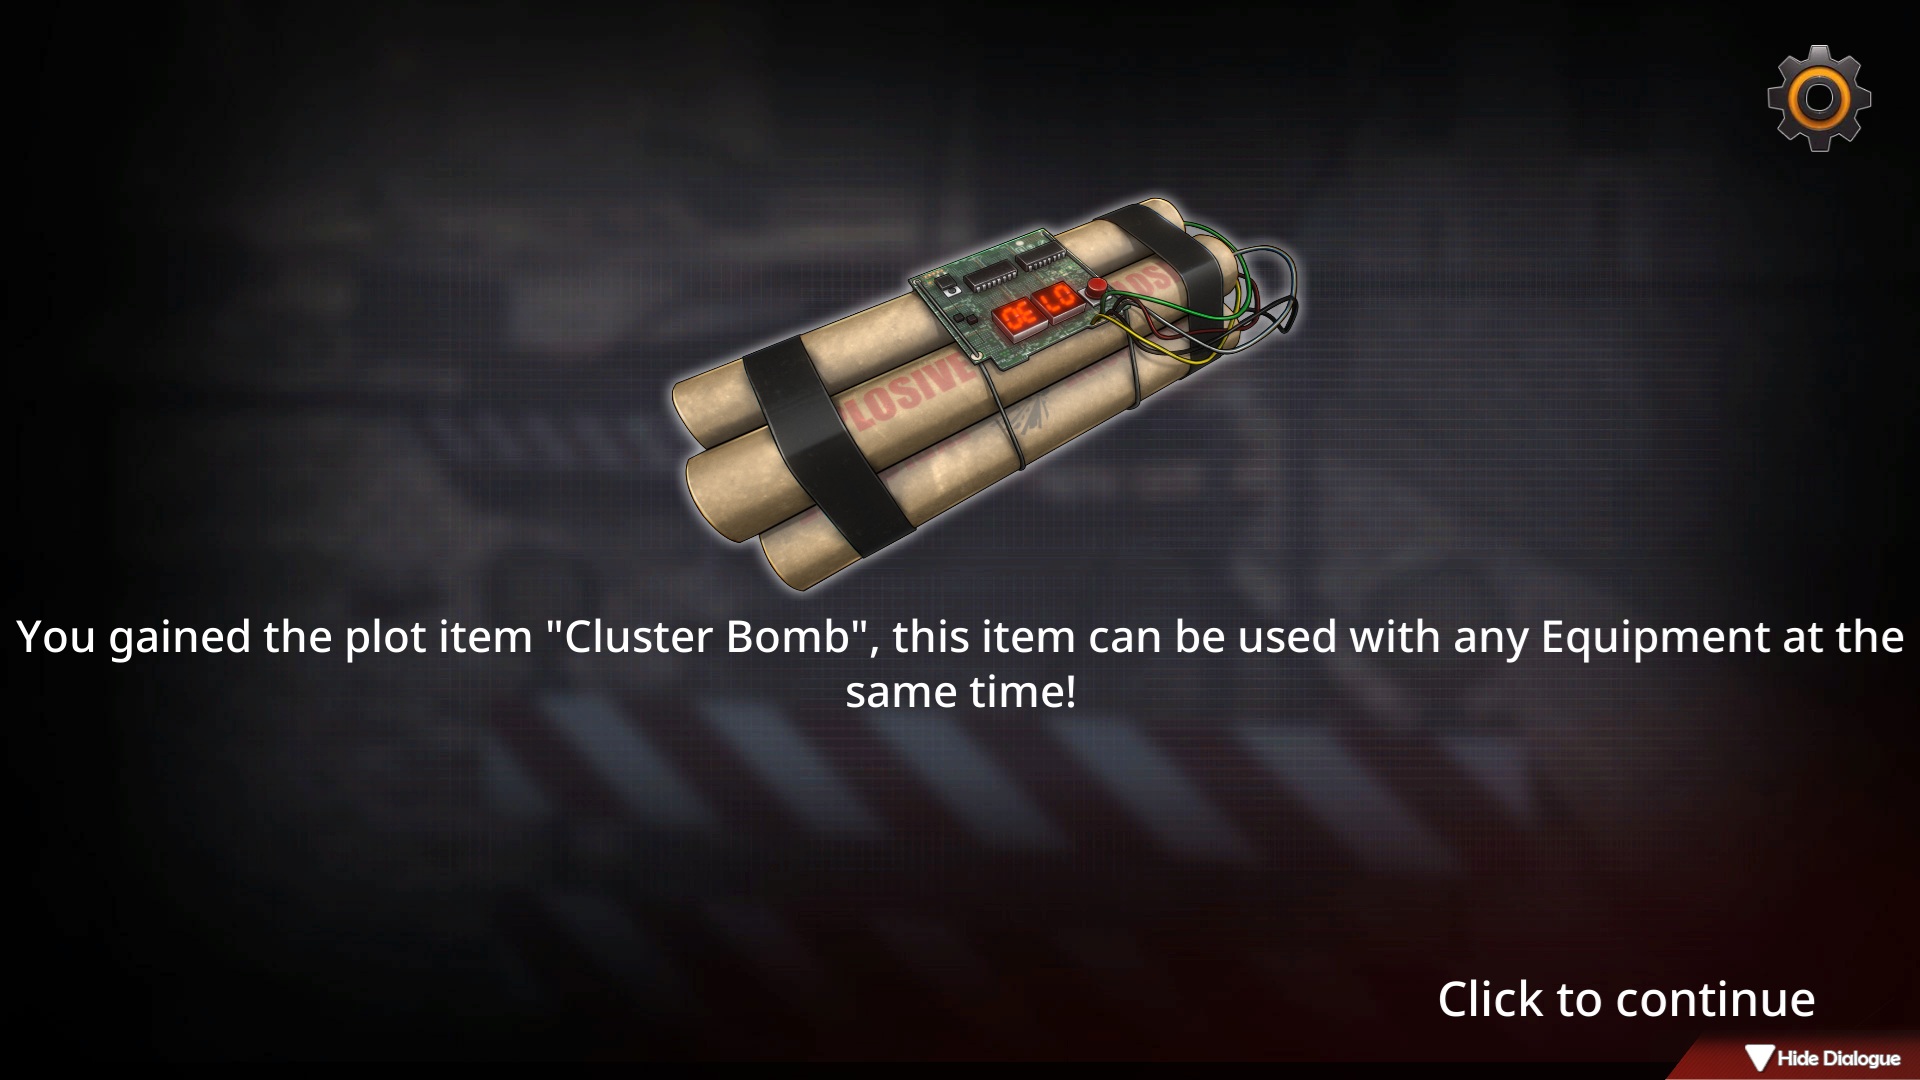
- Run 5: Bandit plot (600 power recommended) + mainline item unlock.
- Run 10: Unlocks layer 2.
Layer 2:
- Run 5: Gambling plot.
- Run 10: Unlocks layer 3.
Layer 3:
- Run 1: “Fight” or “Gamble” plot (win = cool, lose = CG).
- Run 2: “Fight” or “Cover” plot.
- Run 4: “Fight” or “Gamble” plot.
- Run 5: Border Lockdown “cleared.”
- Endless runs after: random fight plots.
▲ Big note:
Any fight, unequip gear and lose on purpose—unlocks hidden CGs (3 duo ones).
Losing might repeat or nab new ones—one teammate changes the CGs!
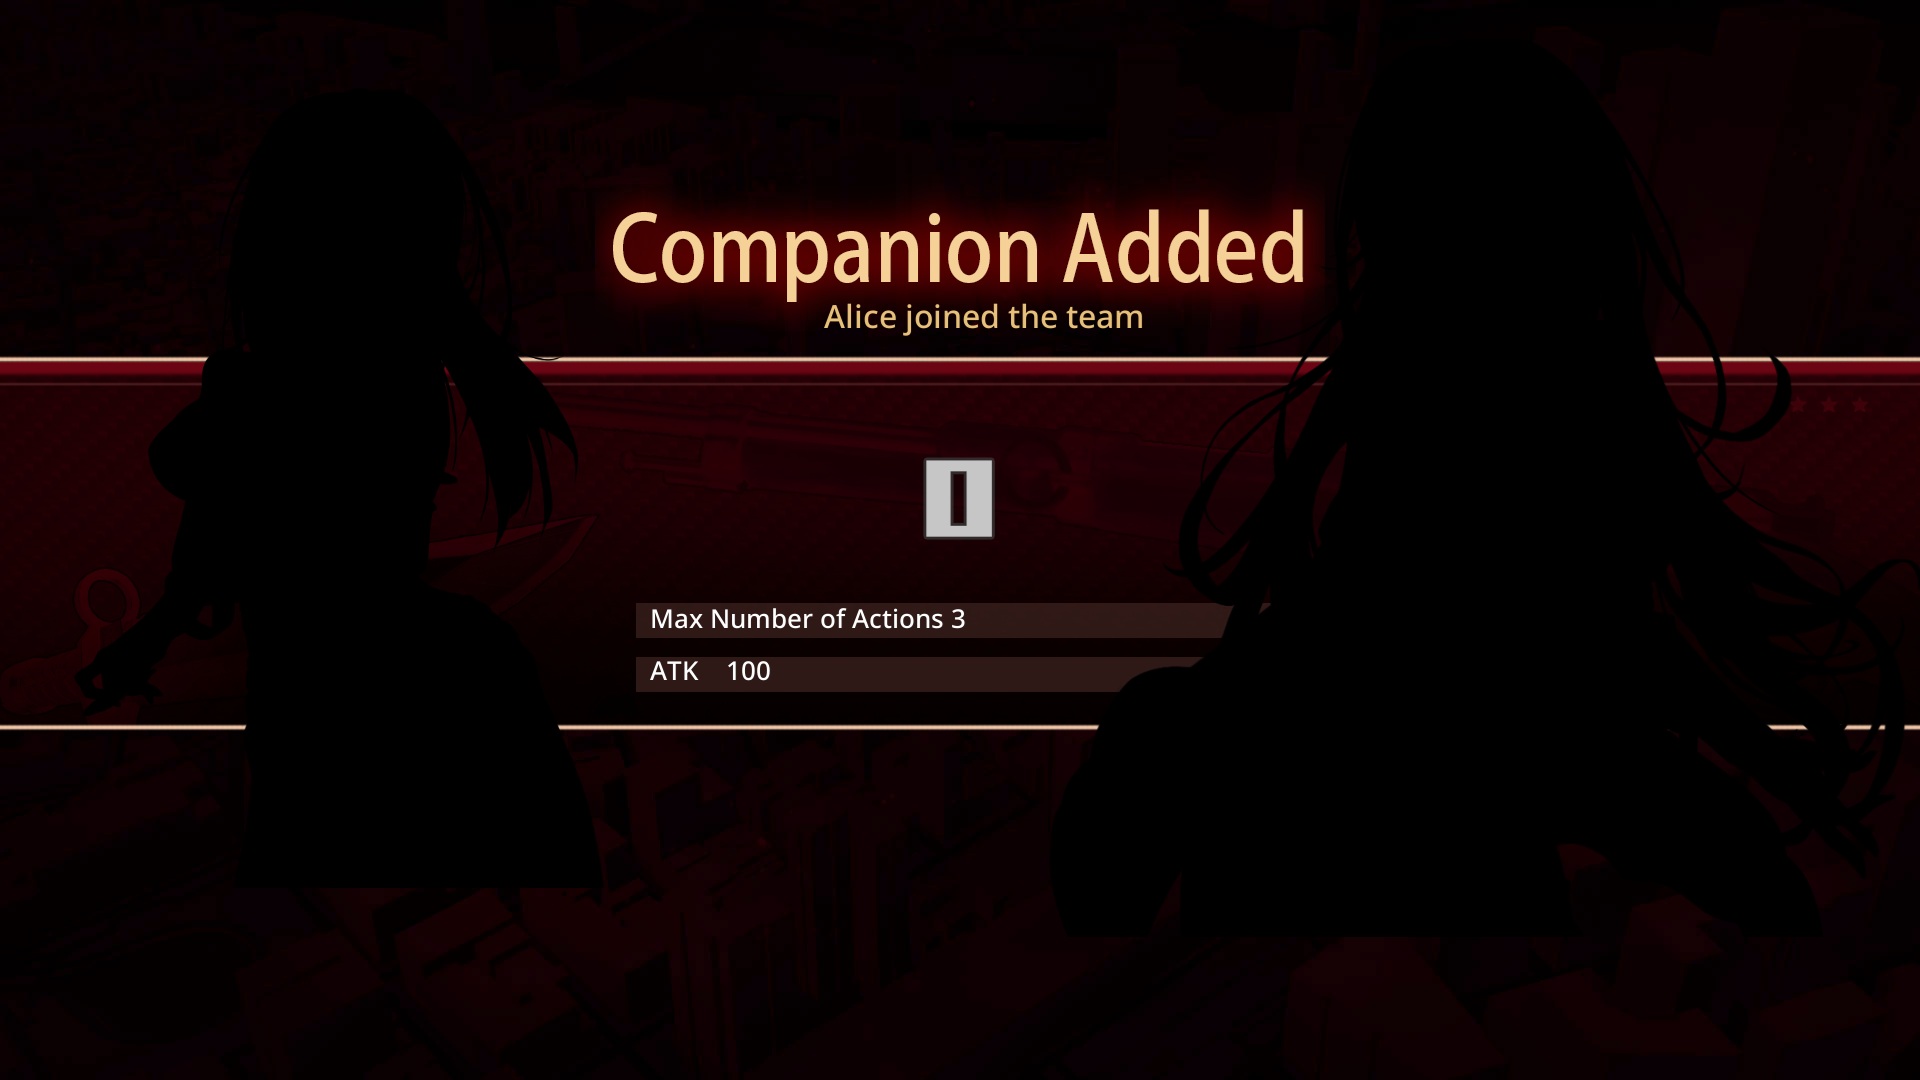
Crew Size
Max 2: your buddy “Alice” and bro’s fiancée “Ada.”
Dude snags his bro’s girl in the end—wild morals, man.
(SOD vibes—enjoy it, don’t live it, gamers!)
Full crew? Main screen adds chick options.
Hover zooms ‘em, click for their deets.
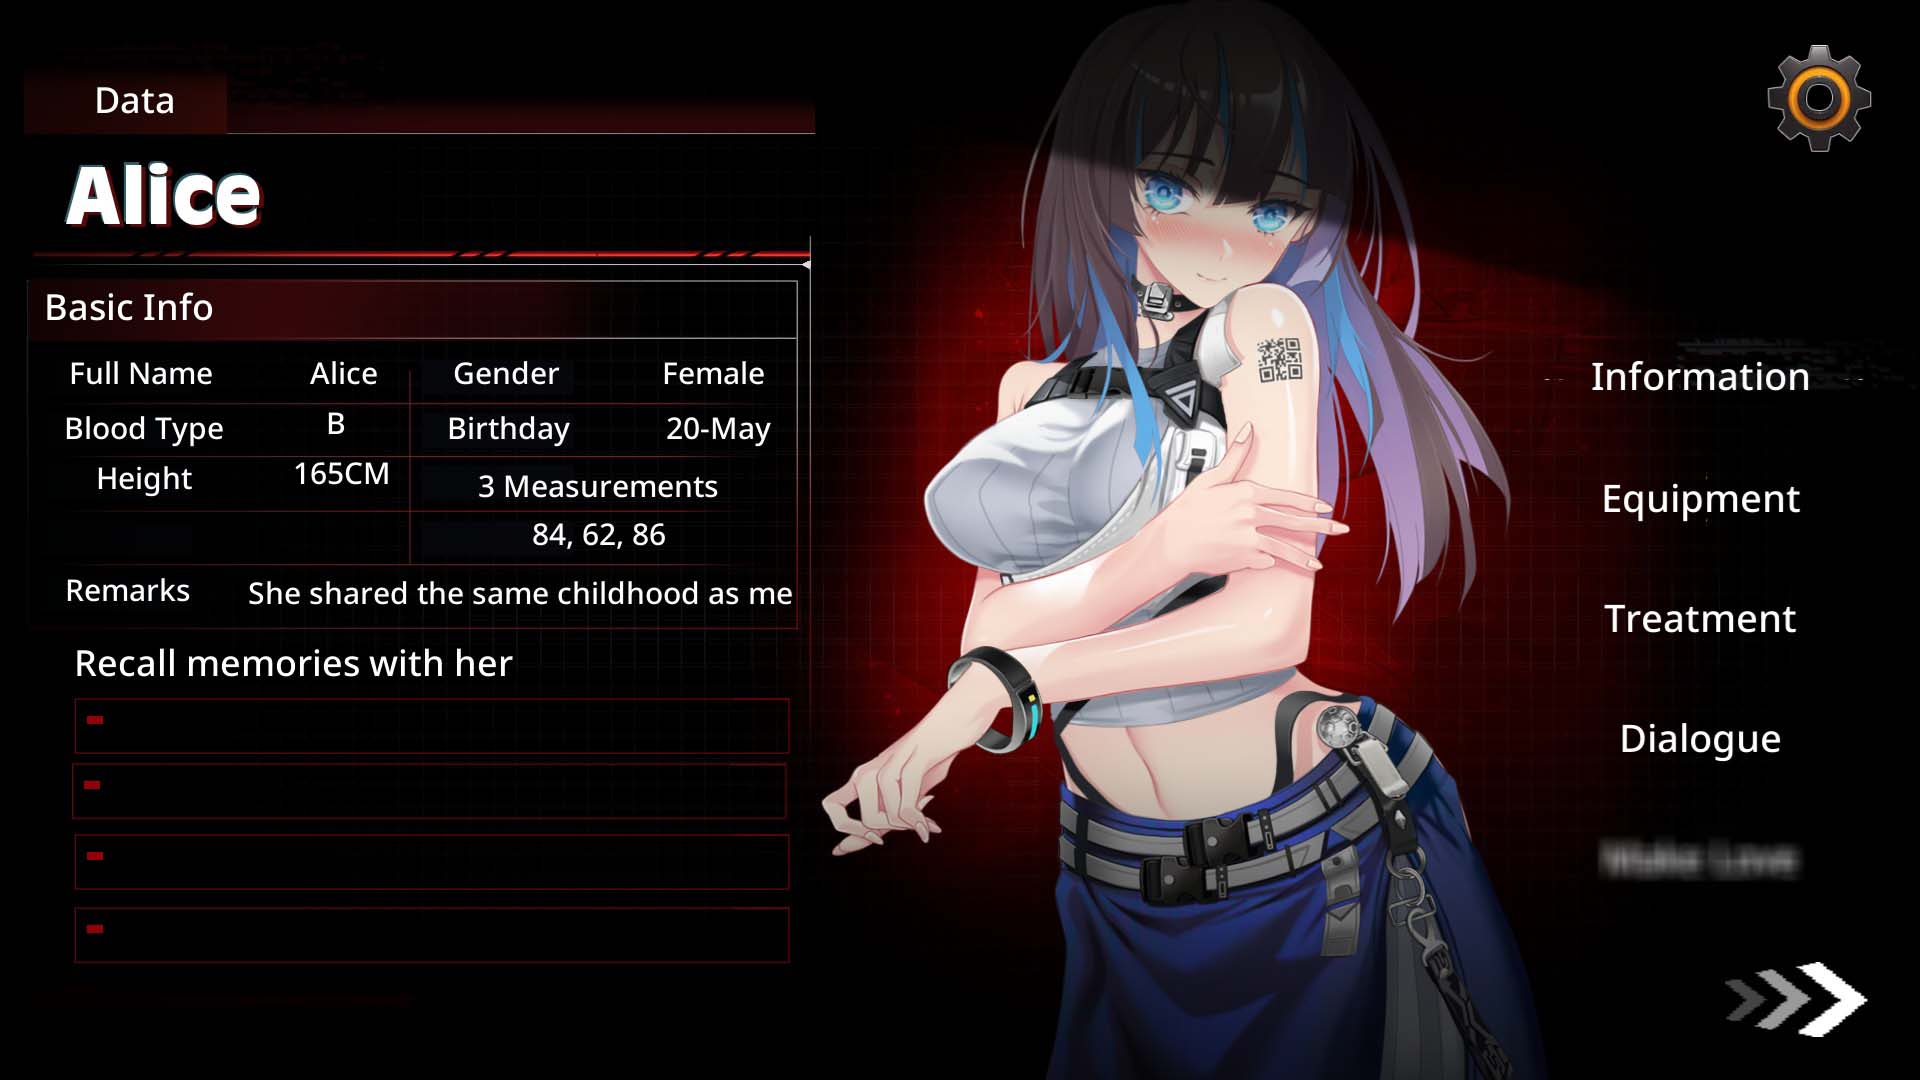
Five tabs: Info / Gear / Heal / Chat / “Fun”
Left side’s basics: name, gender, blood type, b-day, height, measurements, notes.
Weirdly, both girls got the same measurements—one Taurus, one Leo.
Beasts in the “fun” department, huh (lol).
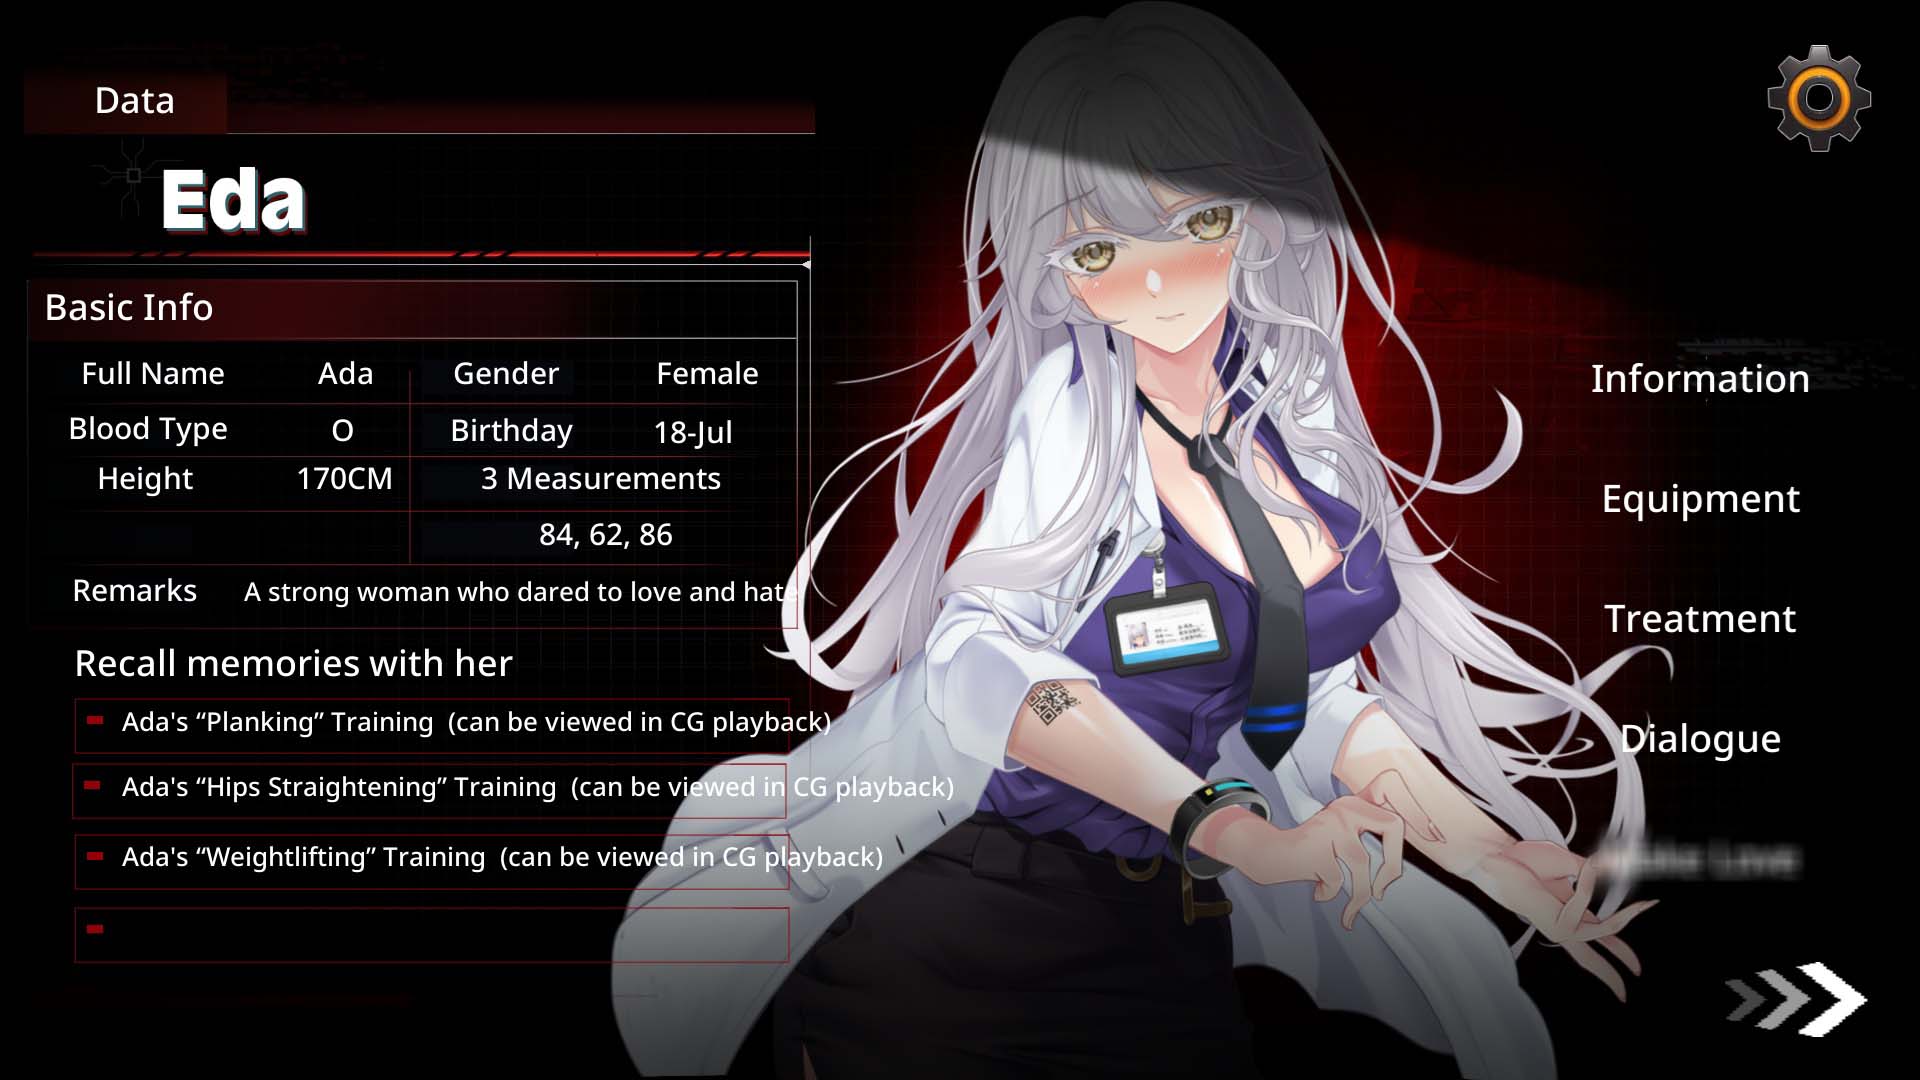
Bottom-left’s “Her Memories”—CG unlocks.
Shows 4 slots, but maxes at 3 CGs.
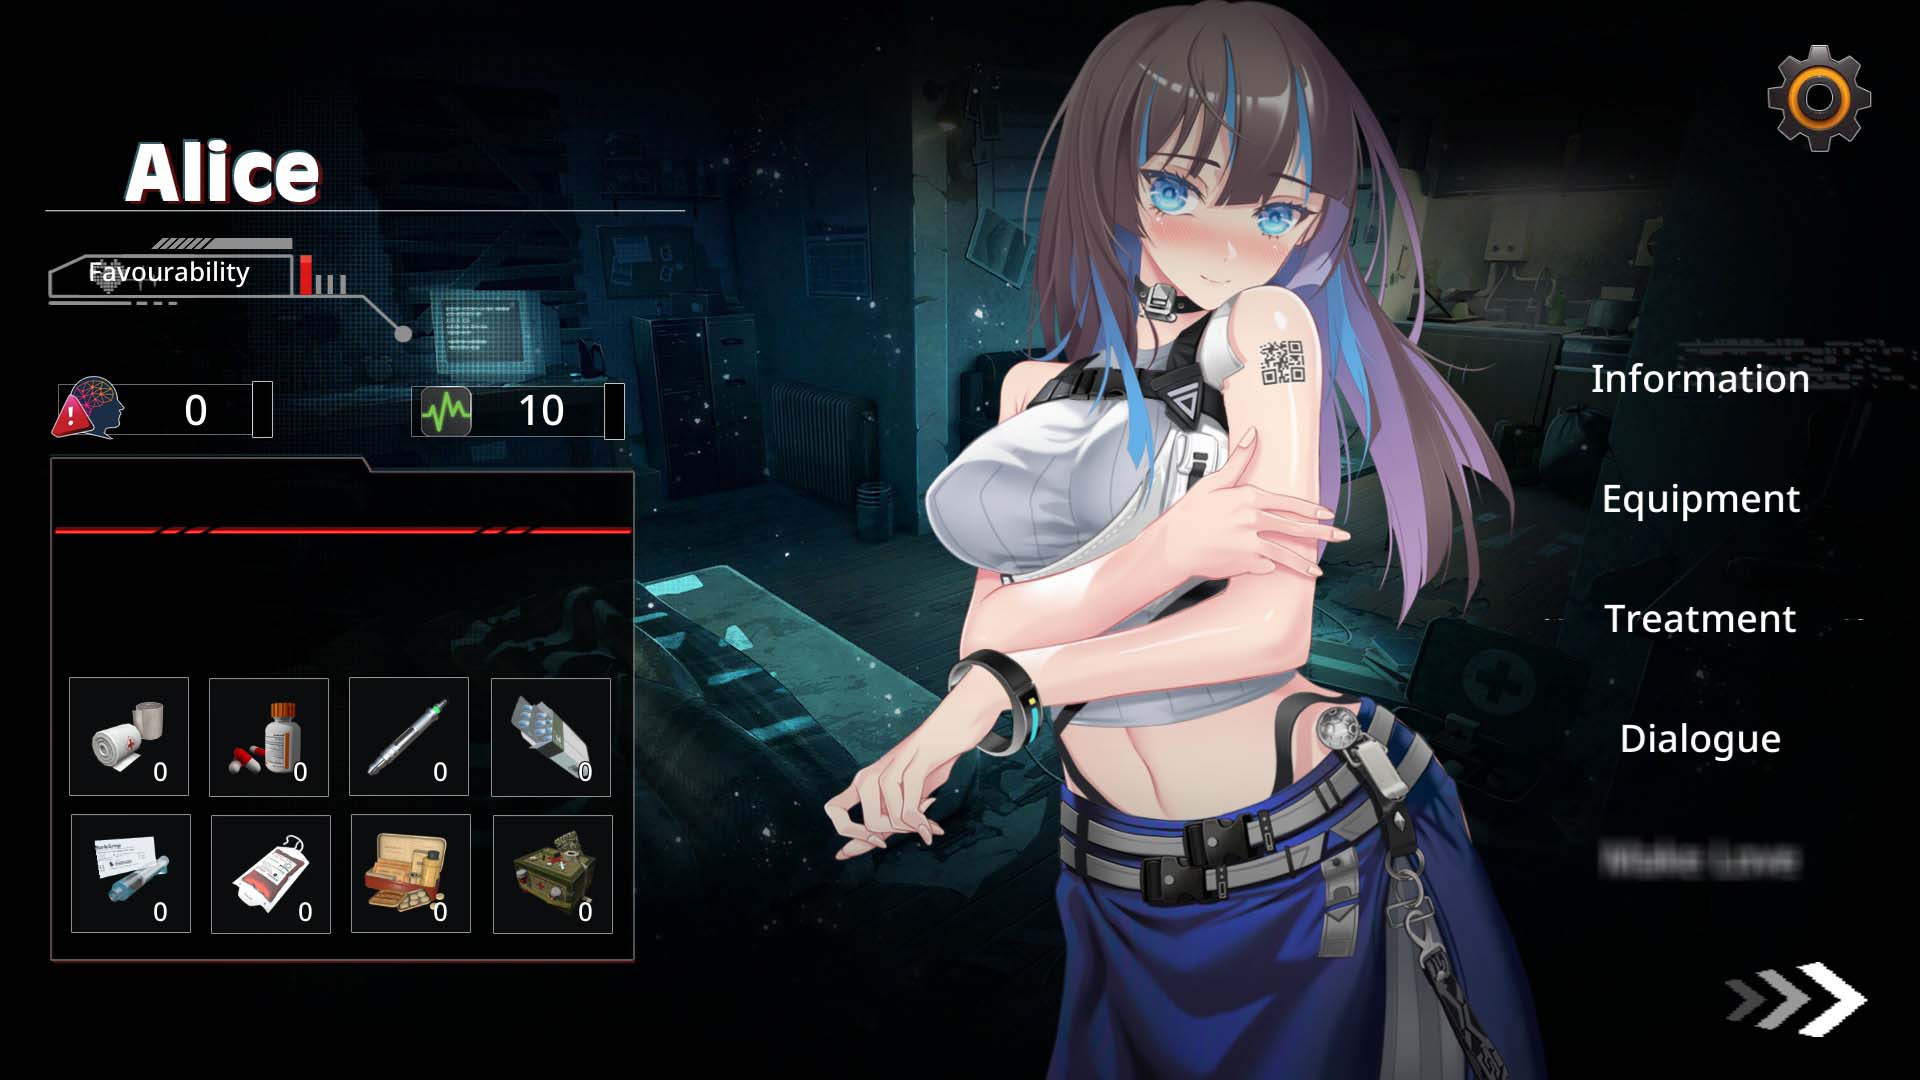
“Gear” and “Heal” tabs are similar.
Heads-up: “Affection” sits under the name here.
(Red bars, 4 affection levels total.)
Not on the info tab? Weird choice!
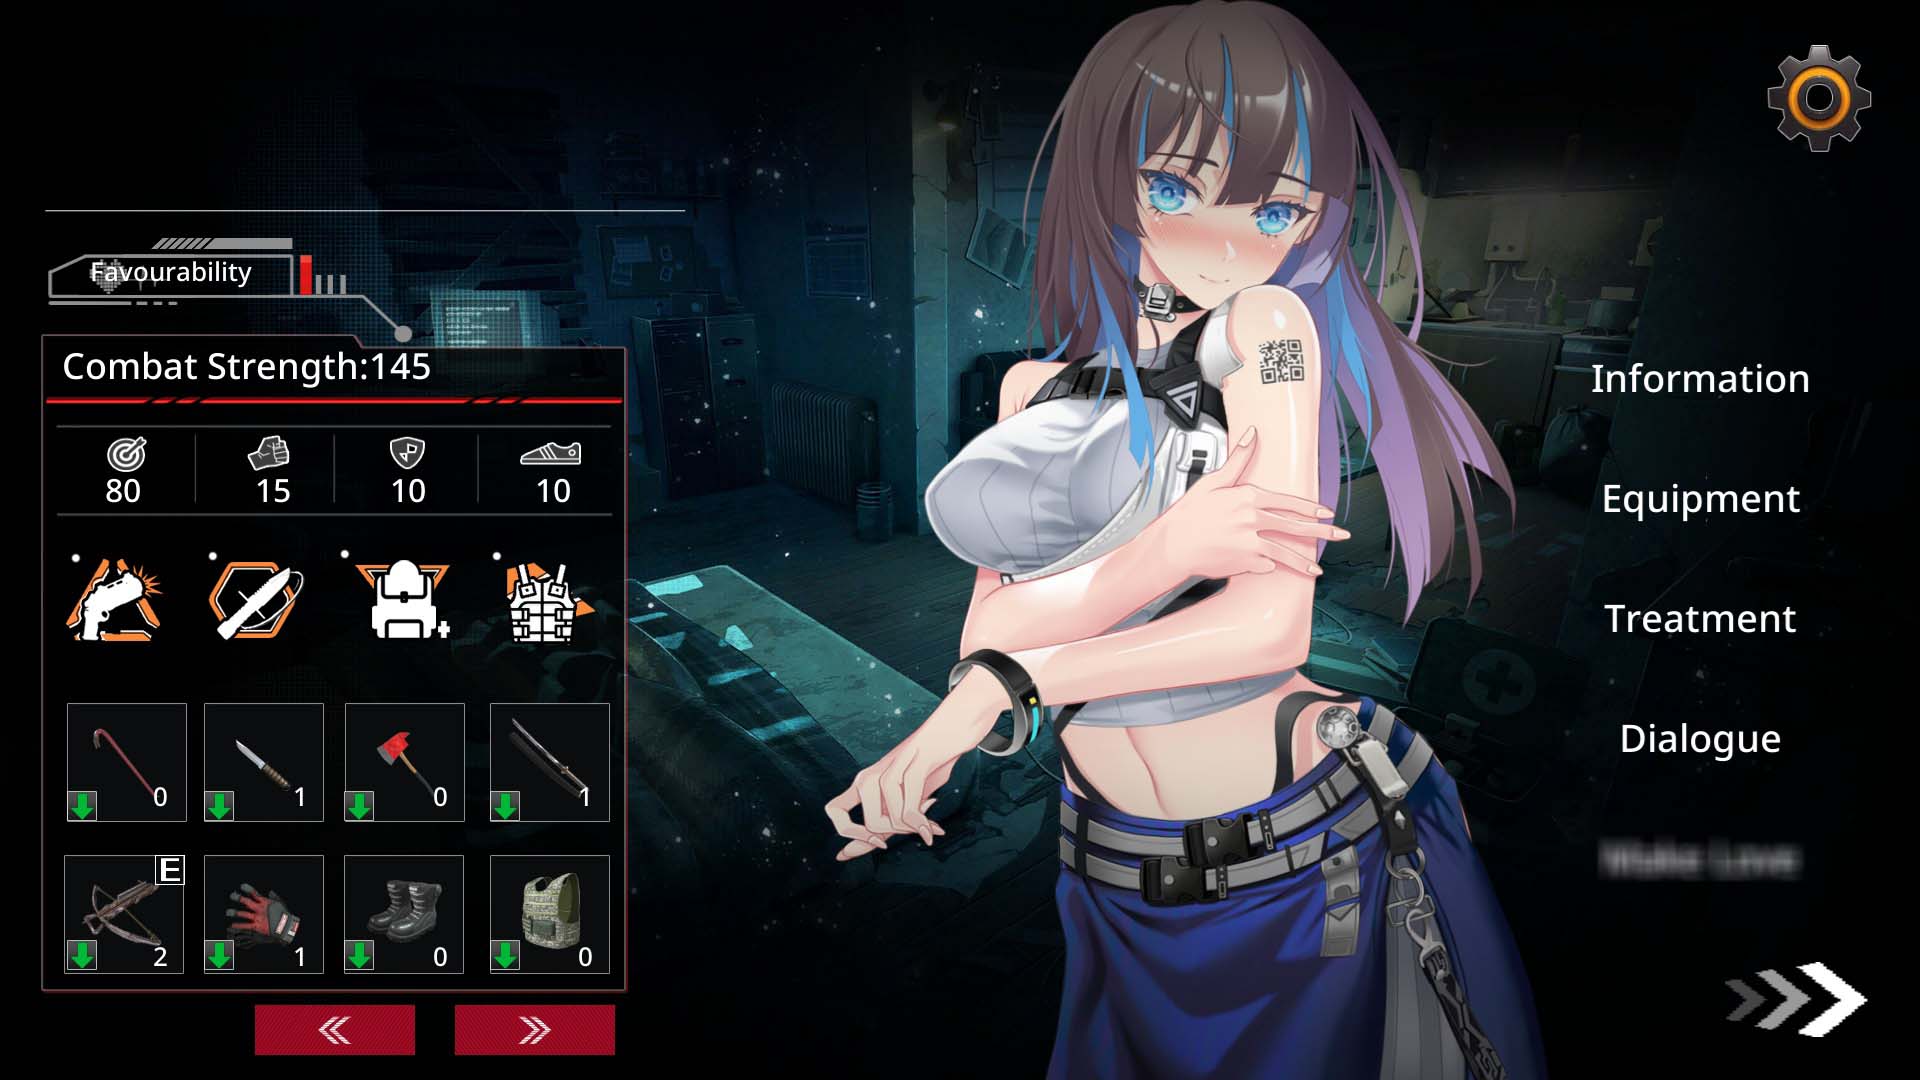
Gear tab’s your go-to—boost that combat power.
Easier high-level exploration runs.
Heal tab’s key—keep Stress and Health from tanking.
Mess up, and it’s a hassle—”fun” barely recovers stats and eats action points.
Late-game, you’re popping meds like candy.
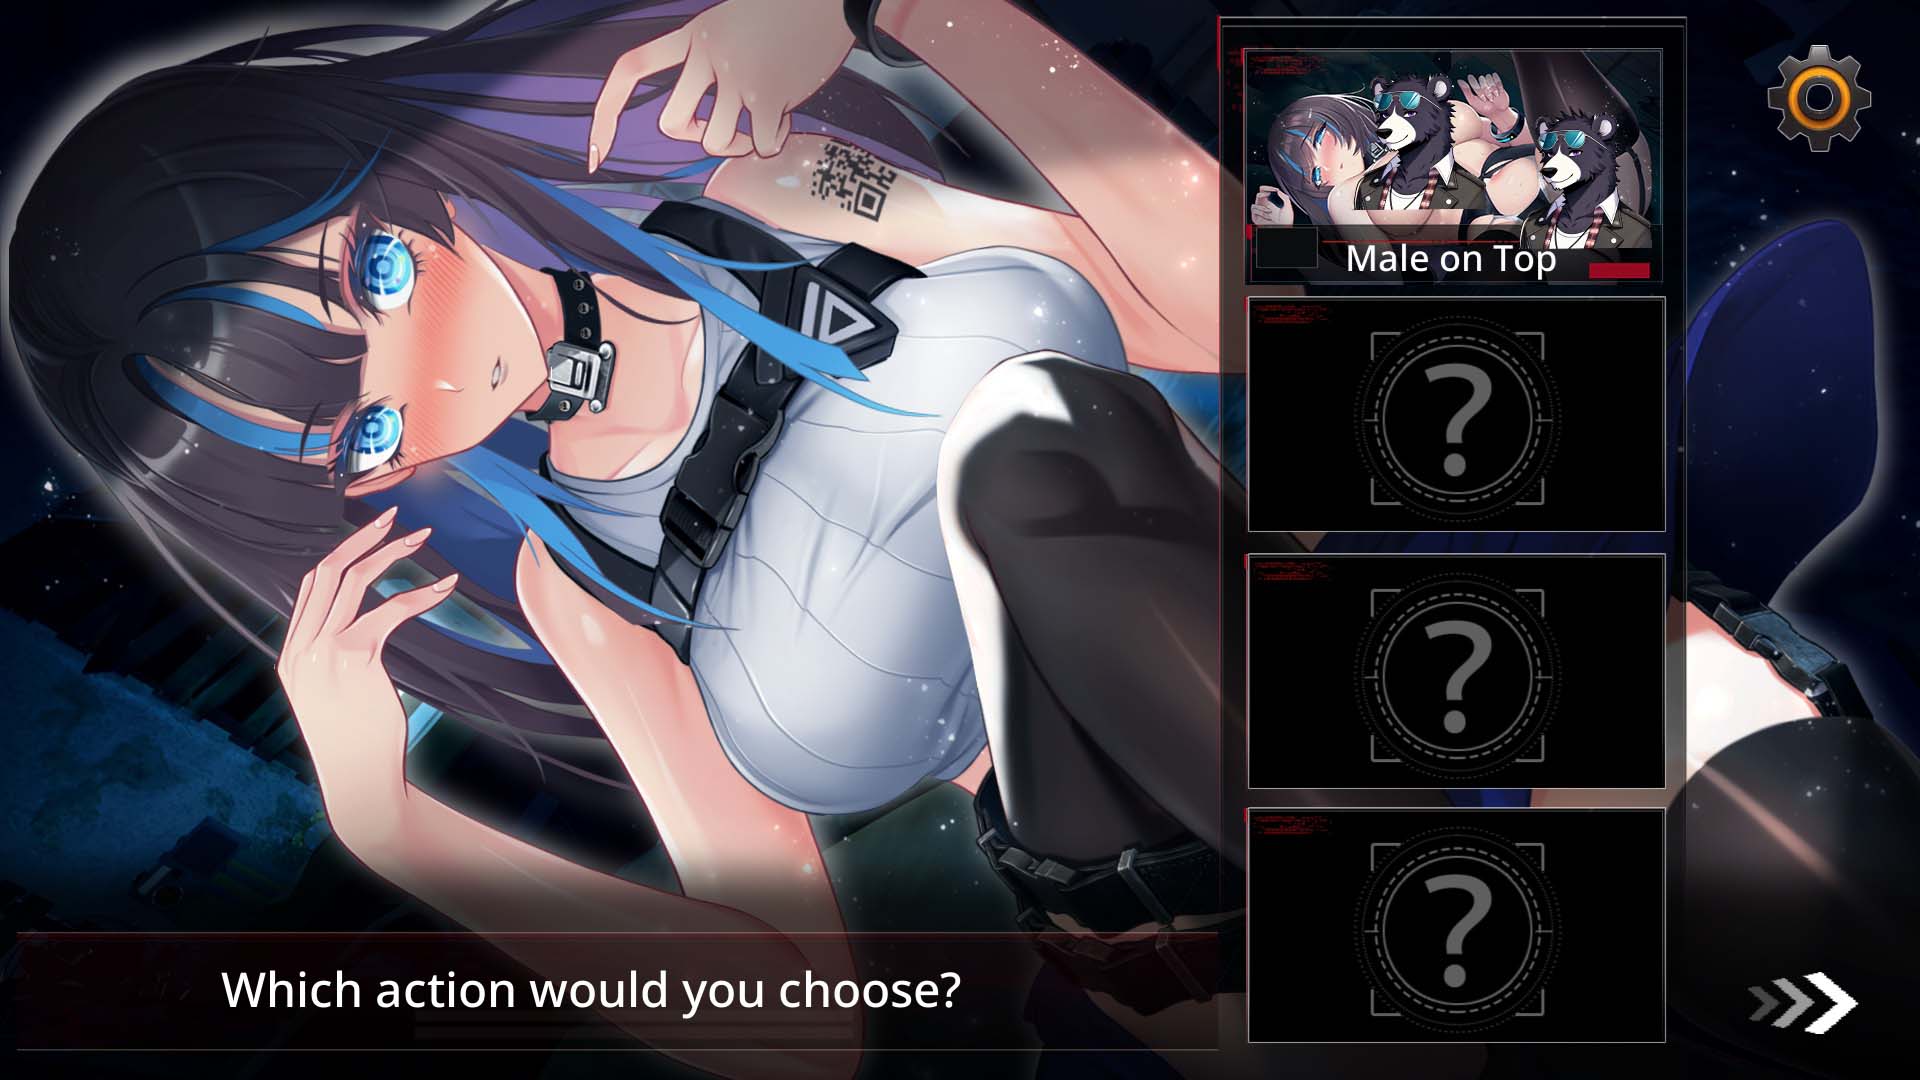
How to Unlock “Fun” CGs?
It’s all about affection—chat boosts it.
But chats are capped—spamming wastes points.
Alice auto-gains a bar Day 5 from plot—no effort.
Chat 3 times, bumps from 2 to 3 bars.
(Ada’s the same—3 chats for a bar.)
5th chat on? Repeats.
Mainline clears three zones—25 days-ish.
Unlocks plot, maxes both girls’ affection.
Then CGs are yours to play with—endless fun (woo~).

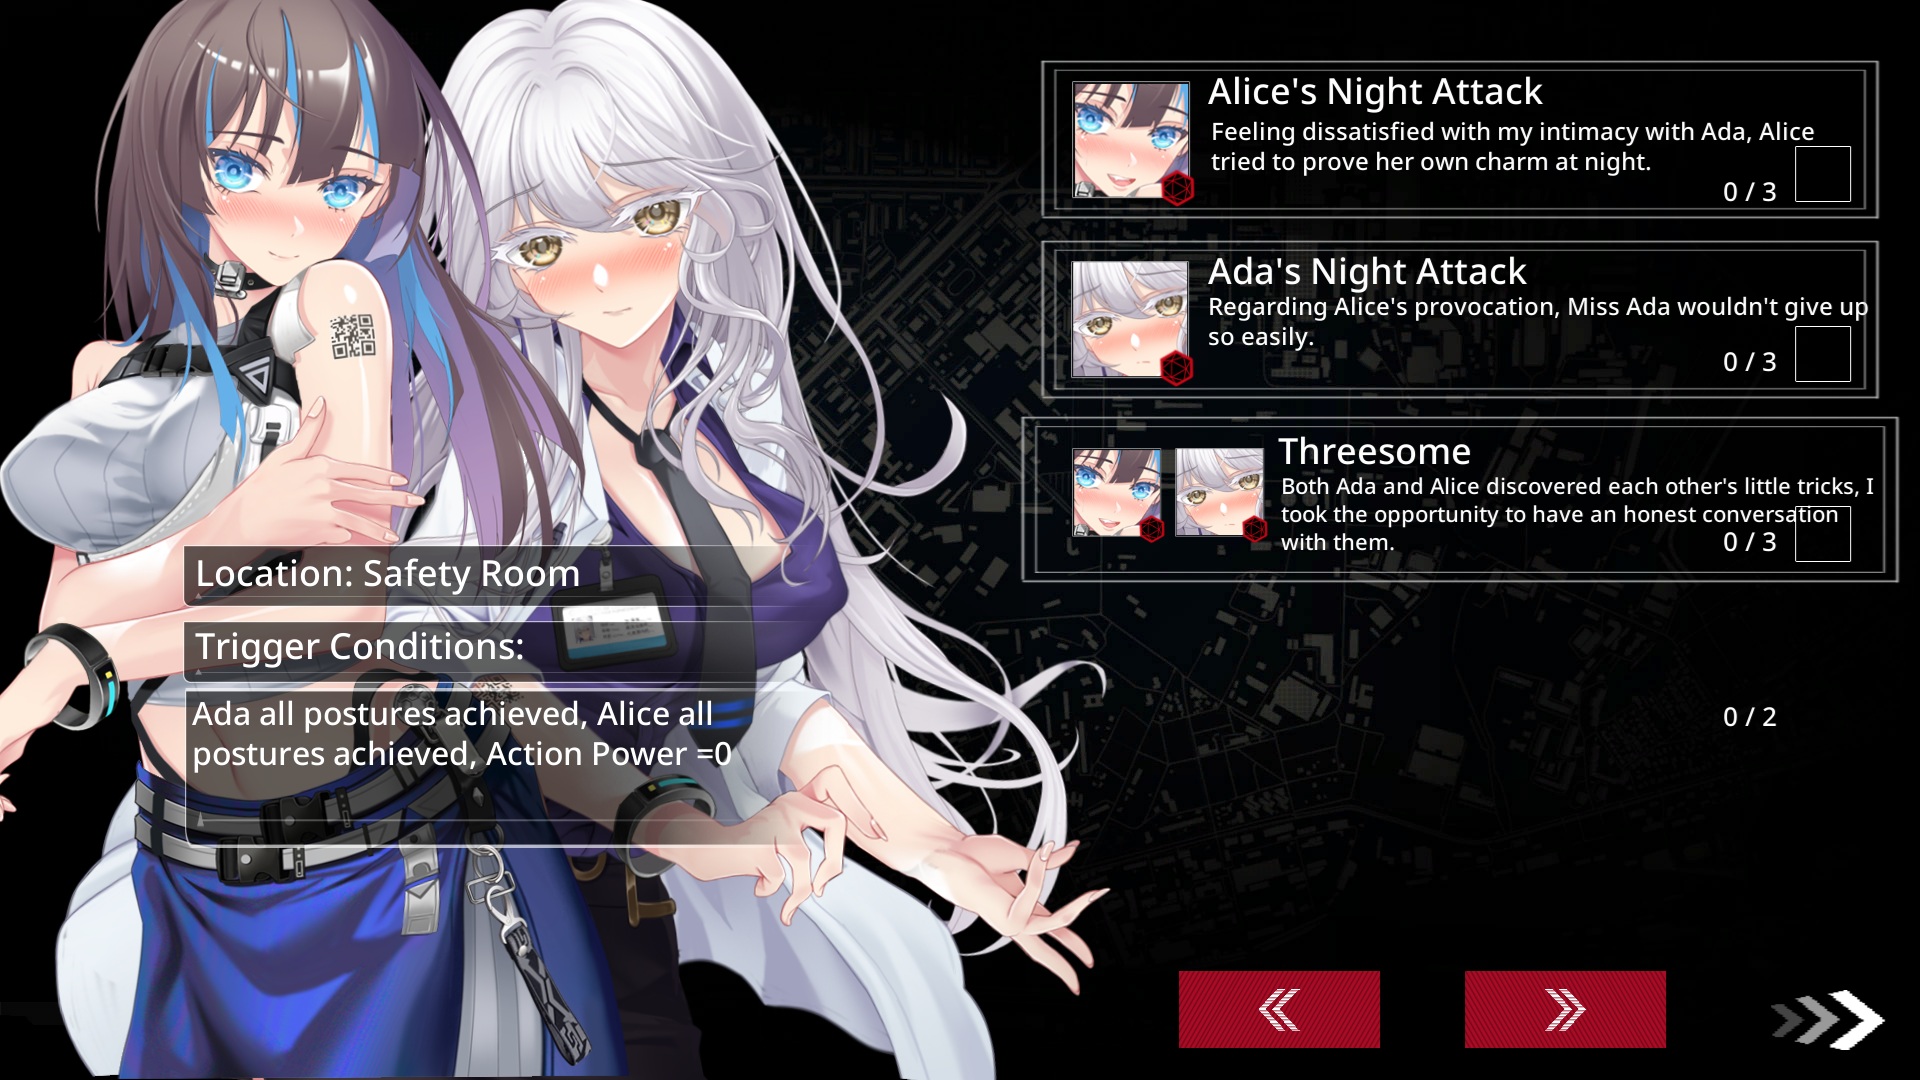
Pro tip:
Max affection? Do all four actions once.
Unlocks safehouse “mission”—nighttime girl ambush (love it?).
(Hidden CGs, yo~~)
Point is, these chicks are wild.
Try everything, and they’re in a whole new league!?
Desire maxed, sparking some love rivalry?
Duo “fun” tug-of-war? Hilarious.

Mentioned earlier—lose fights for CGs.
Got both girls but missed solo CGs?
Drop their Health and Stress—triggers solo runs.
Ada’s Health under 4? She’s benched—Alice gets solo CG.
But Alice at 0 Health? Still fights—glued to you, control freak much?
For Ada’s solo CG, save her first, then Alice.
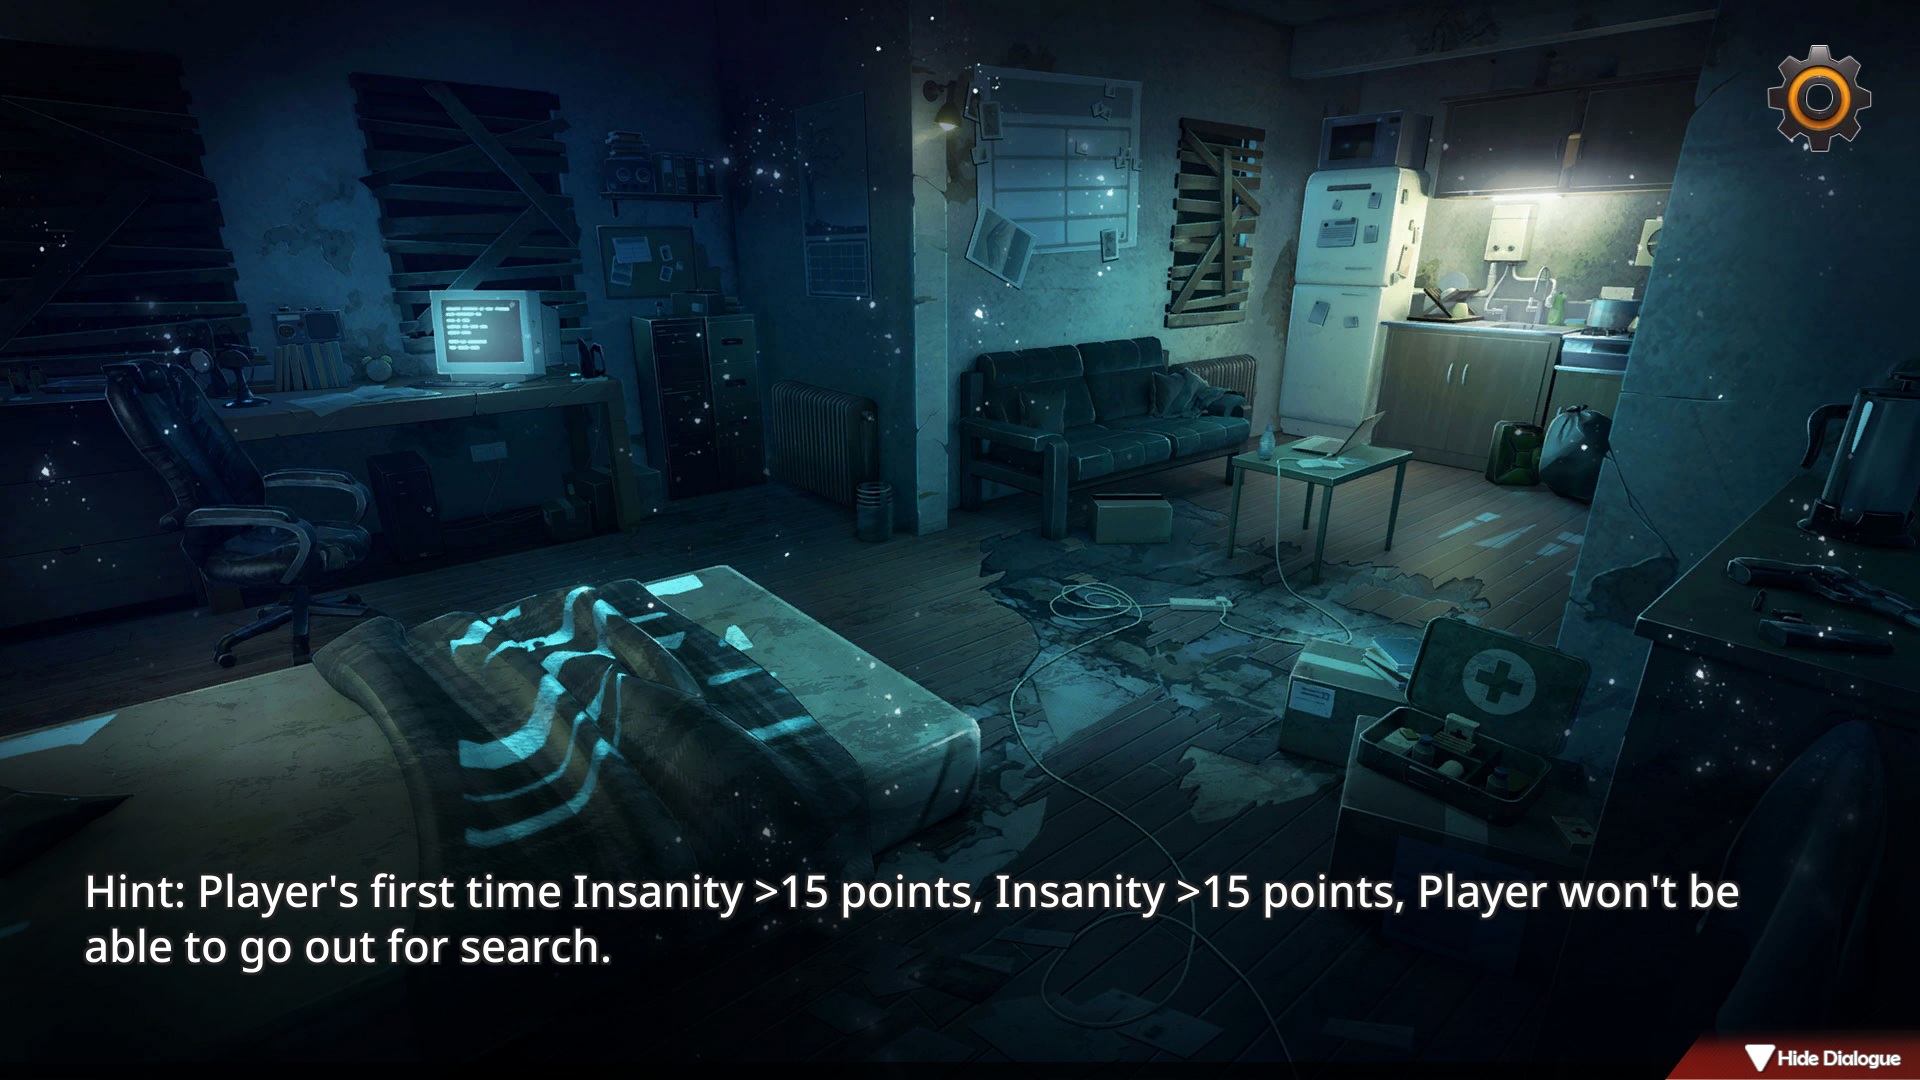
Dude’s got limits too.
Stress or Health over 15? No exploring.
Rest or “fun” to fix—or buy meds to drop it fast.
(First time over 15 auto-resets to 15, day +1, Health -2.)
PS: No day cap, but faster clears feel better, right?
Endgame: max power, two chicks, city escape.
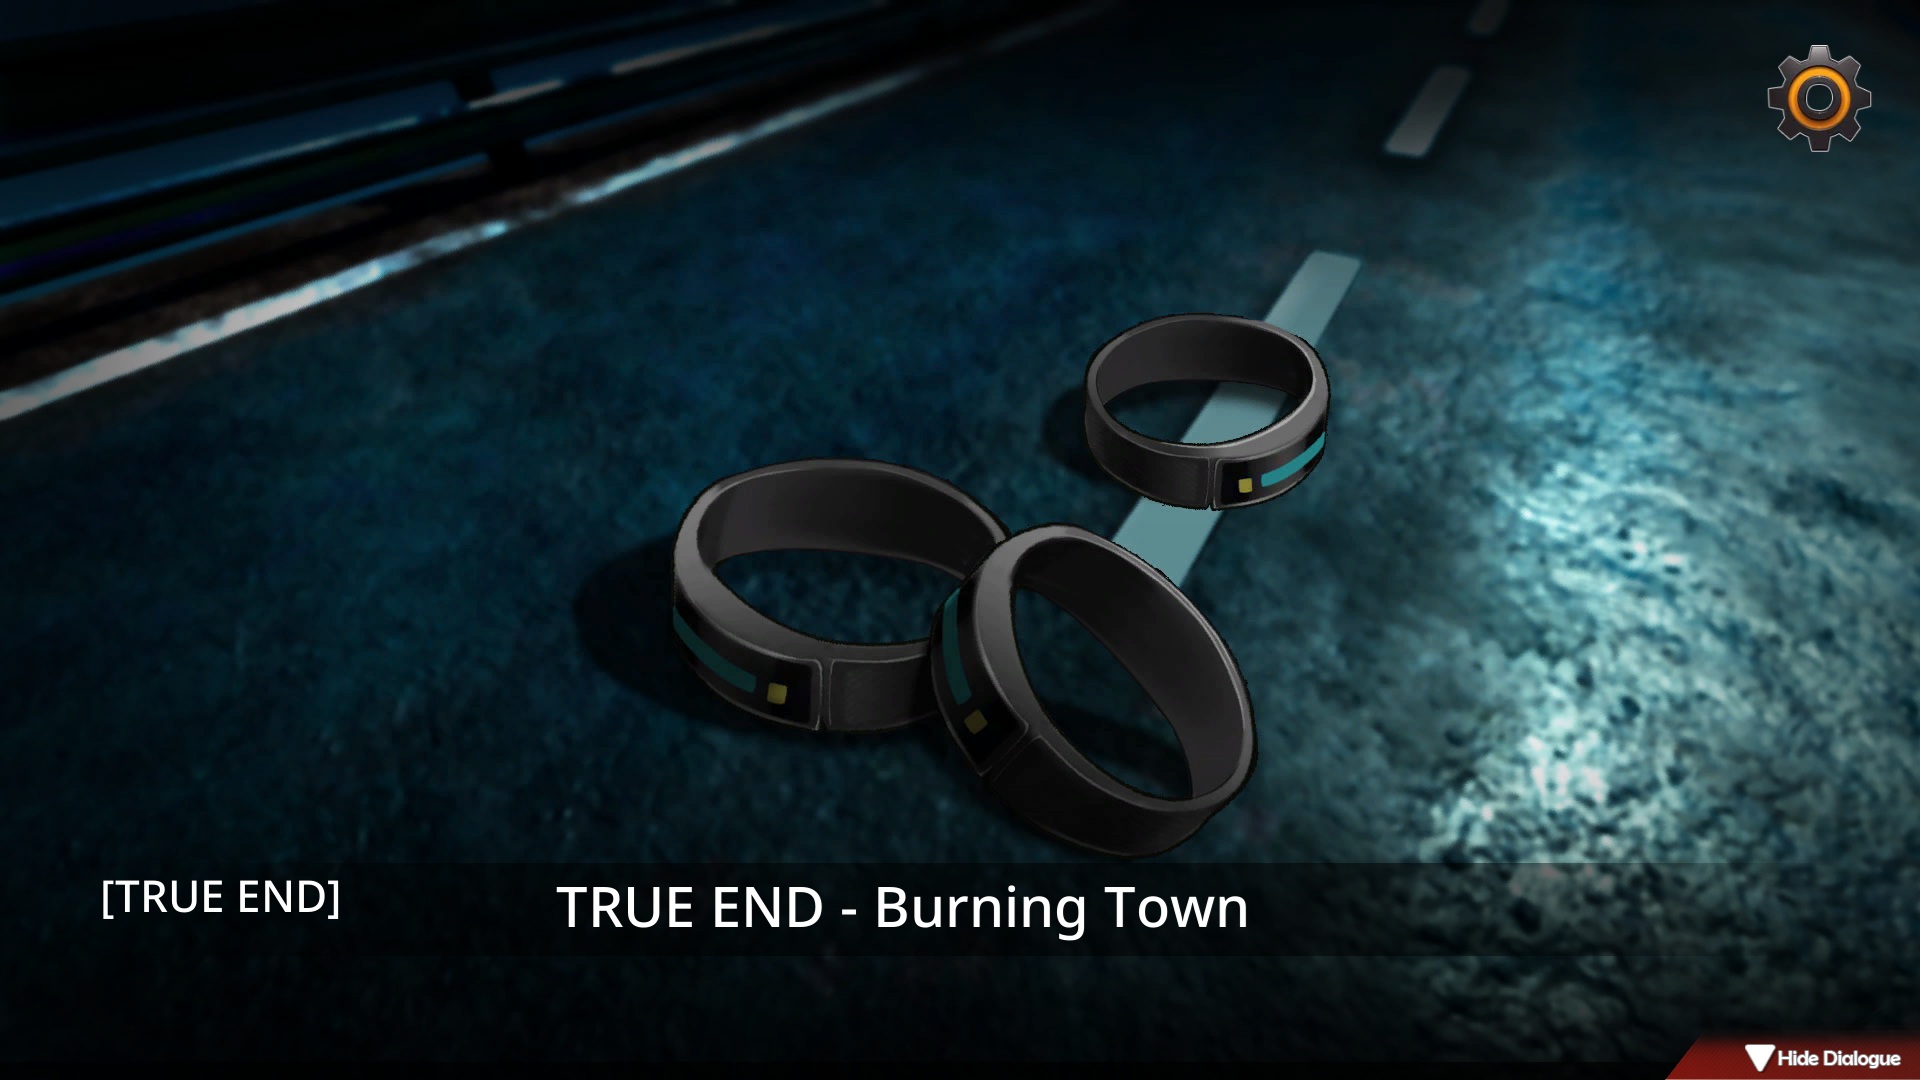
True End achieved—tons of Bad Ends to mess with too.
Try ‘em out, fam—plot’s a blast.
Big takeaway?
Wanna win a girl’s heart? Stage a hero rescue with your crew at the right spot.
Cuz…
Hero vibes make hearts skip beats ❤️
This Game’s Highlights
● Plot’s wild (watch for NTR)
Got 4 endings myself—small-scale gem.
Pushes moral buttons, but the drama’s on point.
Chat with buds—laughs galore at the crazy, dumb bits.
(Downside: girl chats and triggers feel kinda flat.)
● Art’s juicy AF
Animations and sound? You’ll crush on the girls.
Bold chicks in lust mode get dudes hyped~~
CGs especially? Hands get twitchy—wasting “resources” left and right.
● Side stuff’s loaded
First-timers get a mobile game vibe—pretty dope.
But some bits are too short or easy.
Hidden CGs unlock too quick—replay value’s meh.
Art hits XP kinks though.
Adds some juice to gameplay and depth.
Overall? Solid stuff!
Summary Scorecard
Game TitleCountdown to Death – Forbidden Desire List
| Game Pitch | Order’s toast after overnight chaos—safe city’s now a hellhole. Resources are scarce, people are shady. Sit tight and die, or save your crew and bolt from this nightmare town… |
| Playtime | 12 hours (with speed-up, plus poking at side quests) |
| Dev | Secret Garden |
| Where to Grab | Steam / Playmeow / MASOBU |
| Languages | Traditional Chinese / Simplified Chinese / English / Japanese + more |
| Story | ★★★★ |
| Gameplay | ★★★★ |
| Bang for Buck | ★★★★ |
| Notes | Catch Sony’s Gentlemen Express next time Gentlemen Express is free—buy the game via the link below to keep Sony dropping guides |
This is a free site, please support us by buying from the link below